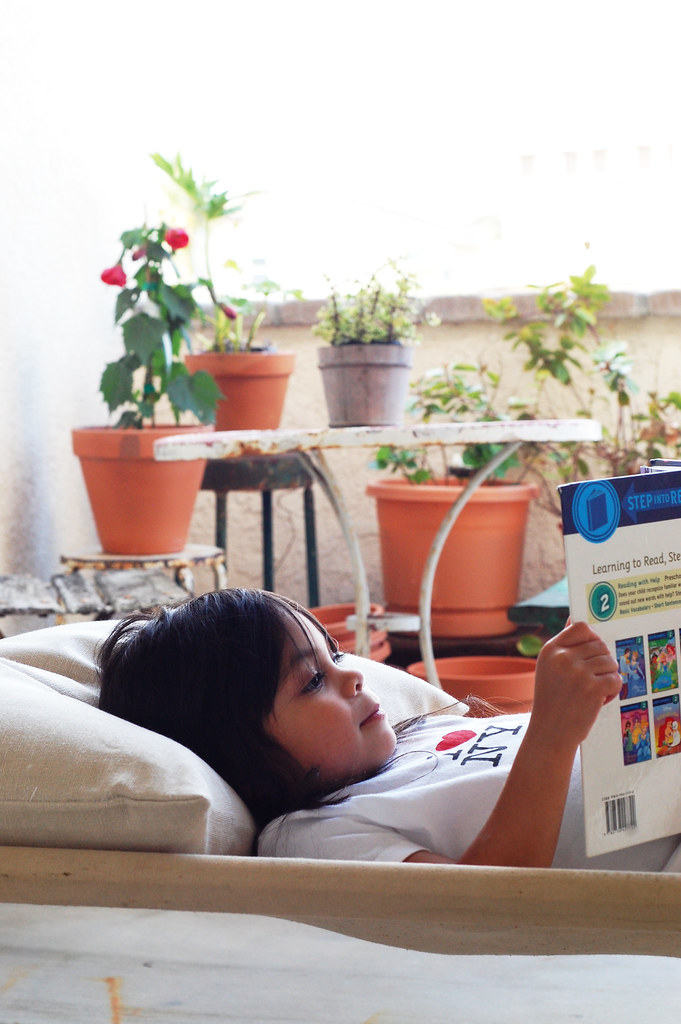
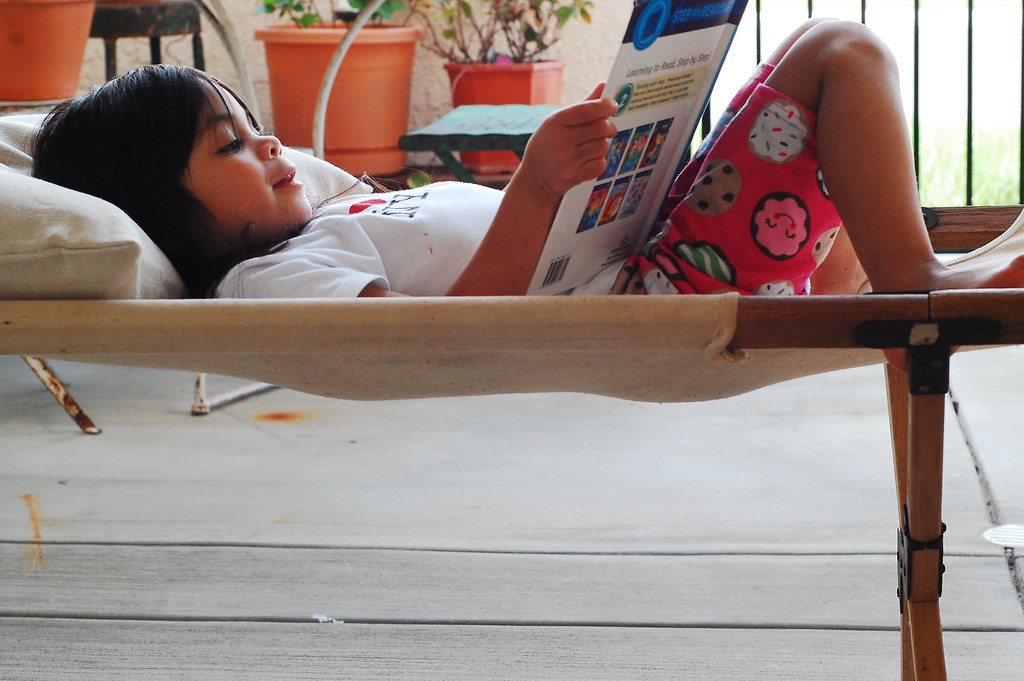
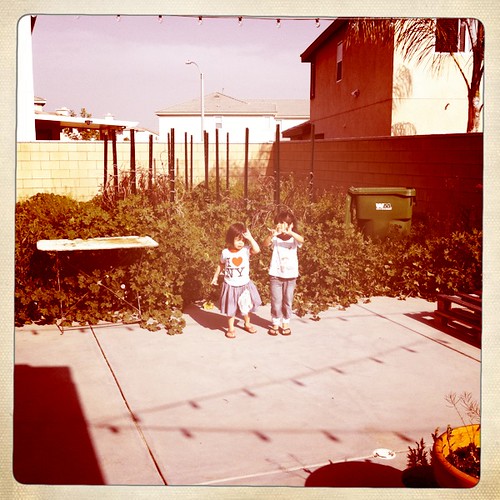
Many of you have inquired about our outdoor seating you have seen pop in our pictures from time to time and I am finally getting to share about them now. Mind you these pictures are from last summer, so our garden looks nothing like this now. Right now it is
weed filled and dirty, but I am in the process of cleaning and prettying it up.
Materials:
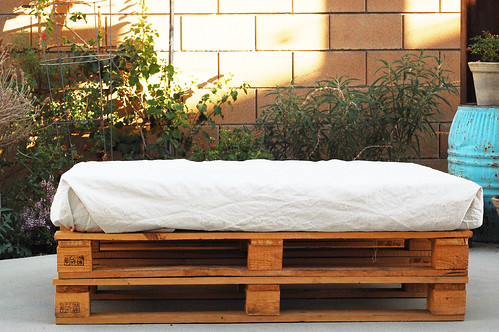
- 2 pallets of the same size
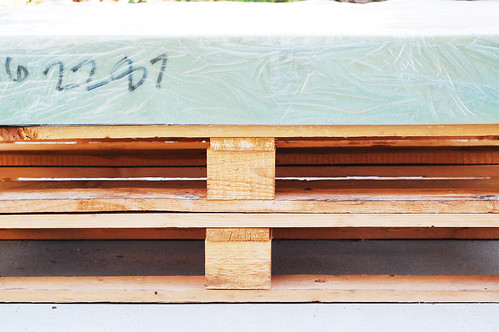
- High density 5'' thick foam cut to fit on top of pallet (bought at local craft store)
- Outdoor vinyl (to cover entirety of the foam)
- Waterproof tape (to wrap the vinyl around the foam)
- Outdoor canvas or duck cloth (enough to fit around the foam)
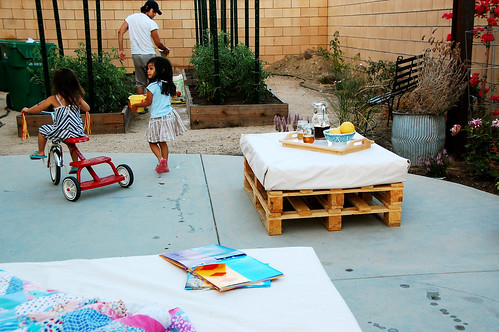
When Ben and I were first fixing up our yard last summer, we had such a hard time finding cozy seating that was our style. We wanted something simple and kinda natural looking, but everything we found in the stores looked cheap and were too expensive (not a great combo), and too patio-like. That wasn't for us. After brainstorming, I drew out what I wanted and wanted to see if Ben could make it. I just wanted simple wooden benches with something comfy on top. Then, after more brainstorming, we came up with this pallet idea.
One afternoon we went driving in local industrial areas and just started searching for pallets. We needed two of the same size to stack on top of each other, to make the seating the height we wanted. The first two pallets we saw were perfect and easy as they were just in the trash pile along with some broken ones, so we just stuck two good ones in our car. Then, the next two we came by was more difficult because we found them in a commercial trash container. Ben had to climb up and was carefully checking things out to find two good pallets that were the same size. When he did, he had to carefully lower them down to me (and man, those things are heavy) and try not to fall at the same time. We loaded those up and brought them home.
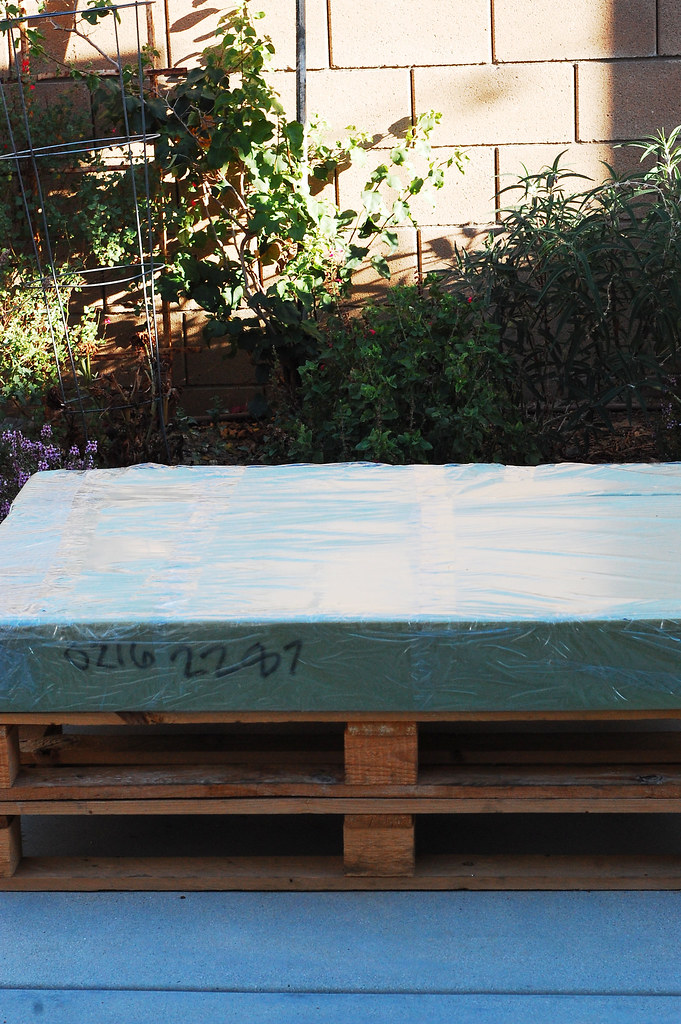
I cleaned the pallets by hosing them down. I took measurements and wrote them down and knew just how much foam I would need to buy. I went to Joann's to buy the foam and had 50% off coupons because that foam ain't cheap! It was probably the most expensive part considering the pallets were free.
I bring the foam home and place them on the pallets and with a serrated knife, cut it to the exact size I need. The width of a pair of the pallets was pretty wide, so I had to piece two pieces of foam together to get the full width. I took the vinyl and wrapped it completely around and made sure it overlapped, then just closed everything with waterproof tape. Sounds kind of like a quickie way of doing it as I am sure there is a much more chic way, but the foam was hidden and I didn't care. I just wanted it to not be able to get wet or damp.
Lastly, I just cut the duck cloth I got to fit the pallet with extra room to tuck in and under the cushion. I probably could have sewn a nice perfect cushion and maybe i will get to that eventually, but I just wanted something quick and natural. Now, voila! We had the perfect seating for us! There is plenty of room for lounging, reading, and doing some good 'ole relaxing!
Before we had all our rain, I made sure to bring the cushions and cloth in. The pallets stayed outside and have continued to weather, but I think it has a nice worn look. Plus, I love old things so that's cool with me!
Sorry there isn't much of a step by step, but it really is easy peasy and pretty self explanatory. Find 2 pallets, buy foam that fits on top, buy vinyl to go around the foam, close it up, and wrap it in cloth. Simple as that!
This look might not work for everyone, but it does for us. The best part is that it is much more budget friendly and matches our style more than anything we saw being sold out in the stores or online! Don't you just love a good, quick, and easy DIY?
* All these pictures were taken last summer. I have been meaning to share this DIY for so long now!


