Showing posts with label DIY. Show all posts
June 14, 2012
DIY: WATERCOLOR BUBBLE ART
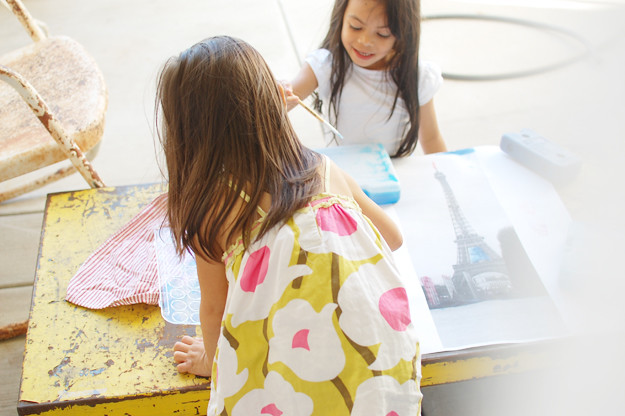
Another instant art project that will definitely be fun for the kids! I am thinking we may do another tomorrow, but this time just using black. I think a black bubble one would be a nice contrast hanging next to these colored ones. Just a word of caution though, do this outside with nothing around that you don't mind getting a bit of color on. And when they're done, your kids may just have a smidge of color splatter on their face too. It's real cute!
If you do any on the instant art projects, just leave a link here as I would love to see it! See last week's instant art project here.
June 13, 2012
DIY: A NATURAL FACE WASH
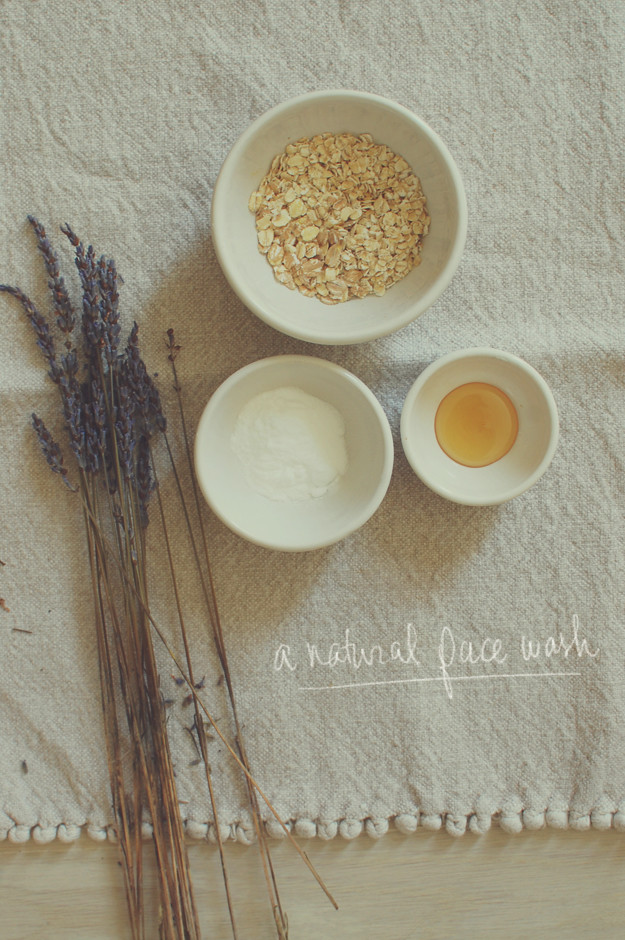
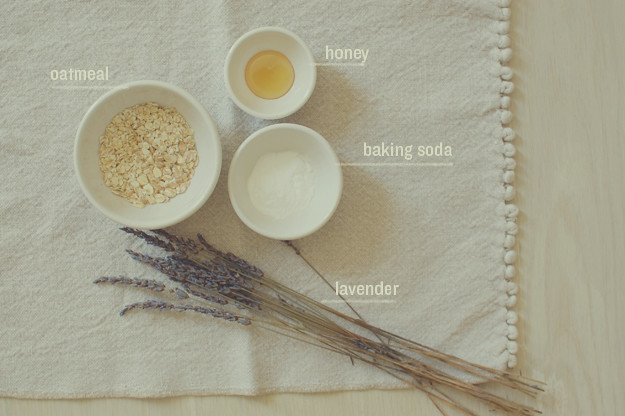
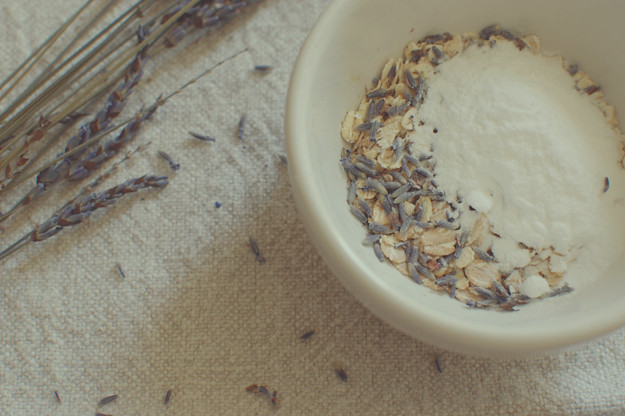
Ingredients: 1 tbsp baking soda, 2 tbsp oatmeal, 1 tsp dried lavender. Directions: Ground up all the dry ingredients together. Add a bit of honey to your palm, then add some of the dry ingredients (about a tsp) and mix together in your palm. Proceed to wash face with warm water and the mix.
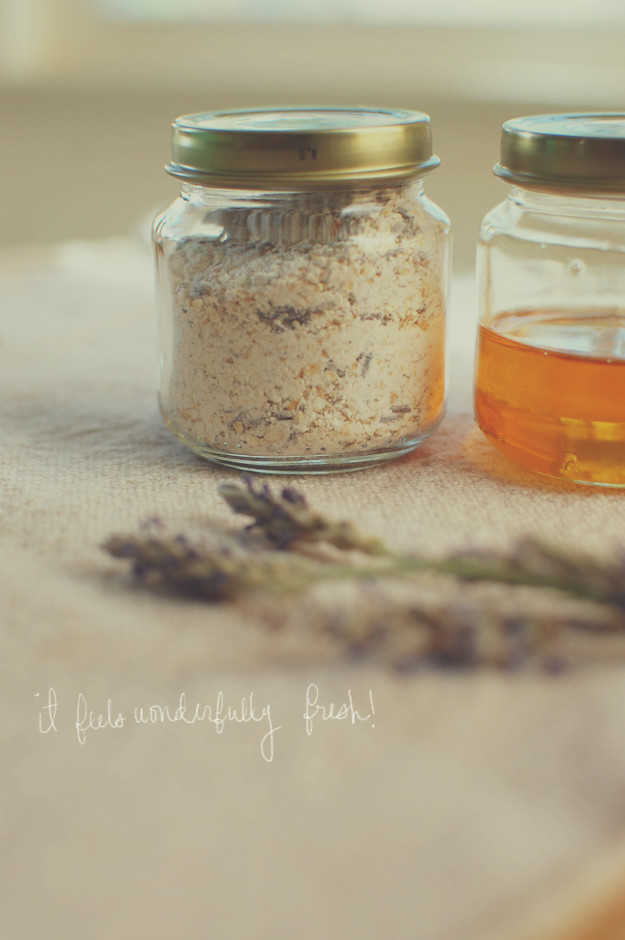
I doubled the mix and bottled it up in a little baby food jar, along with some honey, and I have my instant face wash. When I need it, I use a q-tip to dip in the honey and mix my merry little concoction together in my palm.
Okay, so I am not an expert when it comes to these DIY natural facial cleaners at all. I have normal to dry skin, more dry I think, but this little mix is just what works for my skin and it may not for you. Though I must say that it does leave my skin feeling better than previous things I had been using. I didn't even have to apply additional moisturizer after because my skin still felt moist. It's nice. This little mix is based on a few different versions of this wash that I have seen online.
I wanted to try a natural wash because what I was using was left my skin feeling really dry and I just didn't like it. Plus, I have been using a DIY natural toner for over a year now, so might as well try a wash as well. I got the toner recipe here from Vanessa (Velvet Bird) and it has worked wonderfully for my skin. I tried the toner when I was breaking out really bad and after I used it, my skin cleared up. Coincidence? I think not! The toner is part water and part apple cider vinegar, so for nights I know Ben and I might get a little frisky, I don't use it. He thinks it smells bad, while I kind of like it.
I will definitely be experimenting some more with homemade washes and masks and will keep sharing my thoughts with you all. It just feels good to put something on my face that is clean. I am certainly not anti-store bought make-up stuff as I still love my store bought make-up products, but if I do find something that works well with my skin, by golly, I will use it. If any of you have a recipe that works, please do share!
June 6, 2012
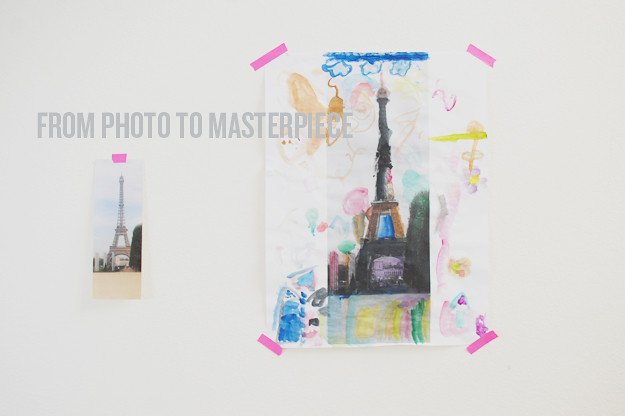
DIY: FROM PHOTO TO MASTERPIECE
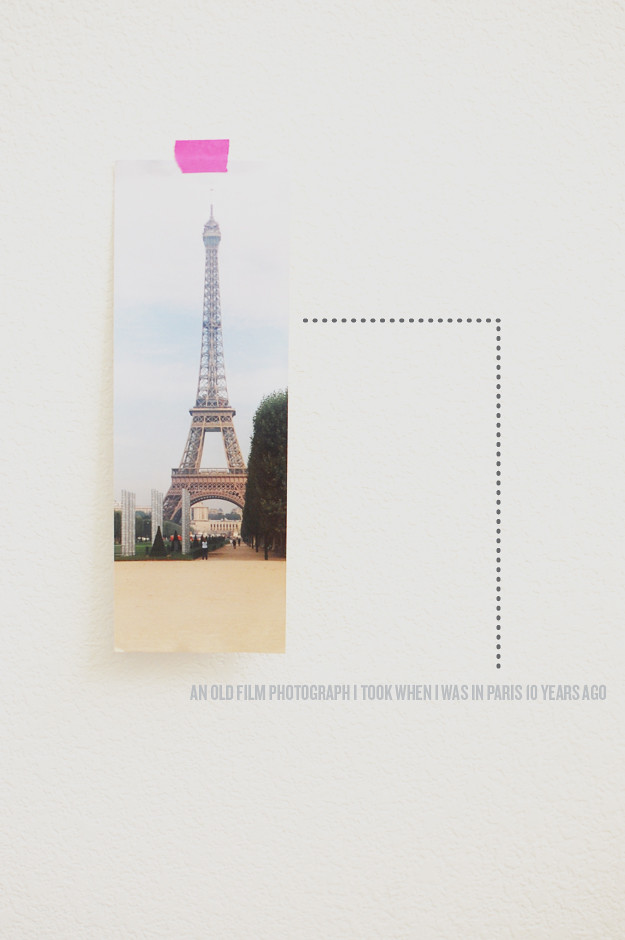
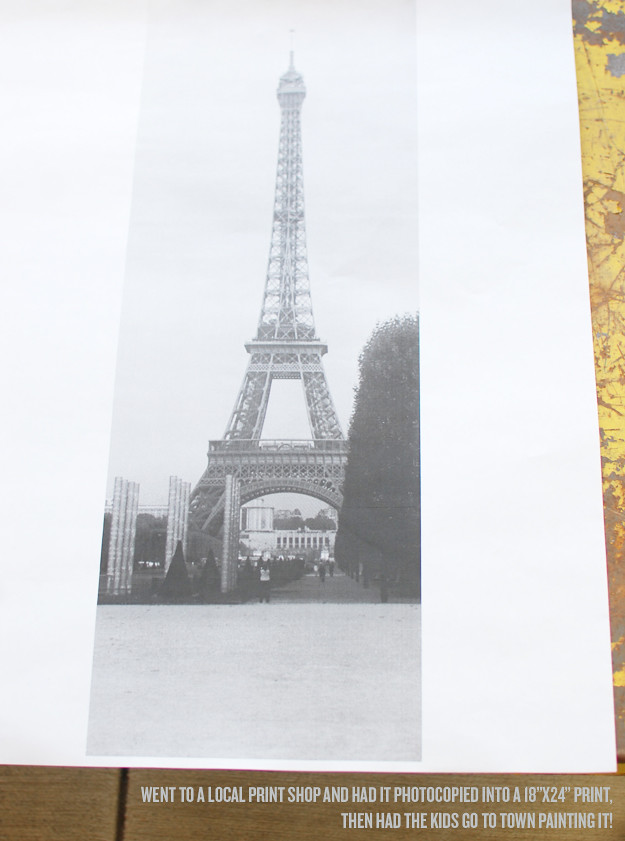
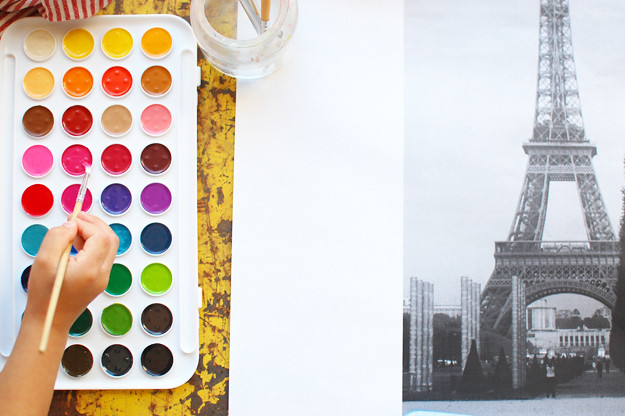
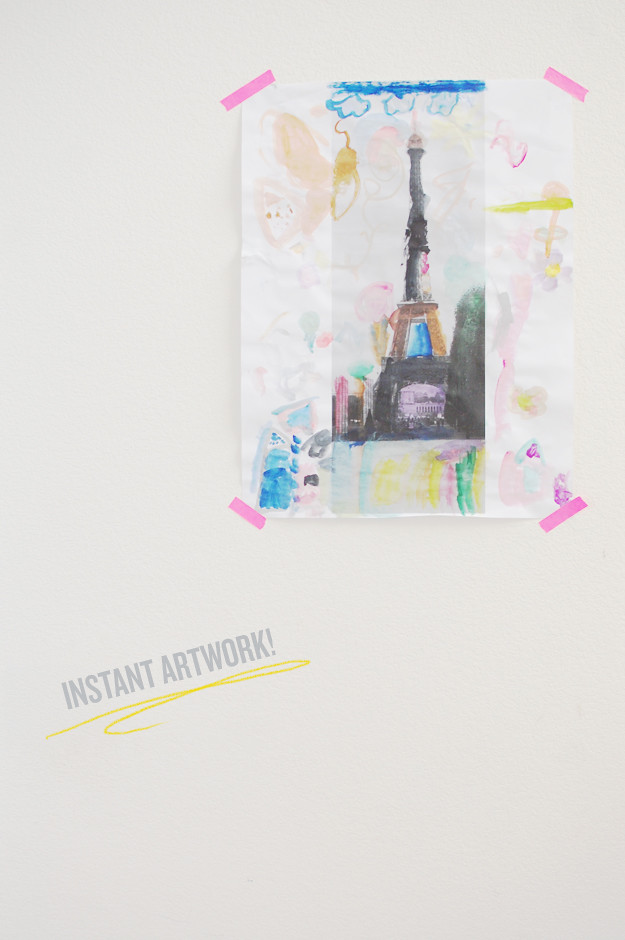
In my opinion, the best kind of art are the kinds my kids make. There is just something so raw and natural about kid art that makes it so beautiful. This particular project was an easy one and can easily be created with any photograph. Sure this one was of the Eiffel Tower, which is already beautiful, but I think adding some kid art on top gives it an extra punch and makes it look less like a print I bought at some random shop. Wouldn't you agree? I have a few more instant art projects that can help fill your summer and your walls. Stay tuned.
Watercolors and colored tape were purchased from the Target Kid Made Modern line. You better stock up while supplies last!
May 18, 2012
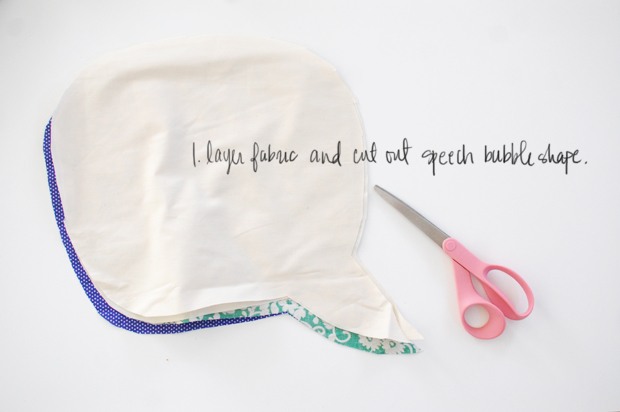
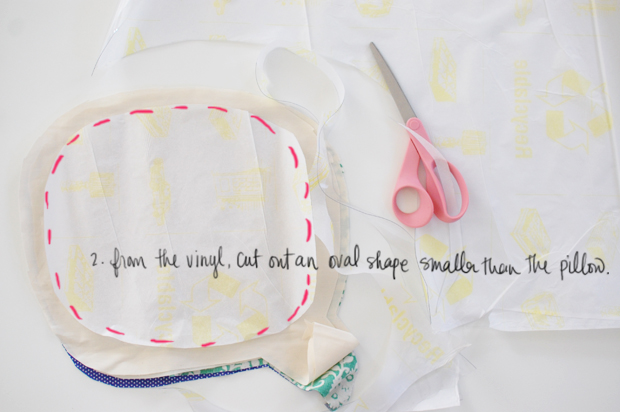
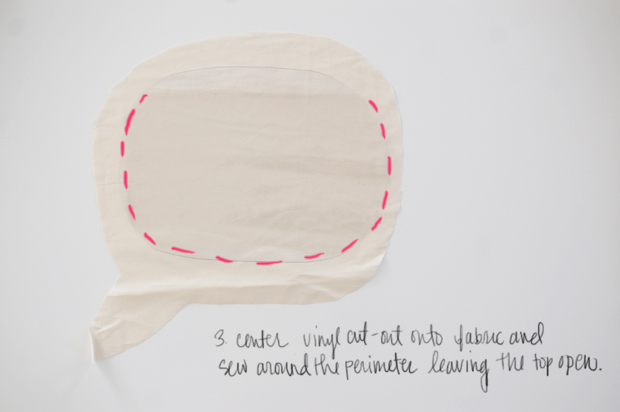
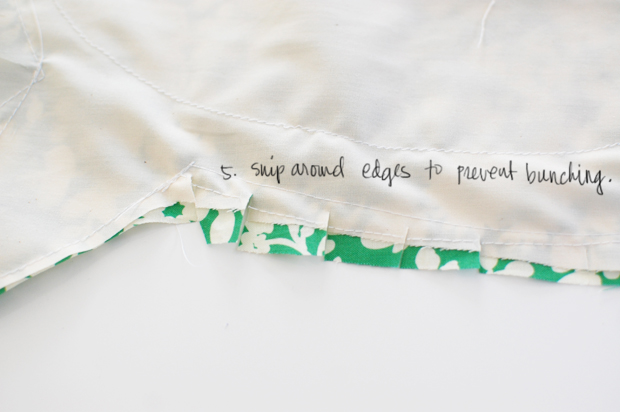
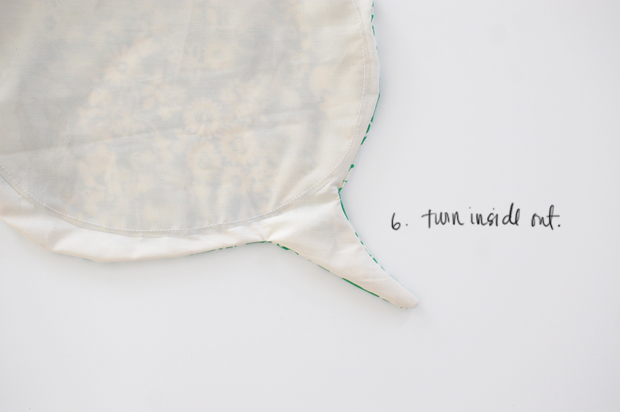
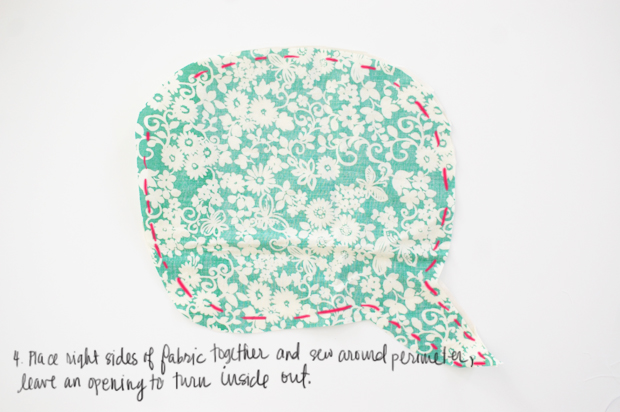
DIY: SPEECH BUBBLE PILLOWS
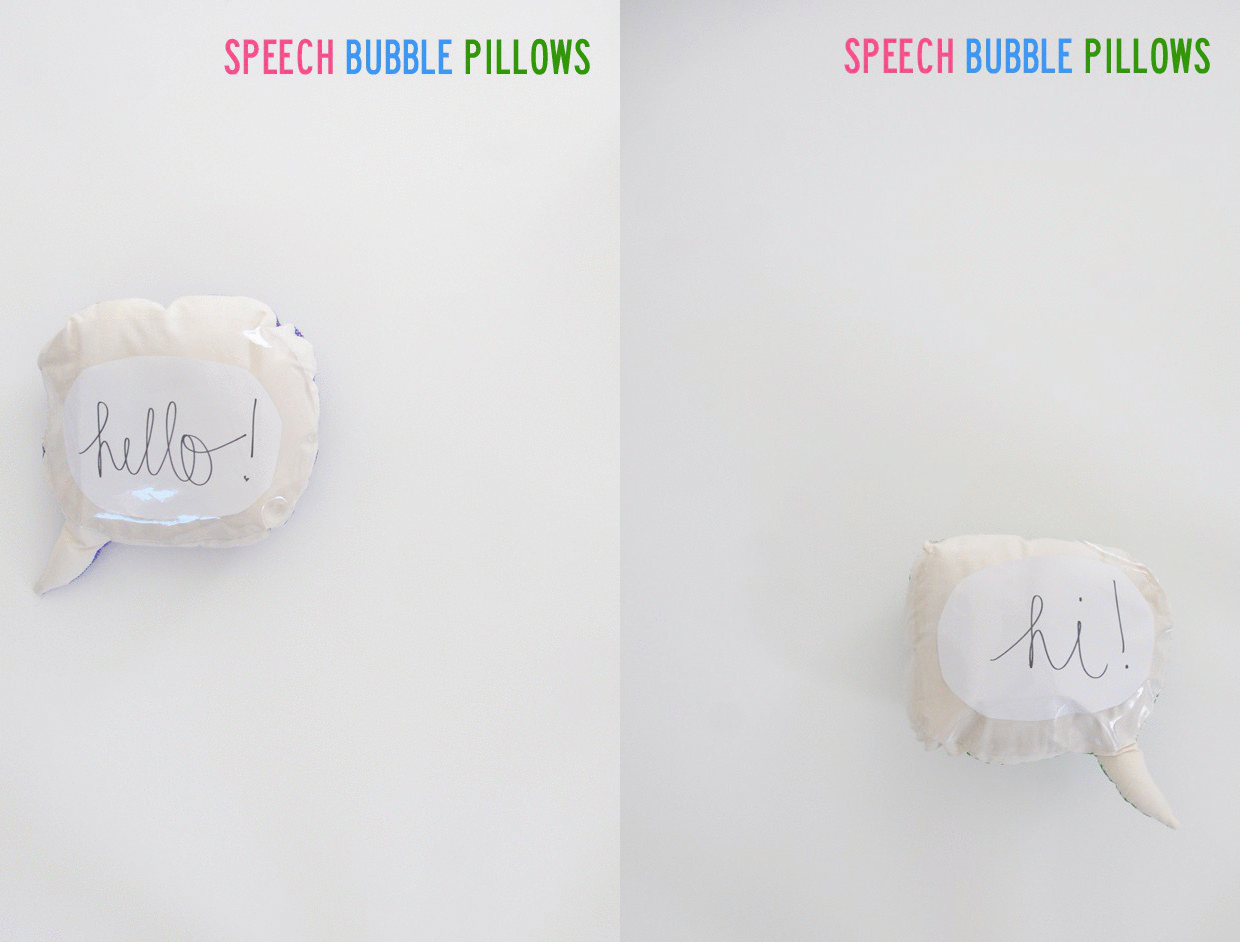
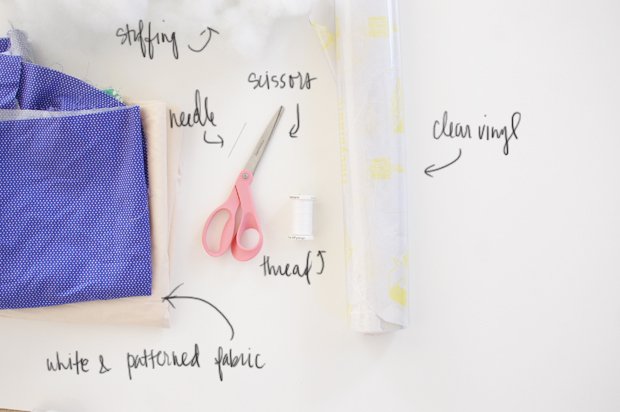
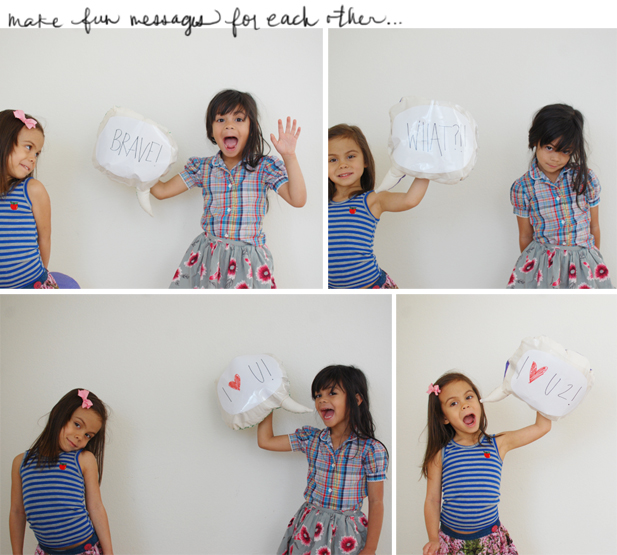
We've been reading a lot of comics over here lately and their current favorite is Moomin, so this little project is inspired by that. Make these big, make these small. Make one or make five. They're perfect for a little bed decoration or for some photo booth action, but I am not so sure they would be so comfy to lay on. I don't want my head lying on vinyl. These will be perfect for leaving sweet messages for your sweetheart or little sweethearts. Heck, mad messages too! Whatever gets the point across. One thing's for sure though, there sure are lots of fun to be had with these pillows!
Can repin the project (or past projects) from here. My speech bubble would say... "I'm so glad it's Friday!!!" How about you?
p.s. you can find vinyl in the upholstery/home decor fabric section of your fabric store and pick the softest one.
May 10, 2012
DIY: SWEET BIRD HANGING
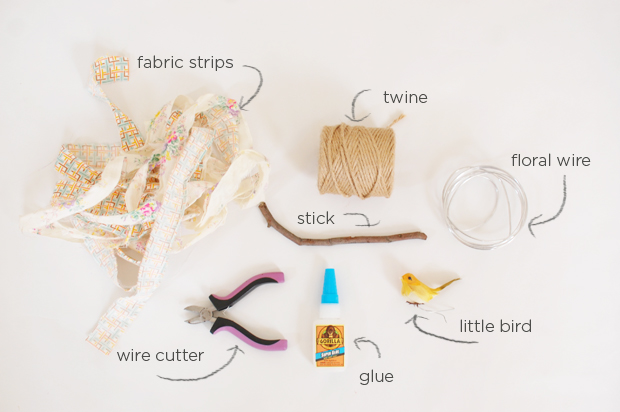
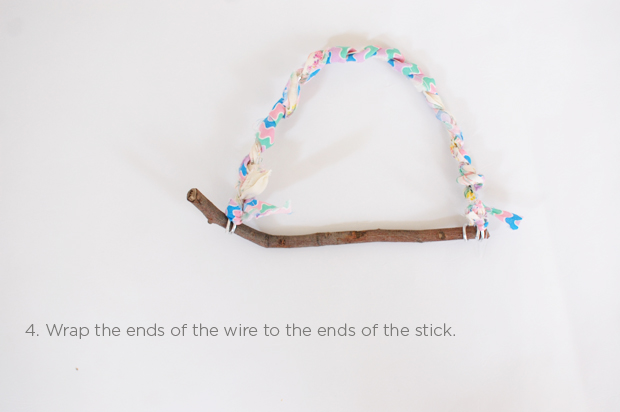
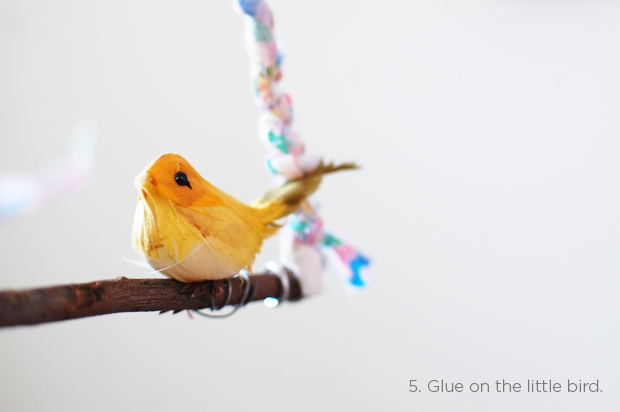
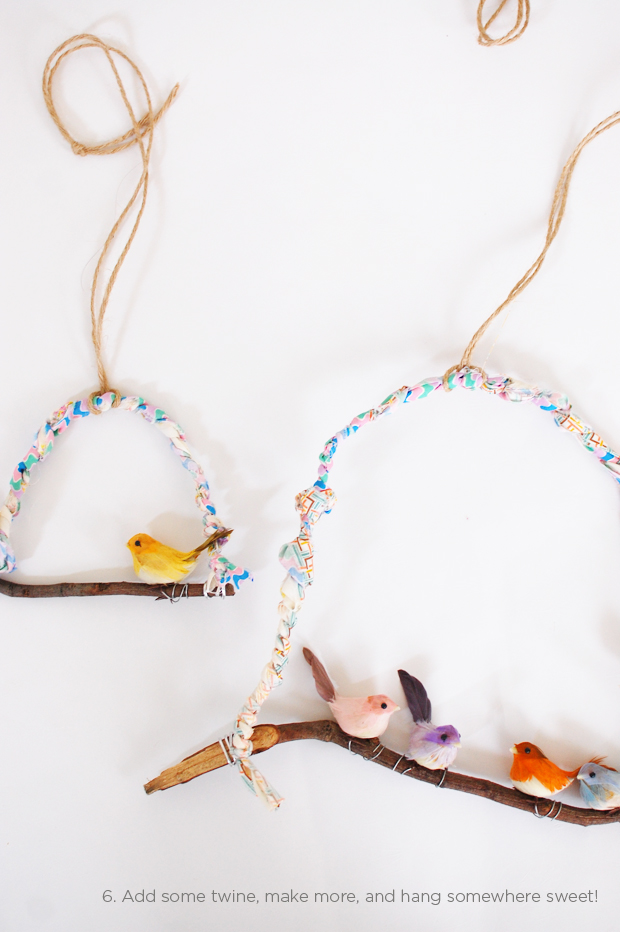
This is another quickie afternoon project to do with the kids (inspired by this bird hanging), using things you probably already have lying around your house. I had a box of little vintage birdies, but you can get some cute ones at your local craft store. I didn't give out exact measurements because it will differ depending on the size of your stick and how big you want your arch. Also, I used gorilla glue to attach my bird, but the birds also had some wires on the bottom that we just wrapped around the stick. I think the a hot glue gun would work just as well, maybe even better. It's just I found the cord of mine cut right when I was gathering materials (it was one of the girls, but no one has fessed up).
This is perfect for a little reading corner, hanging over a bed, or in a baby nursery. Don't all the birdies look so sweet hanging out together?! We haven't decided where to hang these up just yet, but no matter where they go, they will definitely look sweet.
Follow Cakies on pinterest here and you're able to repin any of my diy's.
May 8, 2012
CAKIES ON A BEAUTIFUL MESS
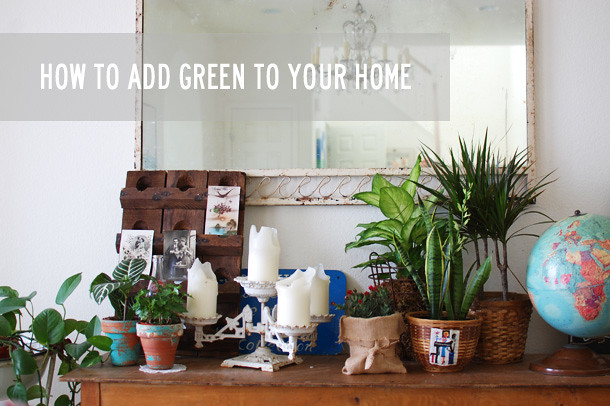
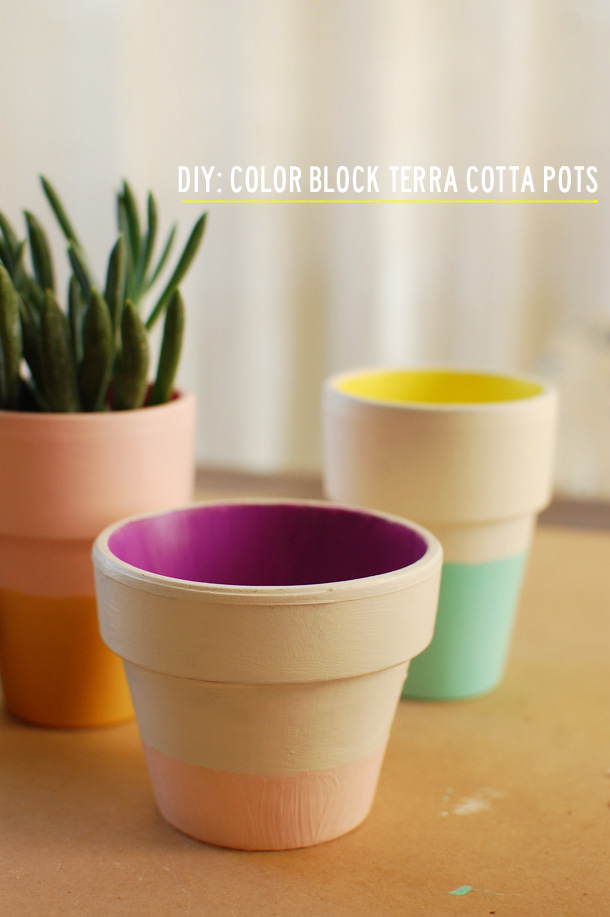
I am excited to be a new contributor on the A Beautiful Mess blog. Elsie & Emma always have tons of stuff going on from foodie things to DIY's to vintage-y things and I am glad to be a part of it. My first posts are all about greenifying your home. I am all about plants. Love them inside (and out) and they are good for cleaning air, so I was glad to share my little bit of knowledge with the ABM readers.
I am sure you have heard of A Beautiful Mess, but if you haven't, be sure to check it out. If you are a newbie crafter or an experienced one, there is something for everyone there.
April 19, 2012
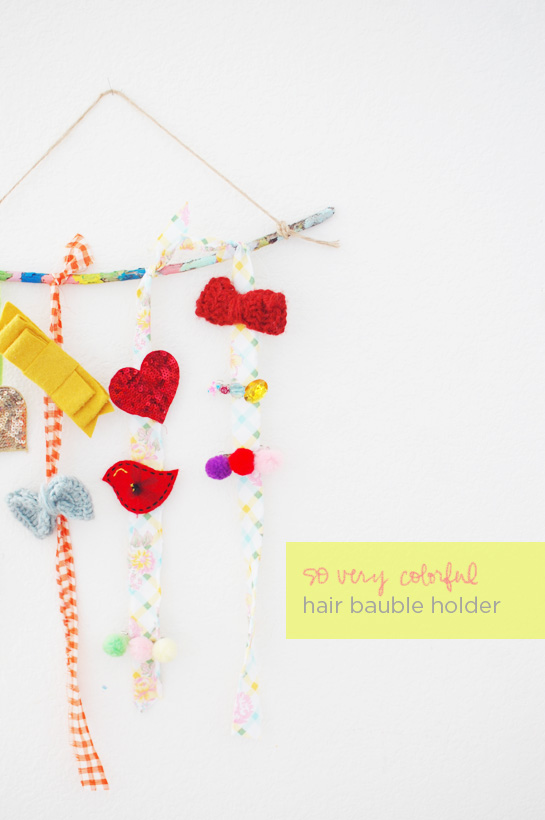
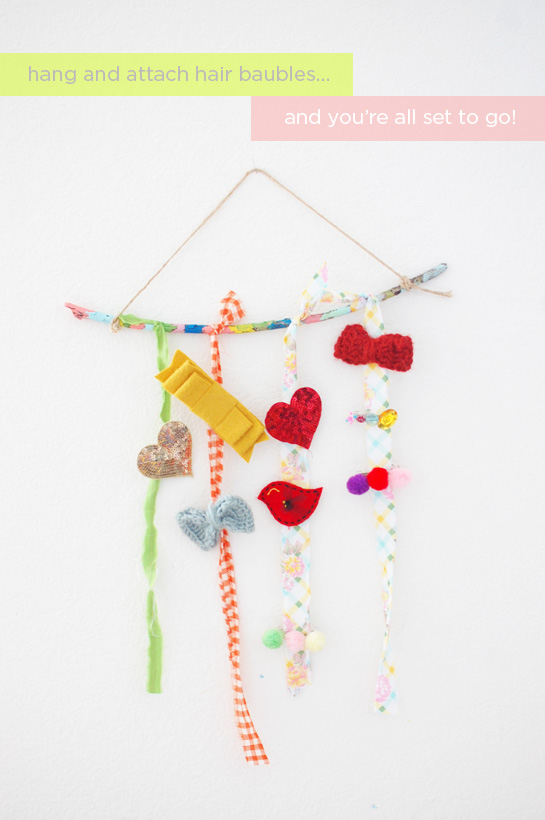
DIY: SO VERY COLORFUL HAIR CLIP HOLDER
First off, I apologize to those of you who have boys that things here are always so girly. I have four girls, so girly stuff is what goes around all day, everyday for me. Promise to have some projects soon that will be more gender friendly.
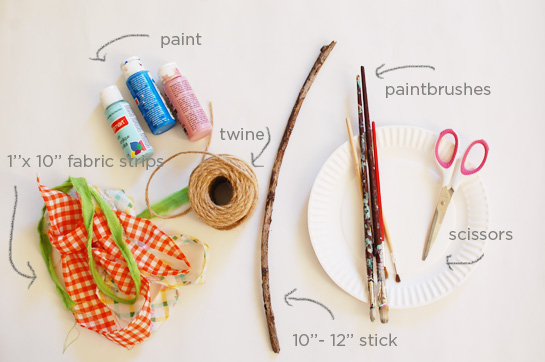
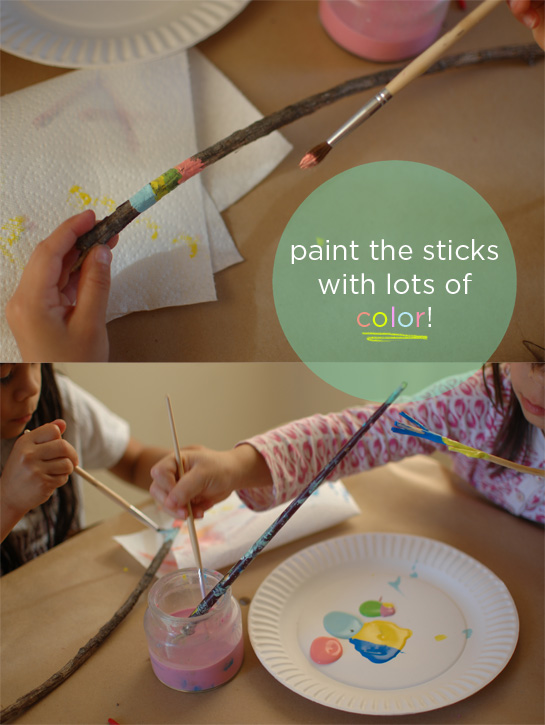
Back to the project at hand... my girls are always losing their hair clips and I am find them in the nooks and crannies all over the house. There really isn't a designated space for them, so I can understand why they can get lost. My motto is as long as everything has a place, the easier it is to clean up. I decided then that their hair baubles needed a place and this is what we came up with. The girls chose which fabrics they wanted, painted their sticks, and just like that they had something to hold all their hair pretties in one place.
The photos for this project are all pinned here, so if you want to repin, you can do so. Happy Thursday everyone! I have tons of stuff to do today. Wish me luck...
Subscribe to:
Posts (Atom)