Showing posts with label crafting. Show all posts

January 20, 2012

OUR HANDMADE CHRISTMAS GIFTS

Yes, I am really going all the way back to Christmas. It seems like so long ago now, doesn't it?! Next thing you know, it will be Christmas again!

This past Christmas, Ben and I decided it would be fun to make each other's gift. We wanted to make this a bit more interesting, so we wanted to compile a list of up to 10 things that we could use to make the gift. We were going to come up with the list ourselves, but thought we might be too biased with the materials we are familiar with, so we sought help from the the most creative duo out there... Shauna & Stephen from Something's Hiding In Here. Anything those two come up with is pure genius, so we know by asking them, we were sure in for a challenge.

These are the ten items they came up: old book, kids' painting, well-worn shirt, paint, reclaimed wood, glass jar, recycled leather, something from nature, photograph, and wire.

We also added one little bonus called "a secret ingredient" that meant we could use an additional item of our choice. All ten items didn't have to be used in the gift either. We were both excited about the challenge, but were both so nervous cause we really wanted to make something special for the other.

Here is my gift to Ben...
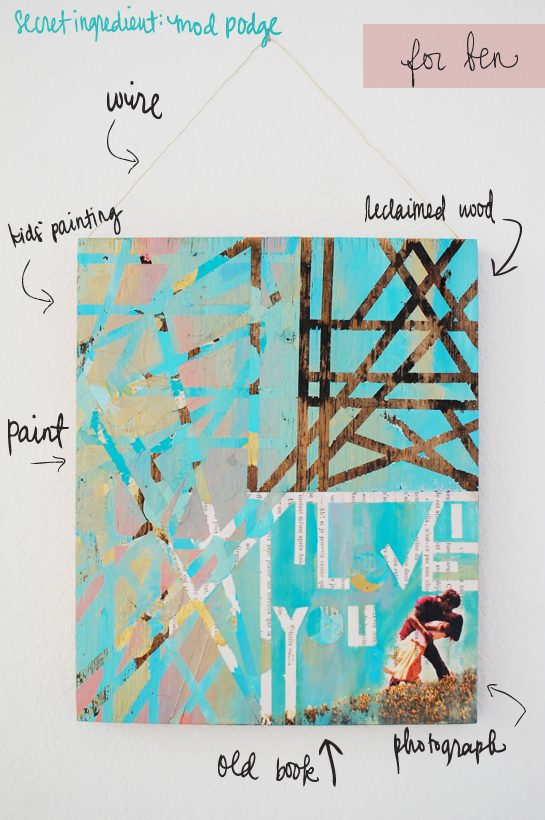
our handmade christmas giftsour handmade christmas gifts
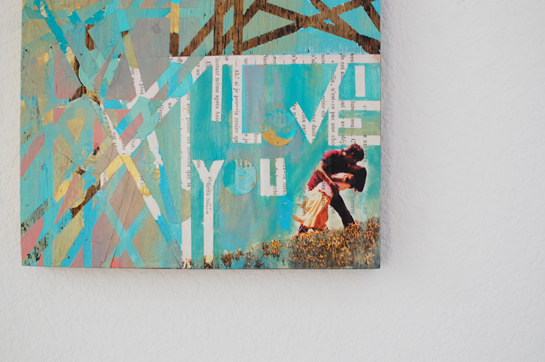
I wanted to give Ben something that had a little message on it and this is what I came up with. The reclaimed lumber was purchased on etsy because I don't have the time to go looking for reclaimed wood with 4 girls in tow. The old book page was from a vintage book we already had. The photo was printed onto the book page and was taken at our engagement shoot by David Jay. The kids painted some other old book pages and those are layered under the painting to give it some texture. They also painted the left side of the piece. In total, I used 6 out of the 10 ingredients. Plus, my "secret ingredient" of mod podge to get the book page onto the wood.

I really do love Ben very much and wanted him to know so!

Now, Ben's gift to me made my jaw drop. His gift was so darn creative that I was just in awe the moment I saw it (he gave me his gift first that I wanted to hide the gift I made him because his was just so cool!)...
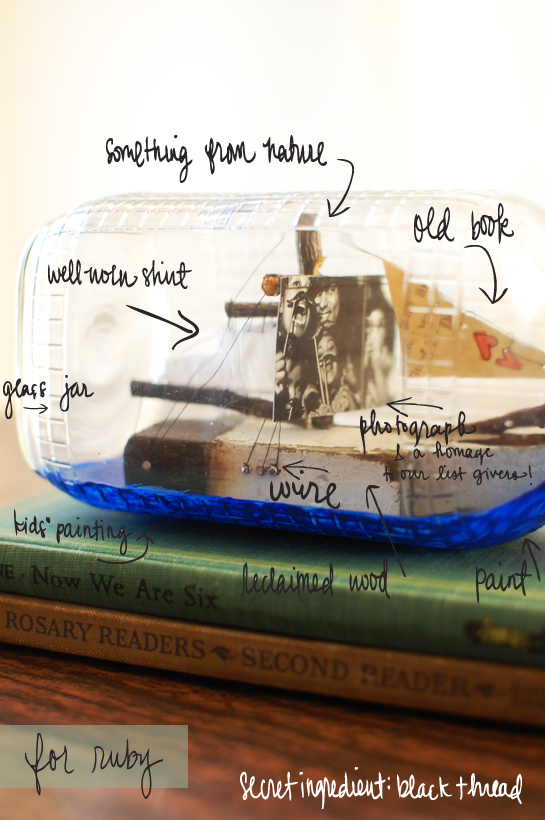
our handmade christmas gifts
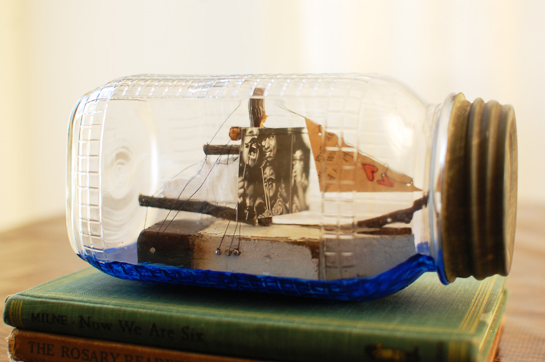
Seriously?!! A ship in a bottle?!! Using 9 out of the 10 things on our list?!! Dude has got some talent!

He found the glass jar at an antique shop and it had to be the perfect size for his ship. The kids' painting and paint was the blue for the ocean. The ship base was a piece of reclaimed wood from some vintage moulding. The wire he used was cut from hangers. Wow! I wouldn't have thought of that! His something from nature item were the little sticks from a tree in our front yard that make up the mast of the ship. He used a scrap from an old t-shirt of his for the one of the sails, a little piece of an old book page (that was leftover from this v-day present) for the front sail, and a photograph, along with a homage to the list givers (their mustache on a sticks were used in the picture), for the middle sail and his secret ingredient was black thread to hold up all the sails!
our handmade christmas gifts
I was floored by the amazingness of his creation. I kept staring and staring and it (and still like to stare at it!). It can even fold flat to come out of the bottle and be put back in. I am in complete wow and love it so much!!!
our handmade christmas gifts
Both our gifts are near each other displayed in our home. I even put little lights behind the bottle so it gives it a little twinkle at night. I really loved coming up with something for Ben and I love seeing how he used his creativity for me. Giving handmade gifts are the best and we may just make this a new tradition every Christmas! Maybe we'll ask a different couple each year to come up with a list. I would love to have a nice collection of handmade Christmas gifts for each other!

Thanks Shauna & Stephen, your list was pure genius and it was super fun for us to make something for each other using it!!! You guys seriously rock!!!

November 30, 2011

SWEET DOLLIES

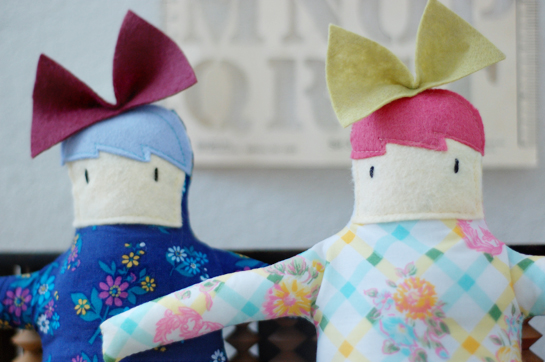
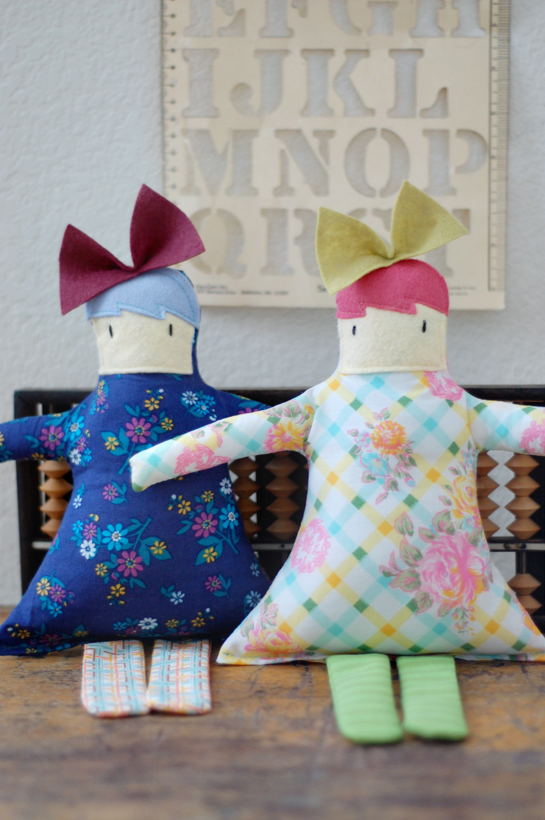
There isn't much time these days to sew, but I did manage to get some in while True was at school, Soul and Glow were napping, and Brave was occupied with Charlotte's Web. Two of these dollies are making a little trip north to this house just in time for Christmas and one is going to be gifted to Soulie for her birthday. My baby turns two this Saturday!
sewn dolliessewn dollies
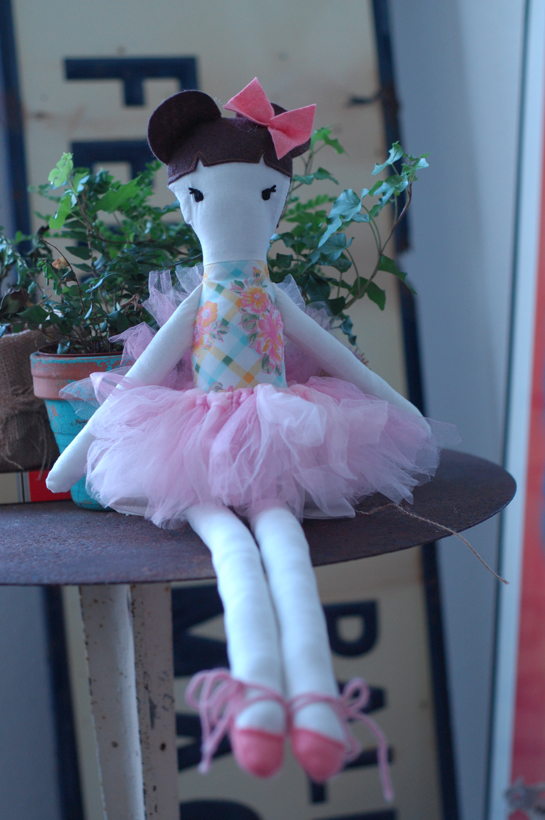
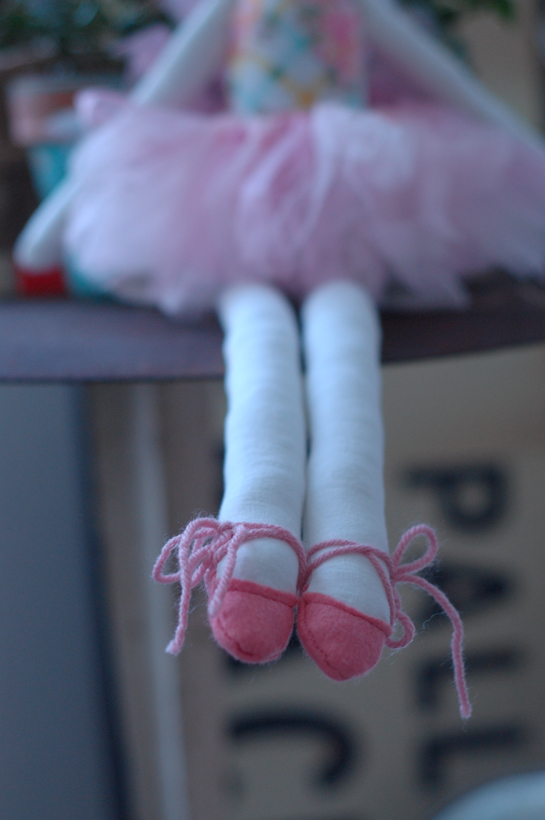
These two dollies are a new little twist on my Lela doll, which I made many moons ago. Then the ballerina doll below is fashioned after the ballerina one I made for True awhile ago too. I did change things up slightly with my favorite part being her ballet shoe laces.
sewn ballerina dollysewn ballerina dolly
I must admit having four girls is a whole lot of fun when it comes to crafting and sewing. That is what got me sewing in the first place. After I had True, all I wanted to do was sew her dresses and skirts and ever since then my sewing machine has been busy!

August 21, 2011

handmade bunting

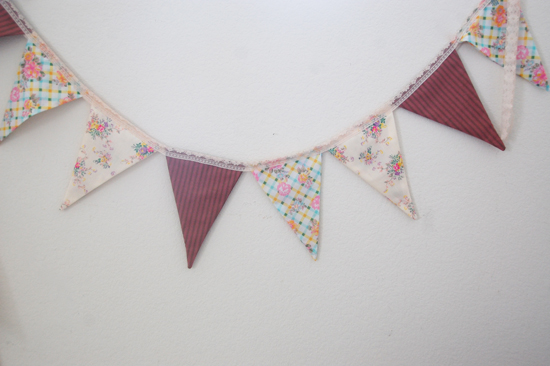
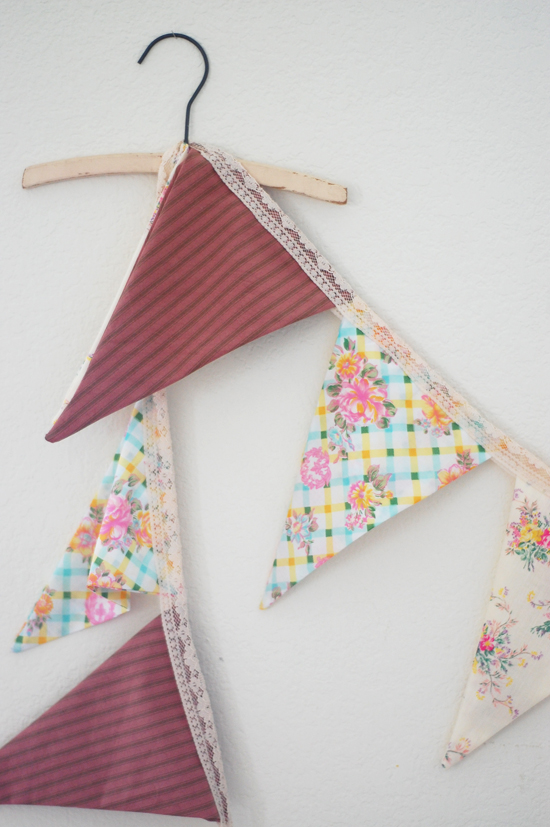
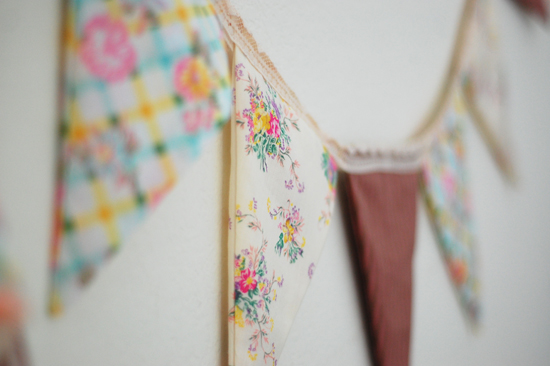
A friend of mine is due with her first child, a girl, 2 days after me (she is dying to know what I am having!) and she needed a little bunting for the little peanut's (that's what they call the baby) room. I happily obliged to make her one and I hope she likes the way it turned out!
girly buntinggirly buntinggirly bunting
School starts tomorrow and I wish I had more of the house clean before this new chapter begins, but whatever... the show must go on! I will officially have a kindergartener! Eeks!!!
This space is about to enter a whole new dimension now that our home is about to turn into a homeschool zone. I can't wait to see how this all turns out and document and share our journey with you all here. Thanks for always being so interested (and sending encouragements) in our little part of the world!

June 9, 2011

painting and an uh-oh!

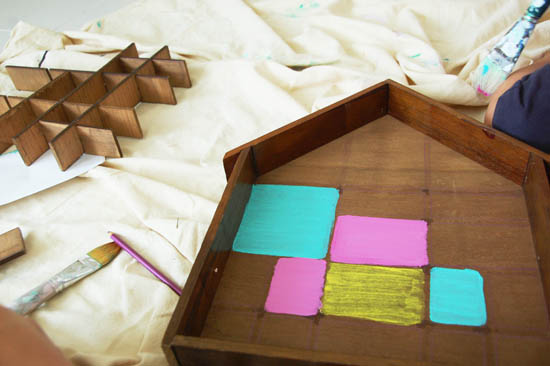
Ever since I laid eyes on this picture that had a dollhouse shadow box from ferm living, I wanted one for the girls so bad. True and Brave have become little collectors (rocks, sticks, wooden dolls, little drawn people) that I thought it would be fun to have something to display it all in. I finally found one on ebay that I thought would do and got it straightaway! Well, I did have to bid and wait.
dollhouse shadow box
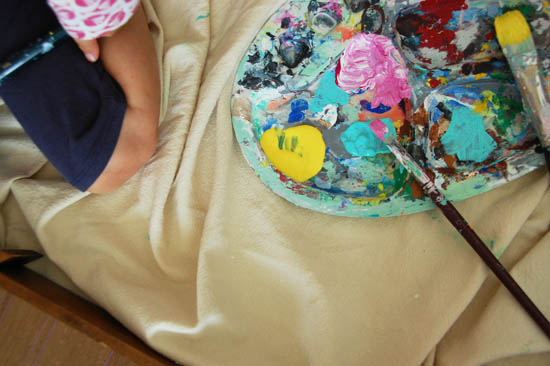
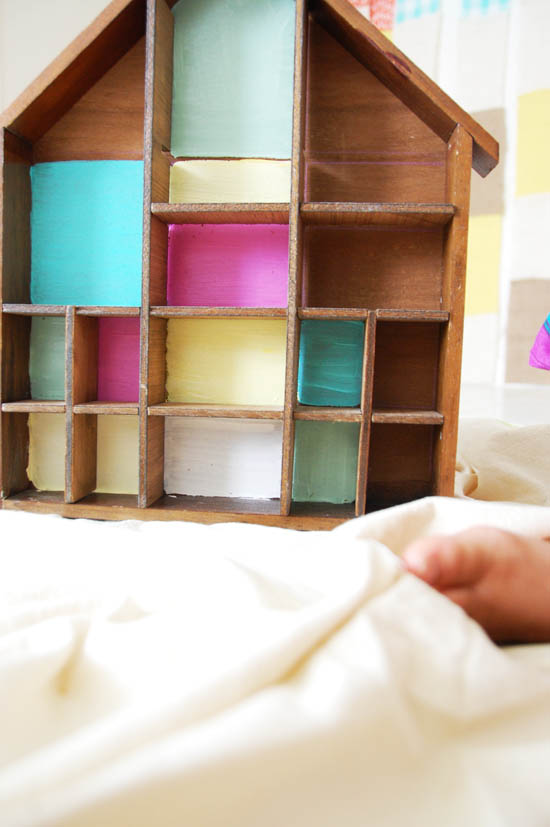
It finally came in and we got painting. I thought it was going on a white wall, so I thought a more colorful inside was in order. I did the painting and they kind of watched because I don't think they would have been able to stay within the lines for this one.
dollhouse shadow boxdollhouse shadow boxdollhouse shadow box
Everything was done and I was rinsing my paint brushes when I went back to look at the finished product just as Brave was running away. It turns out she was fleeing the scene of the crime! She had taken a paper and used it as a brush smearing colors around. Oh my! Let's just say, I was not the happiest of campers.
dollhouse shadow boxdollhouse shadow box
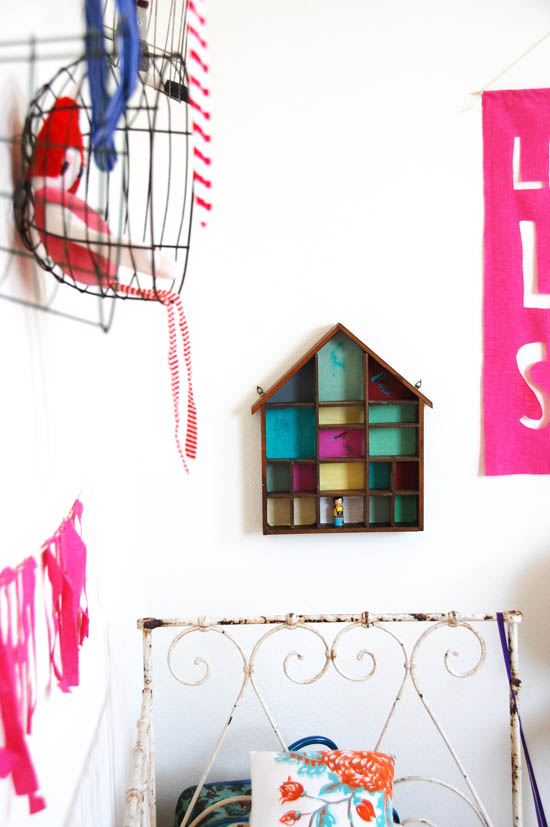
Up it still did go on the wall, but it will be repainted soon. I am not sure if I am going to paint the whole box white and have colors on the inside or just paint the inside all one color, maybe even add some vintage wallpaper. The mess up may have a been a good thing, cause I am not sure I am liking it, but at least for now, it works for us!

Little did I know, that you could actually order the dollhouse shadowbox from ferm living as well (just discovered it as I was linking up to their site as I have never really look at their store before)! I totally thought it was just a prop on the wall to help advertise their wallpaper, so if you aren't the crafty type and just want one, you can buy theirs!

Ever have a project you were almost done with and had someone do an uh-oh on it too? Oh man.

May 9, 2011

color my summer: red

color my summer: red
It's Monday and I am starting off this week with a little fun project! This project is part of a colorful series called "Color My Summer" over at Kojo Designs.

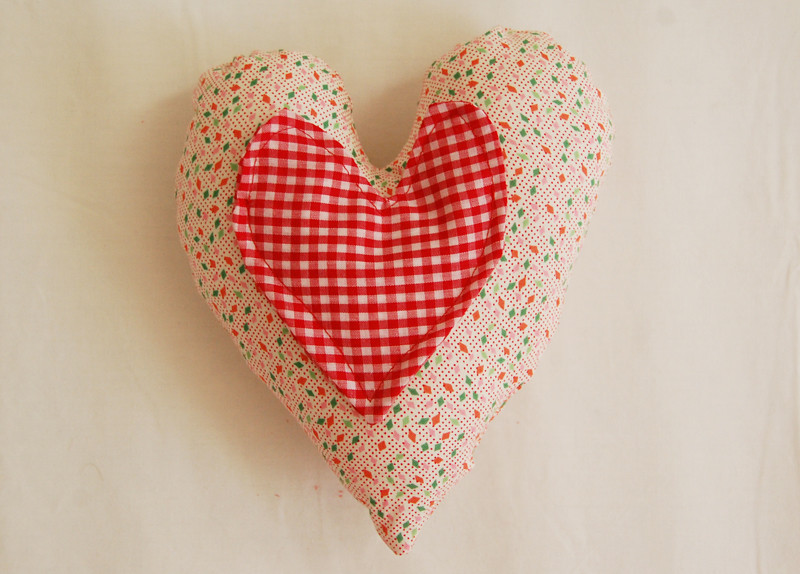
Now, my little girls are some of the girliest around! There are two colors that dominate everything they love... red & pink. Today, let's focus on the red. True and Brave also have two things they love to draw the most 1) their family 2) hearts. What little girl doesn't love doodling hearts all day long?!! Thus, I combined their love for hearts and red and came up with the "hidden in my heart" pillow.
color my summer: redcolor my summer: redcolor my summer: red
The pillow is basically a heart with an added little heart pocket (or something else you may fancy as I used a little vintage embroidered doily for one of them) in the front.
color my summer: red
Between little trinkets they collect, little drawings they make, or their favorite polaroids, they needed a little something to keep their special little treasures together. This little pillow is perfect for holding those little treasures, which sometimes revolve daily, and is also perfect for hugging their treasures when they go to sleep. Maybe if your kids are able to read, this is also the perfect spot to sneak them a little love note or treat.
color my summer: red
It is such an easy thing to make and I am sure most of you could figure it out just by looking at the finished pillow, but just in case, here is a step-by-step:

1. Cut out your hearts. Make sure you have two big heart pieces, which will make the pillow, and two little heart pieces, which will make the little pocket. There should be 4 pieces total.
hidden in my heart pillows


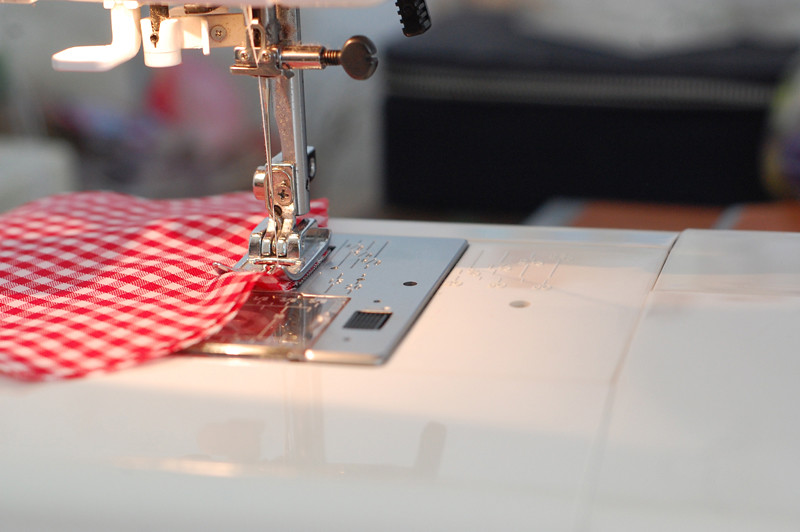
2. Make the heart pocket. Take your pieces for the pocket, place the right sides together and sew around the perimeter. Make sure to leave about a 1''-2'' opening so that you could turn the heart inside out.
hidden in my heart pillowshidden in my heart pillows


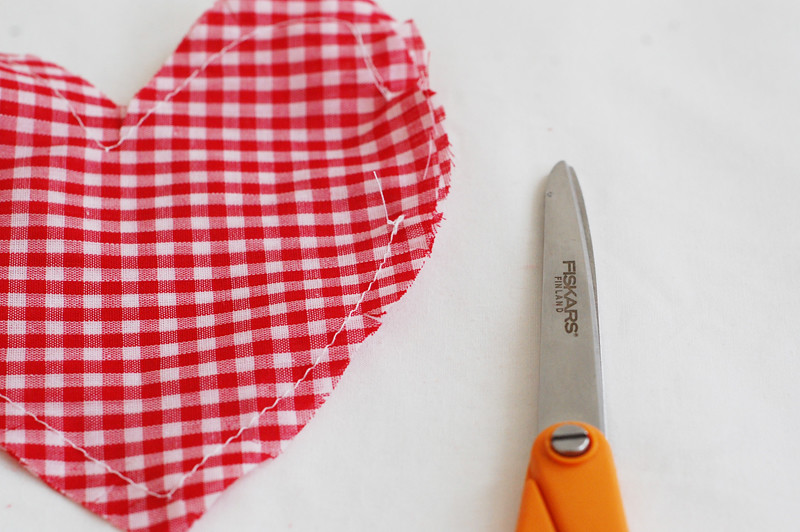
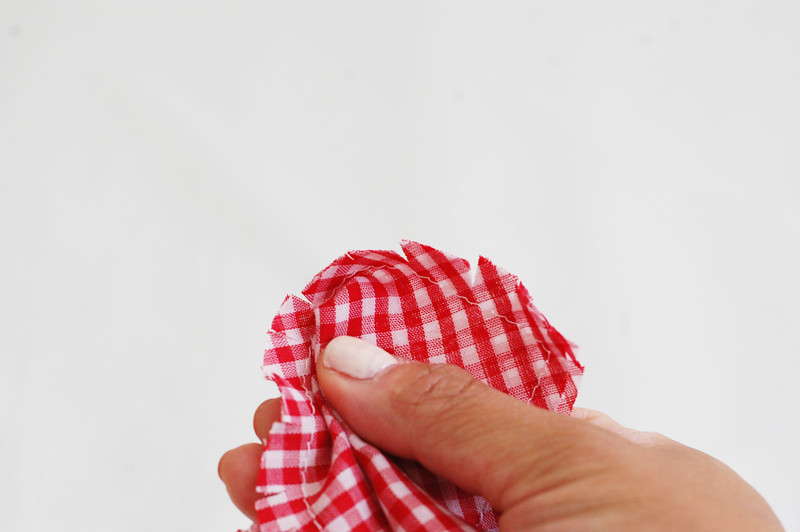
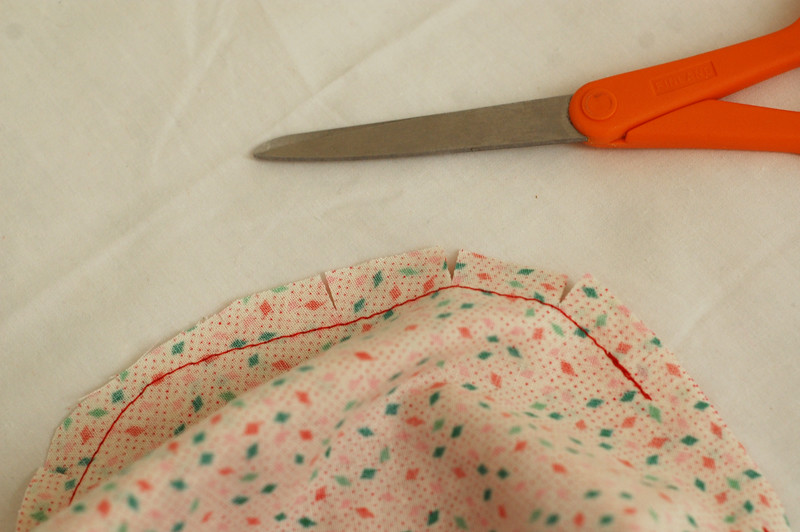
3. Cut slits around the heart to the stitching, about every 1/2''-1" apart. This will allow the heart to curve nicely and lessen the bunching.
hidden in my heart pillowshidden in my heart pillows


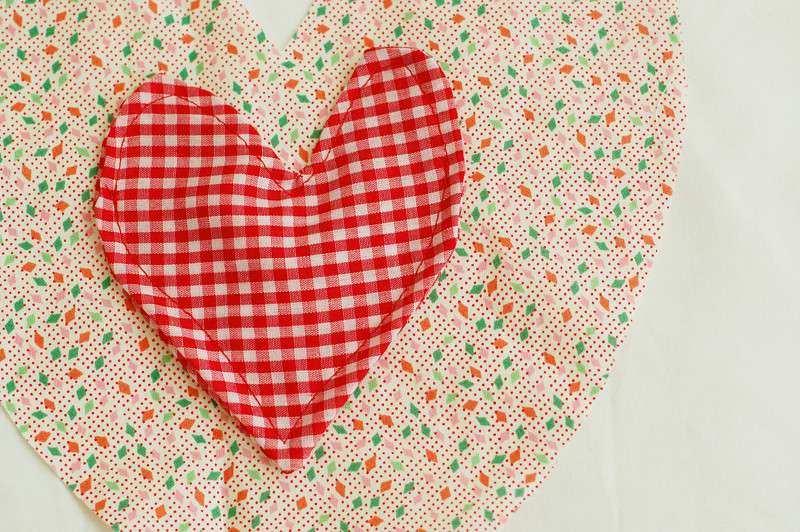
4. Turn pocket inside out. Place pocket in desired location on 1 of the big heart fabrics, pin in place, then sew only the bottom half of the pocket onto the fabric. There needs to be an opening at the top as this functions as a little pocket for hiding treasures. Note: You can topstitch the top of the pocket if you want to.
hidden in my heart pillowshidden in my heart pillows


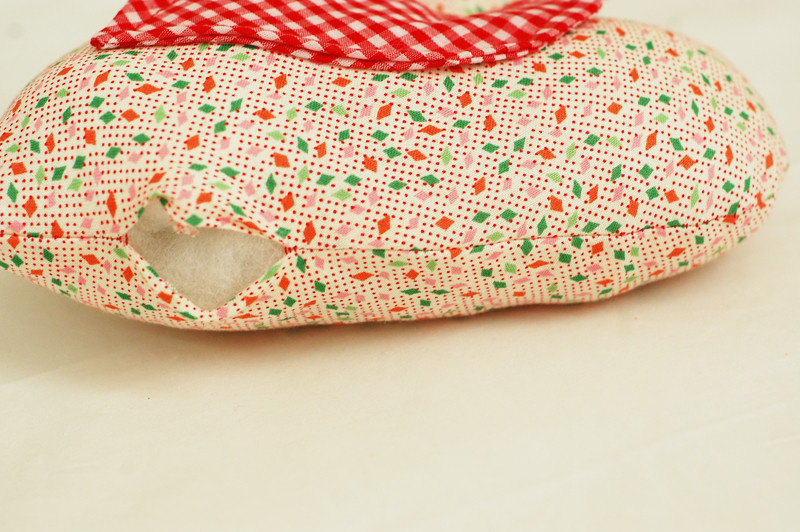
5. Place right sides of the big heart together and sew around the perimeter. Leave a 2''-3'' opening, so you can turn it inside out.
hidden in my heart pillows


6. Cut slits around the heart to the stitching, about every 1/2''-1" apart. This will allow the heart to curve nicely and lessen the bunching.
hidden in my heart pillows


7. Turn inside out and stuff pillow with poly-fil.
hidden in my heart pillows


8. Hand stitch the opening close, put some treasures in, and hug!
hidden in my heart pillows


Immediately, my girls started drawing little pictures and finding little trinkets to stuff in their pillows. Kids love pockets and hiding things, so this pillow is sure to be a welcomed treat!
color my summer: redcolor my summer: redcolor my summer: redcolor my summer
I am sure you could make a truck or bug shaped pillow with pockets for boys, or maybe they like hearts too (not really sure cause I don't have any boys), but this pillow can easily be adapted to any shape. One thing for sure is that all kids have treasures and they love having pockets to put them in!

Thank you Kristin and Jordan for letting me be part of your fun series! I seriously enjoyed it and my daughters reaped the benefits. If you haven't checked out the series, you can here, there are seriously loads of good stuff and you will definitely want to make this necklace!

Today is also the last day to vote for me in the Circle of Moms: Kids Style. If you voted once before, you can still vote again. If you care to, just click on the icon below and give me a thumbs up! Thank you very much in advance!!! I so appreciate all of you...

Happy Monday friends!!!

March 30, 2011

projects

I am knee deep in all sorts of house projects over here. My house hasn't really been cleaned or organized since December due to the holidays and the craziness of the first trimester, but now that all that is over (almost), I think nesting has officially begun.

It all started with the gardening. I just have a few other plants on my list to get, some seeds to sow, then get some mulch t0 add on top and I am kinda good. At least for the rest of the month. Then I moved on to tackling the different rooms downstairs, particularly the common areas. I have changed things so slightly, moved things around, and filled the rooms with more indoor plants.
painting
At the same time, the girls and I have been working on finishing this family painting that we started eons ago. We completed it yesterday, but I must say is definitely interesting to work on a large painting with kids. All Ben needs to do is hang it up! If it were up to me, I would just take a nail and hammer and hang it. Ben of course is much more efficient and makes sure things are put on as secure as possible, so I will have to wait until this weekend. After that, we will share it.

Any projects you are working on? Today is for cleaning up the mess I made redecorating and answering emails. If you are waiting for me, I will get back to you soon!

March 11, 2011

once upon a thread

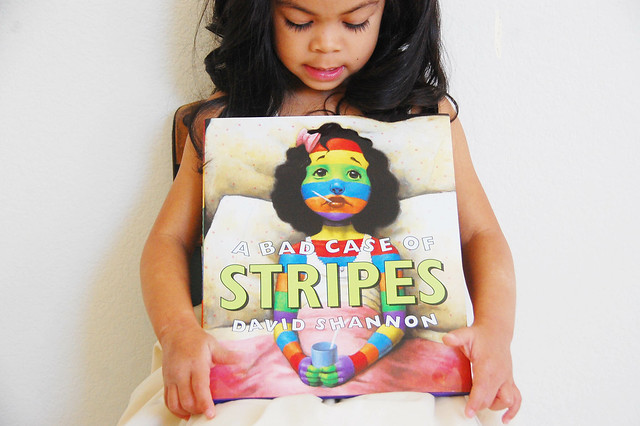
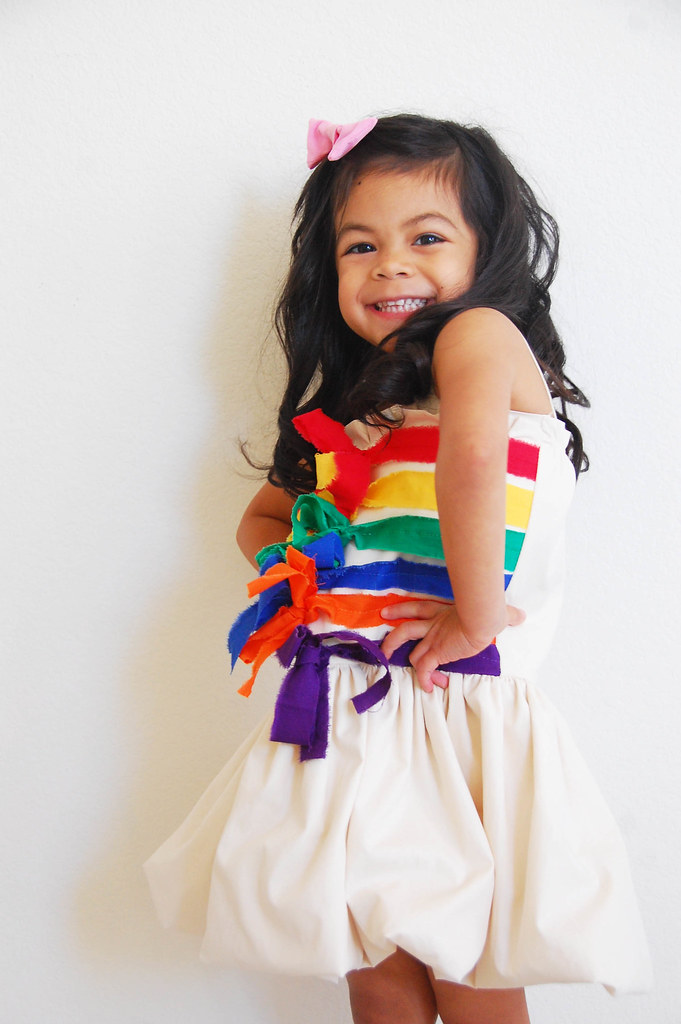
Katy is having a special series called "Once Upon a Thread." I am so excited to share one of our favorite stories, along with a special little handmade concoction inspired by the book. Our story of choice is A Bad Case of Stripes by David Shannon.
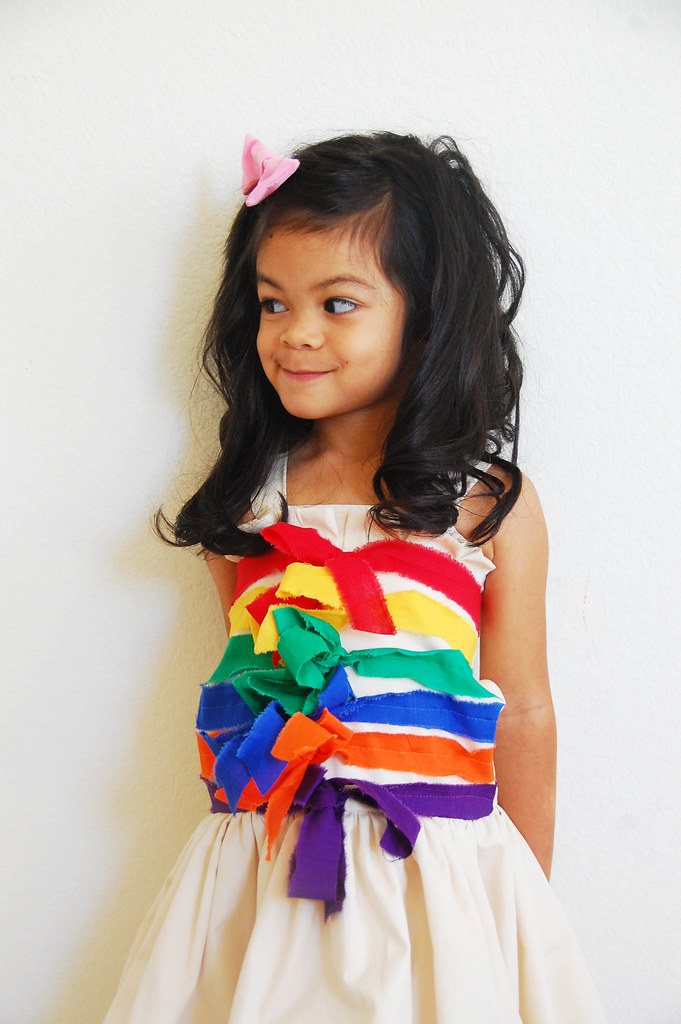
a bad case of stripes dress
In our house, we are all about eating healthy! Of course, we expose our kids to "sometimes foods" in moderation, but we make sure to feed the good stuff more! Lucky for us, they love eating fruits and veggies and we love eating fruits and veggies with them. We also love reading books about children who enjoy their fruits and vegetables too, so that is why this story means so much to us.

This story is all about Camilla Cream who denies her love for lima beans all because eating lima beans isn't the popular thing to do. As a result of her desire to conform, she breaks out in a bad case of the stripes. As time goes on, her desire to conform just keeps her horrid condition going as her body just continually adapts to her surroundings, until she is no longer recognizable. In the end, she learns to be true to herself and proudly proclaims her love for lima beans and goes her merry way eating them, no matter what the other kids say.
a bad case of stripes dress
To learn about more details of the dress or read the full post, see here.
a bad case of stripes dress
I think we can personally relate a lot to Camilla Cream. I often hear about a few people we know who don't exactly agree with our methods of raising our kids or have really strong opinions about the things we do in our home. Be it how we limit their consumption of "sometimes foods", how we dress them to our liking (the grandparents know they are free to wear cartoony clothes to sleep), or when it comes to our philosophy of toys. They say we're weird.

I think it is easy for some to form their opinions about what we do in our home because it is shared out here in the blog world. It happens and I am guilty of it too. When you put your life out there, there will be scrutiny. It is just inevitable. Otherwise, don't blog, right?! But really, it doesn't matter what they think cause we are just having a whole lot of fun being us! If we were just like them, or everyone was like each other, there would be no point to blog reading because we would all be doing the same thing. Sounds kinda boring to me!

Let's all just remember that kindness is still necessary and all things must always be done in love.

We had a stressful week in our home as Ben had a really busy week of work. This afternoon we will be able to breathe easy and I can start talking to my husband again. Yay! Have a good weekend friends and don't forget to come back tomorrow for a giveaway!!!

p.s. I am praying for God's protection over those who are affected by the earthquake in Japan.

February 10, 2011

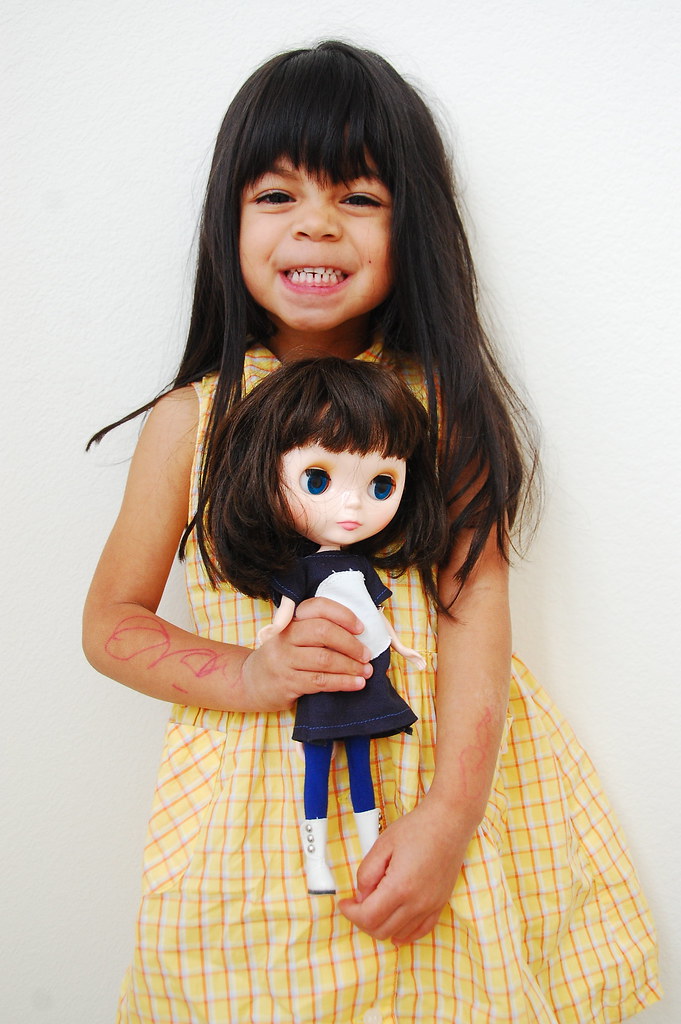
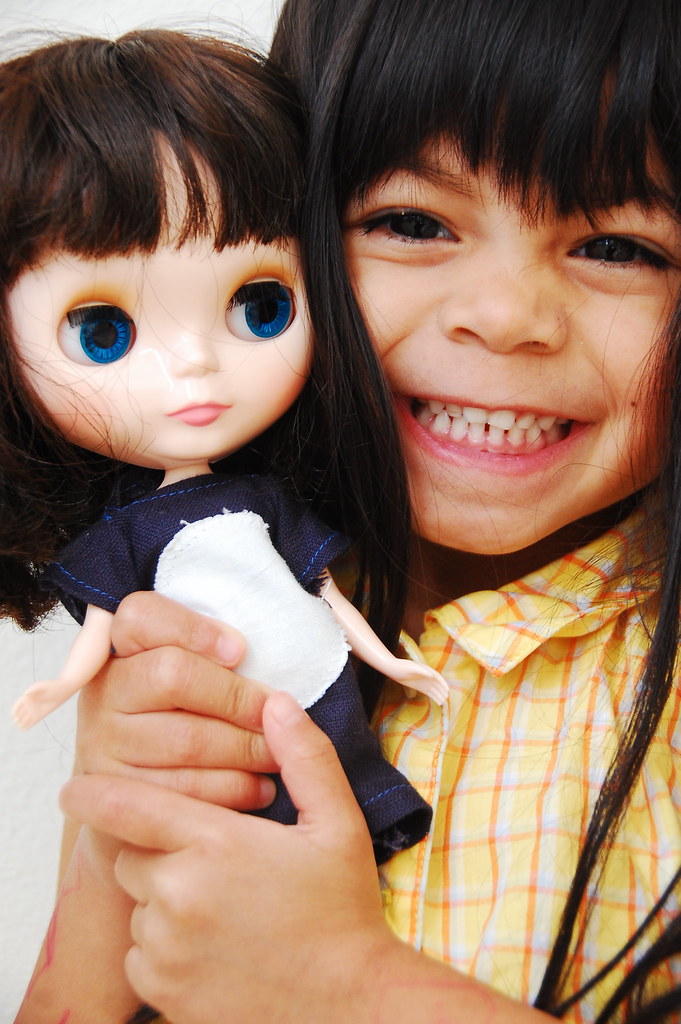
true and zooey (aka blythe)

Auntie Reinna gave both my big girls Blythe dolls for Christmas. They both instantly loved theirs, but True especially loves her because she thinks it is a Zooey Deschanel doll (she even leaves the green eyes on her cause that is like Zooey's)! Since the new video from She & Him came out, True has been constantly asking to watch it. It is cute because she will get her "Zooey" doll and make her dance and singalong with the video.

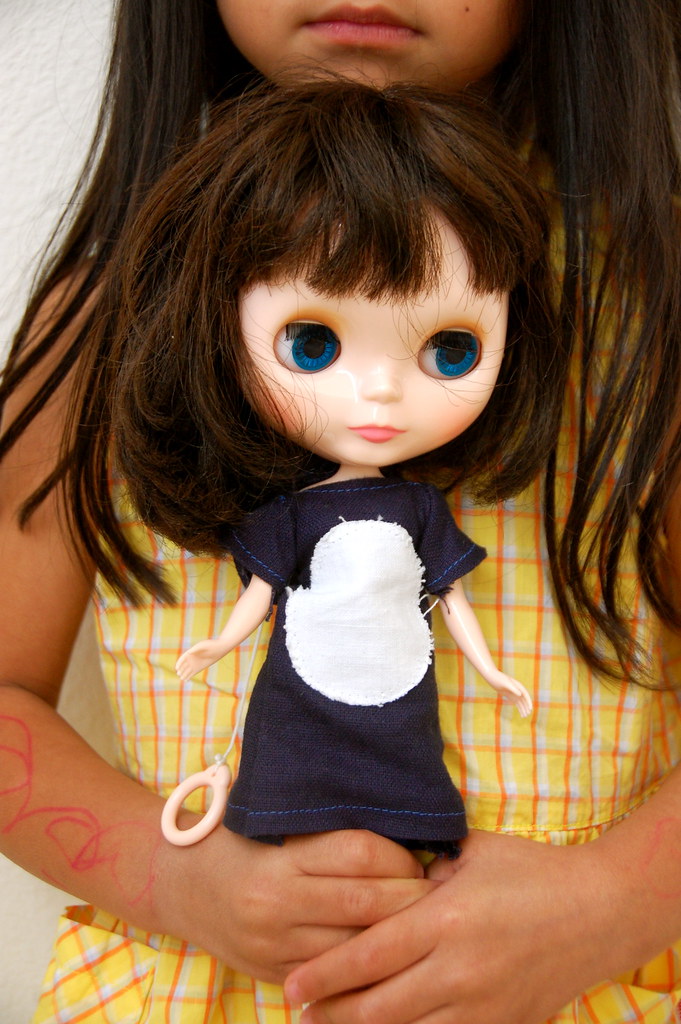
Therefore last week I thought it would be perfect if we crafted up a little dress just like the one Zooey wears in the video. True was very excited throughout the whole process, she kept telling me what it needed to look like!
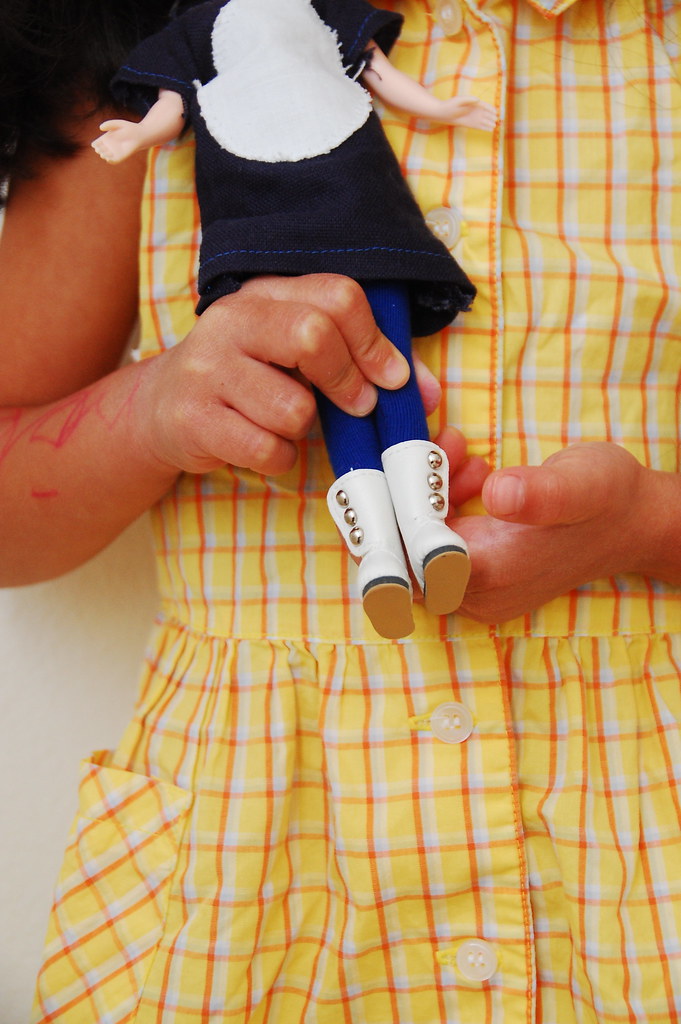
true and zooey (aka blythe)true and zooey (aka blythe)true and zooey (aka blythe)true and zooey (aka blythe)
I was a bit nervous sewing something so tiny, but it didn't turn out too bad. It was done rather quickly and with just the things I had on hand, so the sewing isn't great. I used a navy linen fabric rather than a royal blue one like in the video and I didn't realize until after that in the video it is more of a cream oval than a white one. The dress does the job and made True quite giddy, so that works for me.

I would eventually like to make a cleaner sewn version and in the right colors, but I will save that project for another day. After we were done sewing and watching the video again, we did track down some royal blue tights and white boots and got those to complete the whole outfit. You must see True watch the video as she sings along and her doll dances and sings along too. It is one of the cutest things ever!

Making more doll clothes are definitely in our future and thanks to Heather, I have a whole bunch of great patterns to use! And I really need to get on the doll clothes making cause it seems Brave has lost her blythe's clothes, so her doll isn't quite ready to make an appearance here just yet!

p.s. I think the doll kinda looks like True too!

January 12, 2011

quirky doll

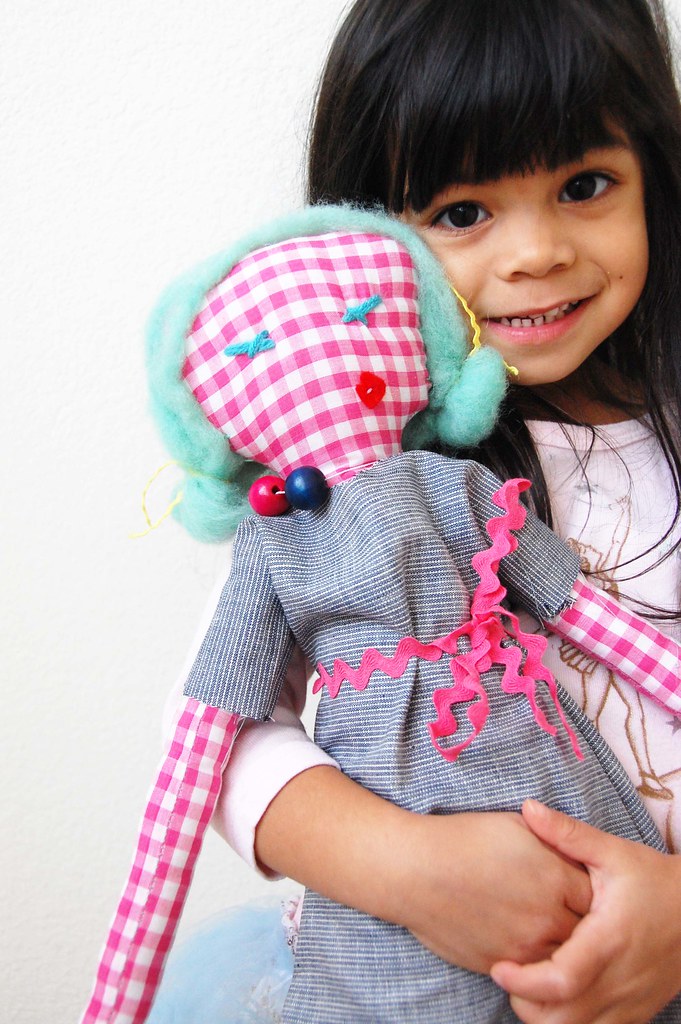
True is a little craft queen. Every afternoon, once her little sisters go to nap, she says, "Mommy, I am ready to do arts and crafts now!" Today's craft was making a quirky doll! I love quirky dolls!

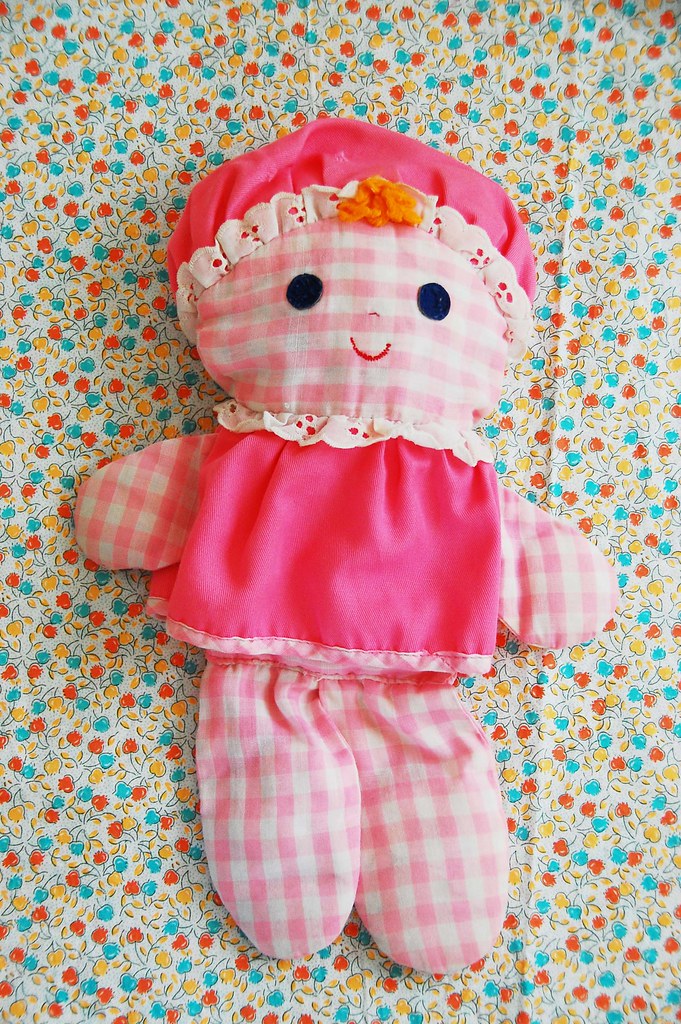
This is my little fisher price doll I had when I was a baby.
dolly making day
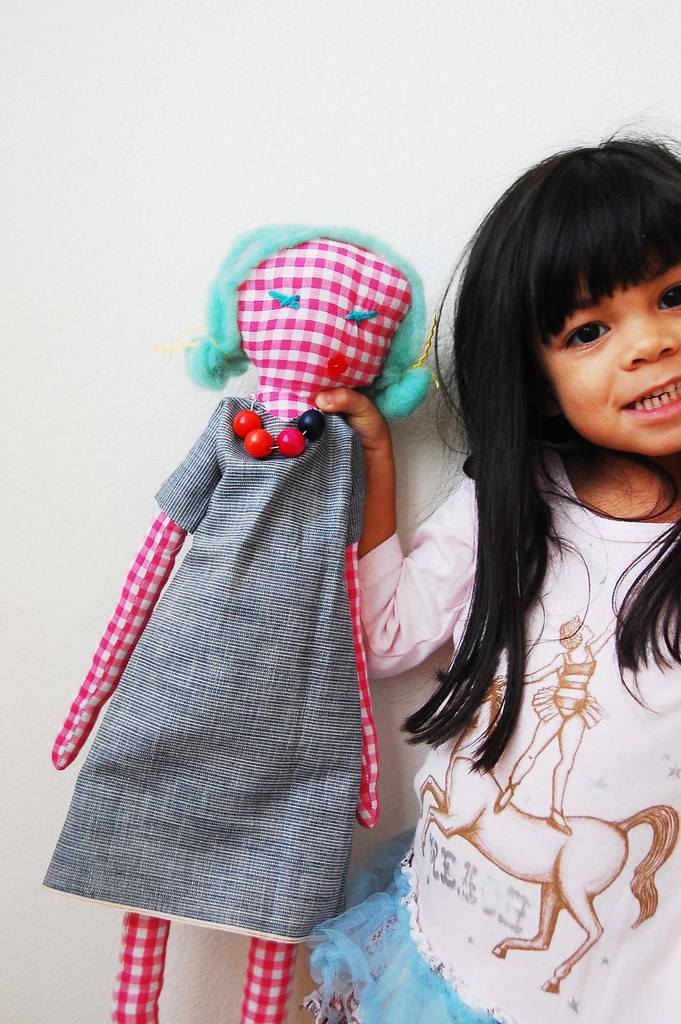
I had my mom drag it out of the garage, so I could give it to Soulie and I love the quirkiness of it so much, we made another inspired by it!

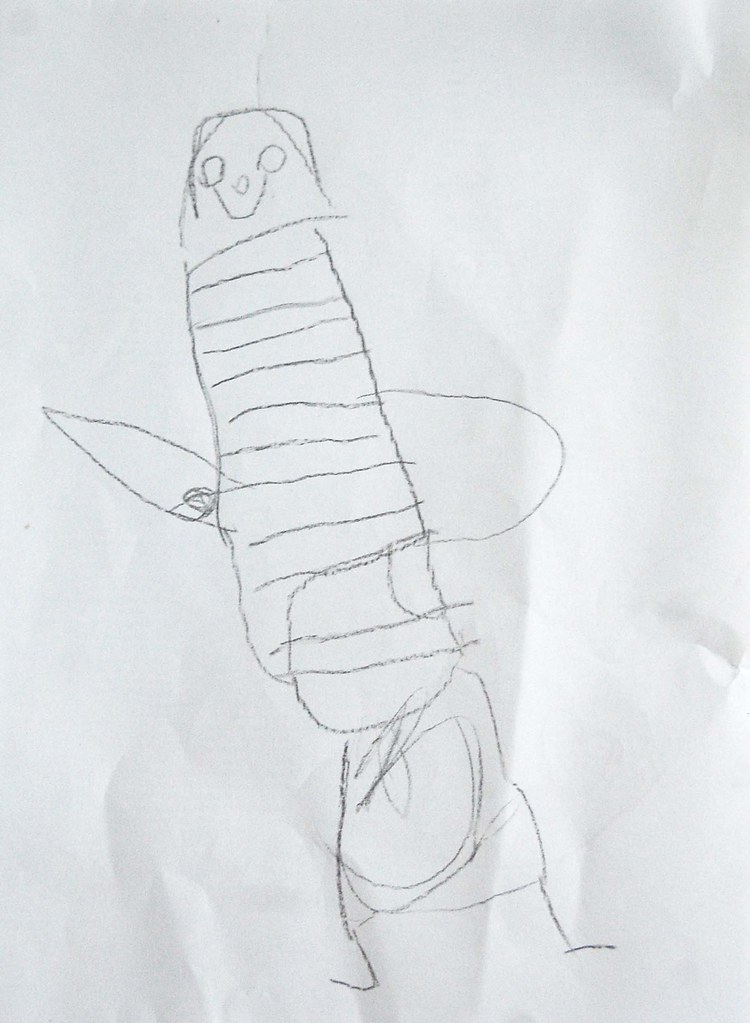
Before we started making our doll, I had True sketch out what she wanted it to look like. Okay, so we didn't follow her sketch exactly, but I think the main thing she wanted was a striped dress. At least, that's what it seemed like to me when she described it.
dolly making day
I had some black and white striped fabric, which I suggested to her for the dress, but she said "No, that's not right." She raided my fabric stash in search of something else, until she came across one she liked and exclaimed, "This is what I was thinking!"

Alrighty then, so we proceeded. I cut and sewed, she stuffed and found the trims she liked. It takes a bit more patience working with a 4 year old, but she did pretty well and she is a good stuffer!
dolly making day
dolly making daydolly making day
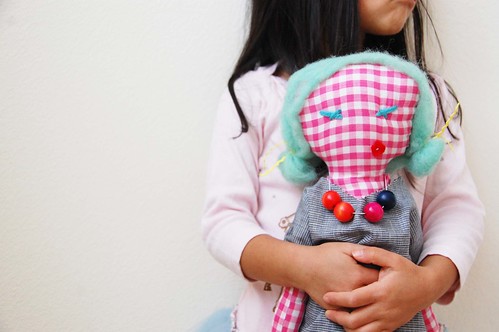
We used roving wool felt for the hair, yarn for the eyes, wool felt for the lips, gingham for the body, and pretty trim and fabric for the little dress and for prettifying! At the end, True even put together a little necklace, after which, she proudly said, "Done!"

I love doing things like this with my girls, though only thing that is not as fun is the clean up afterwards! Um... maybe that can wait another day. After all, tomorrow it will be time to make one just for Brave!

p.s. True named her doll Flower Garden. Yup. Mommy and Papi naming skills for sure!
Related Posts Plugin for WordPress, Blogger...