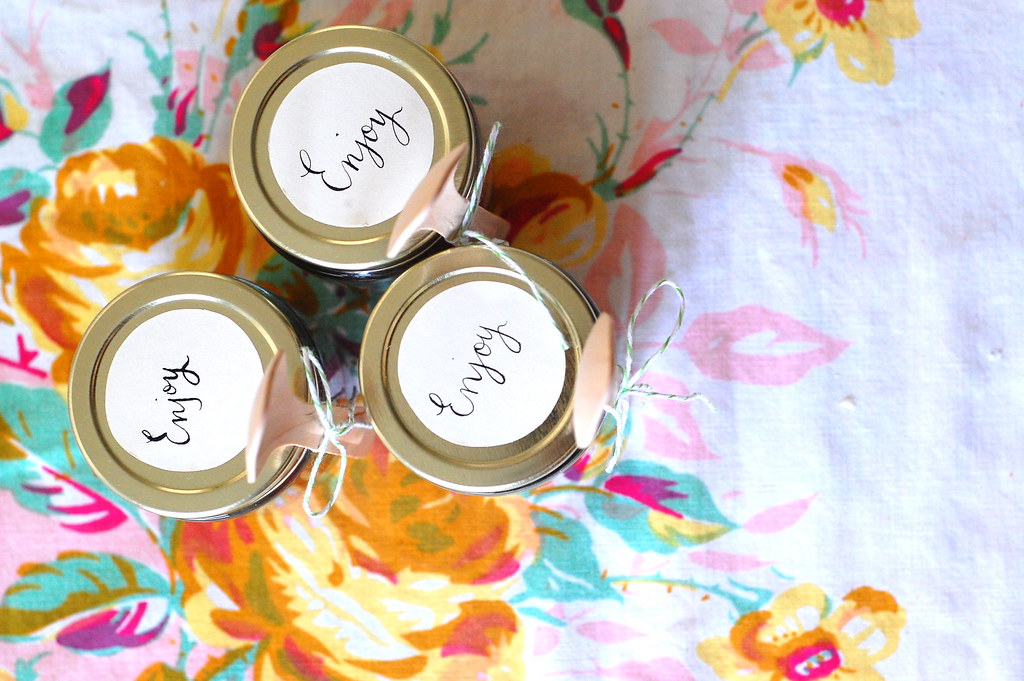
Going to the other side of the spectrum, from a vegetable garden to loaded with all things bad for you, but tastes so good cupcakes. You won't think I am such a genius anymore once I tell you how these are done. It really is easy and makes for such a visually appealing way to dress up cupcakes, not that cupcakes need to be dressed up as the name itself is cute and enticing!
I pretty much use
Paula Deen's recipe, but with a few of my own tiny tweeks to the ingredients (see*) and then I pretty much follow the directions in
Paula Deen's recipe to make the batter and frosting, though I change it up a bit (time in the oven) when it comes to baking it.
Ingredients:
- 2 1/2 cups all-purpose flour
- 1 1/2 cups sugar
- 1 tsp baking soda
- 1 tsp salt
- *2 1/4 tsp cocoa powder
- *1 1/2 cup canola oil
- 1 cup buttermilk, room temperature
- 2 large eggs, room temperature
- 2 tbsp red food coloring
- 1 tsp white distilled vinegar
- *2 tsp vanilla extract
for the cream cheese frosting:
- 1 pound cream cheese, softened
- 2 sticks butter, softened
- *2 tsps vanilla extract
- 4 cups sifted powdered sugar
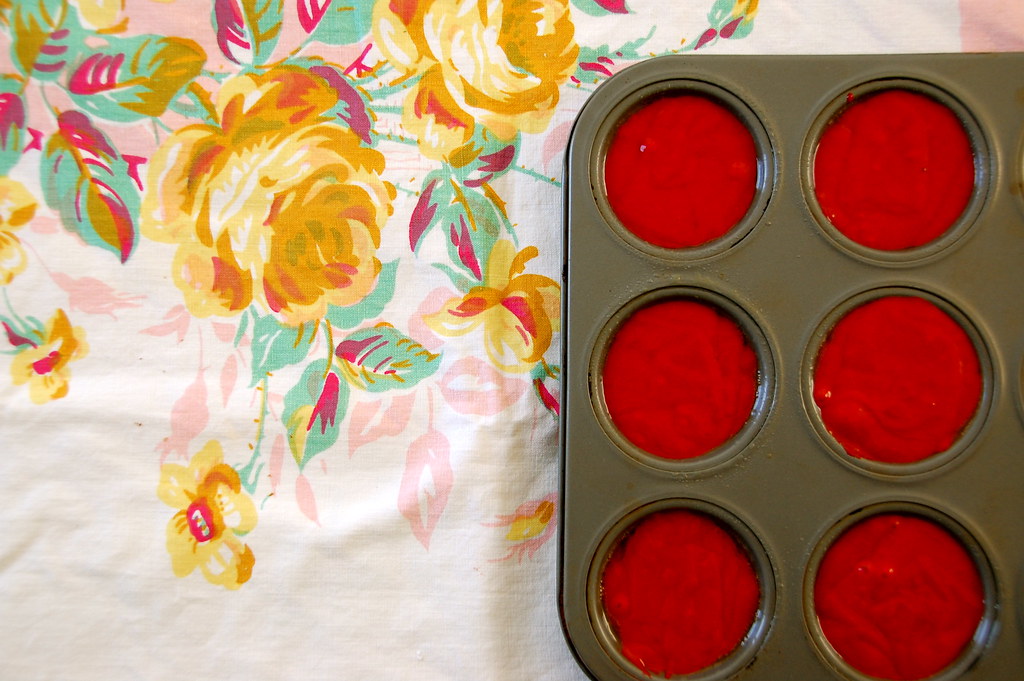
1. Batter is ready to be put in cupcake pan.
2. I spray the pan with
pam and then fill each hole up 2/3 with the batter. Note: I do not use liners, but you could if you want, just pull them off before putting them in the jar.
3. Usually they are done after about 17 minutes in my oven at temperature of 350℉, and I take them out and put them on a wire rack to cool completely.
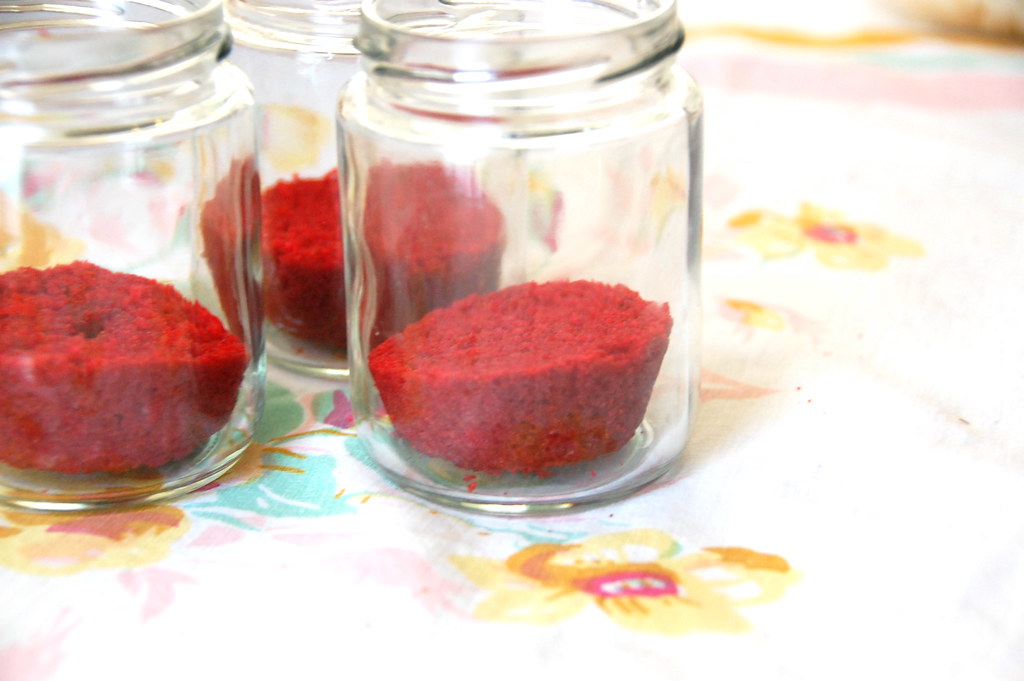
4. Once they are cool, I slice them in half. You will have a stack of tops and a stack of bottoms.
5. Place 1 bottom in each jar.
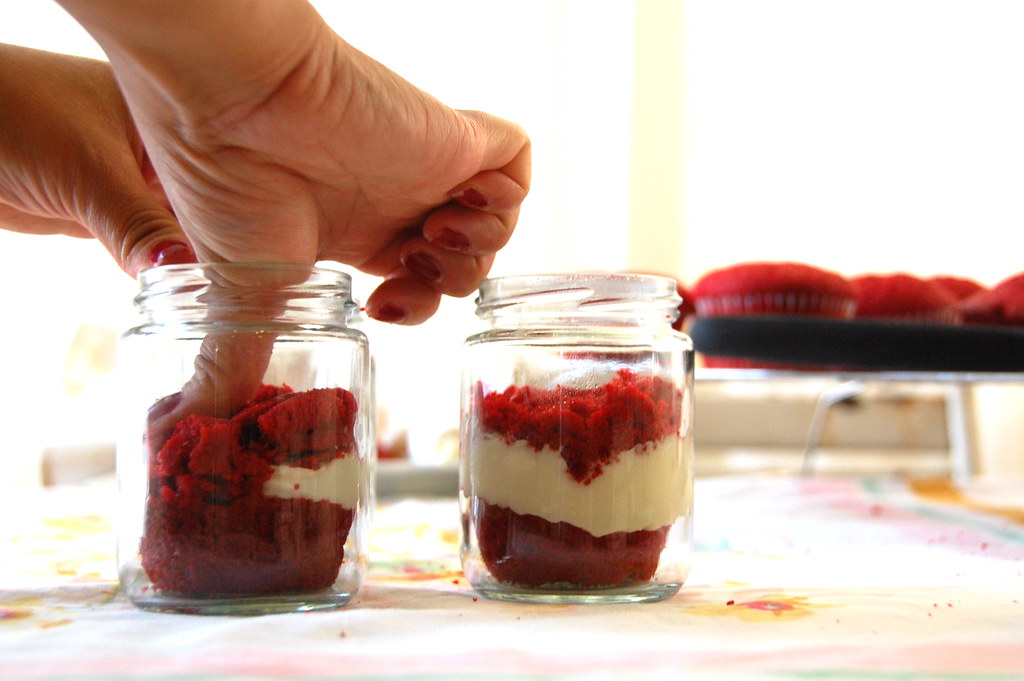
6. Put a layer of the frosting.
7. Take the top of the cupcake and place on top of the layer of frosting.
8. Flatten (gently smash) the top part of the cupcake inside the jar. You want to get the top sort of flat.
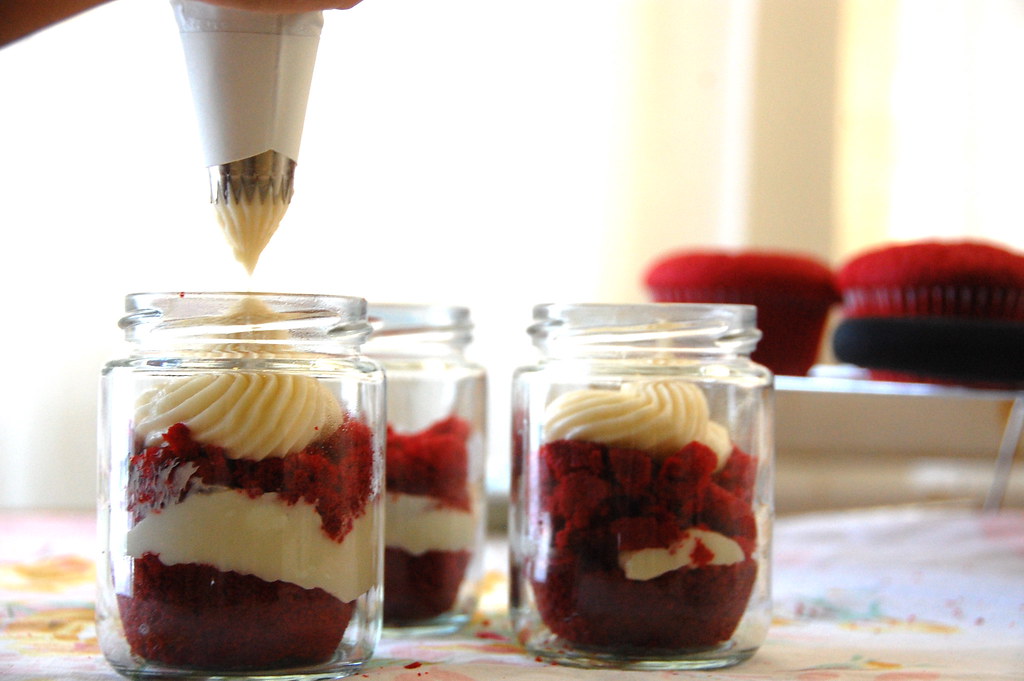
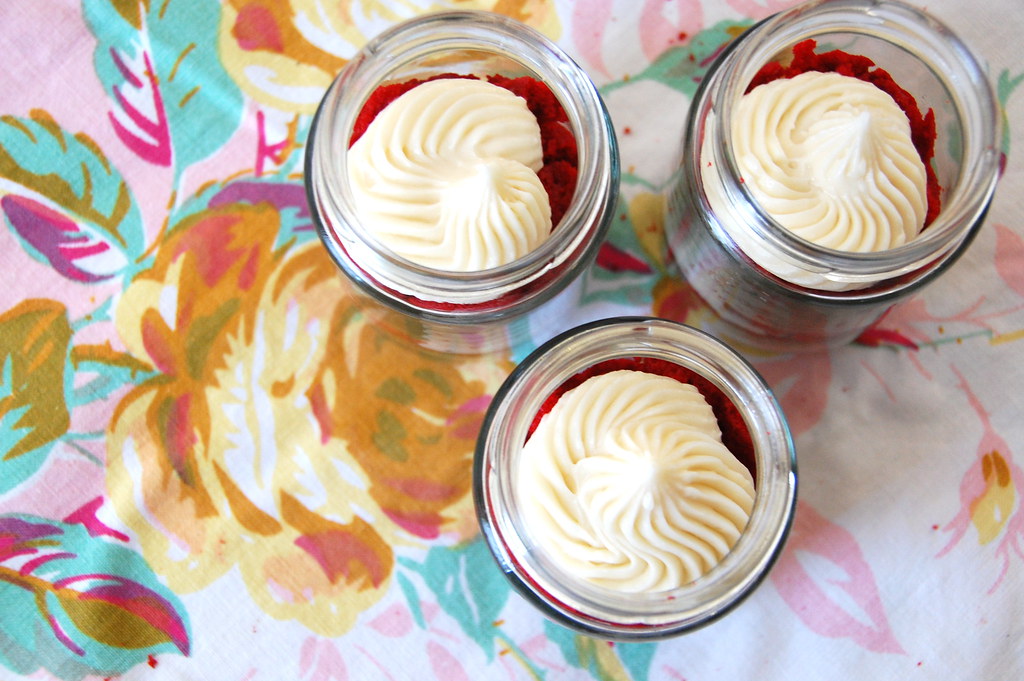
9. Beautifully frost the top of the cupcake.
10. Cover with lids and package however you like! It will be heartbreaking to eat, as it is so pretty, but it is so yummy!
Easy, right? See, I told you I am not a genius. I did also want to give a crack at actually baking it in a jar (crossing my fingers that I wouldn't shatter or explode in the oven) and it came out pretty good too.
I followed
these instructions, but the lid I boiled shrank, so I just ran it in piping hot water right before I put in on the jar. Also, I didn't listen to the "ping" because knowing my ears I wouldn't even hear it (I have small ears, so I have bad hearing! At least that is why I think I can't hear well.) I let the whole jar cool completely, which was 2.5 hours. After it cooled, I opened the jar up, I scooped out a hole in the middle and then filled it with frosting. I finished it off by frosting the top too! Then, I sealed it again and packaged it to my liking. Something I would change next time I bake it in a jar, is to only fill it up a quarter of the way because it came up higher than I wanted it too.
Just as cute and delicious as the other way of making it!
Here is a little supplies list with a link to where I bought my goodies for packaging:
-
round stickers (I did have to cut them down a bit to make it fit the top)
-
pastry bag and decorative tipsNow, go and enjoy as I am sure most of you will be itching to bake or make something (anything) in a jar! It is really darn cute that you have to give it a try! Don't forget to listen to
this song as you bake! Happy baking!!!


