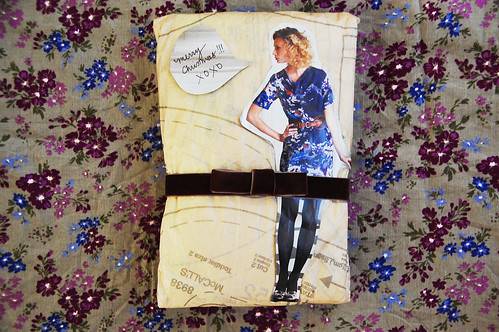
Today is all about gift tags. Like wrapping paper, pretty much anything can be turned into a pretty little tag! Has it happened to you before, you work hard to wrap all the gifts and figure you will tag later, only to forget which gift was what?! Happens to me all the time! This year, I had to open three gifts to remember who it was for. Darn me!
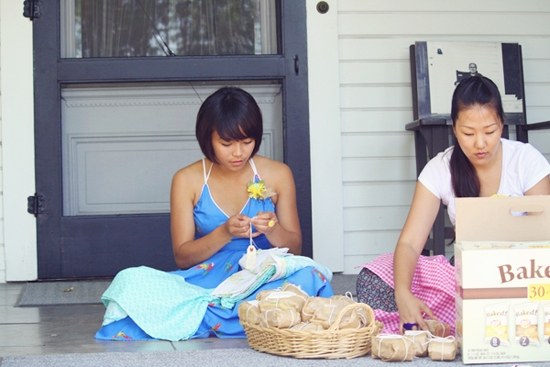
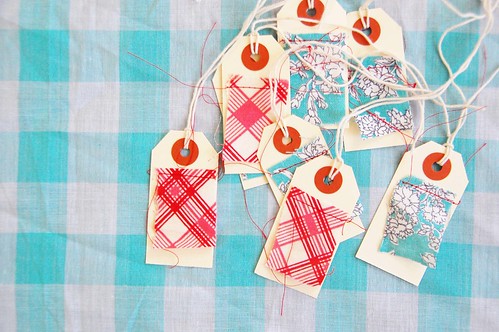
This first tag used was manila shipping tags that I use for my hair clips. I just cut out little squares of fabric and sewed it right on top. Gives the tag a bit more pizazz, though I think it is fine to use just the way it is and often tag gifts that way!
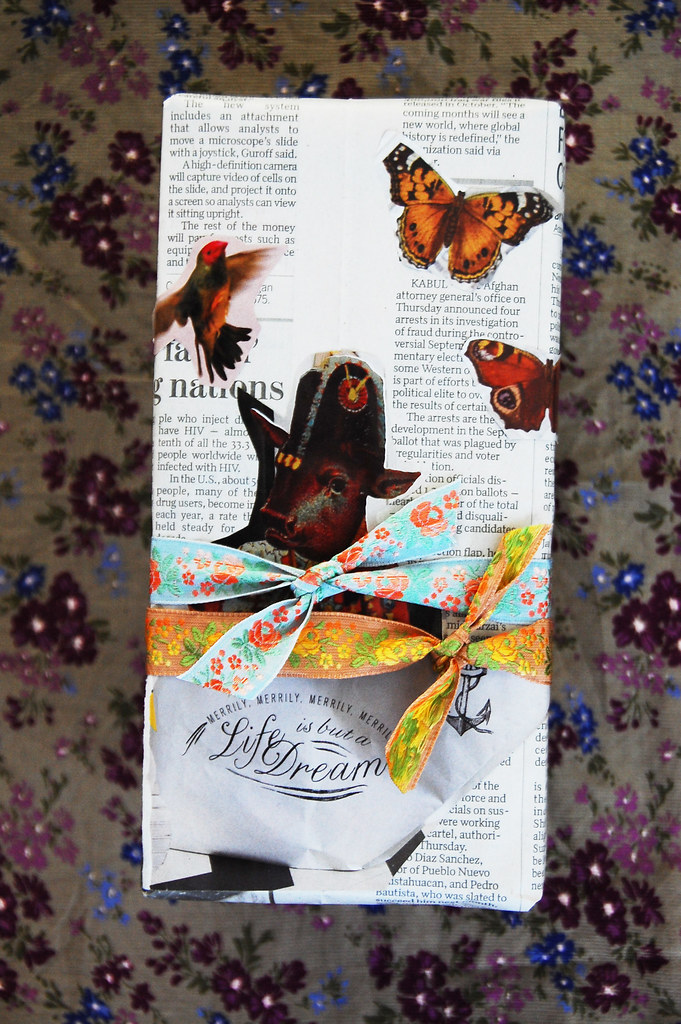
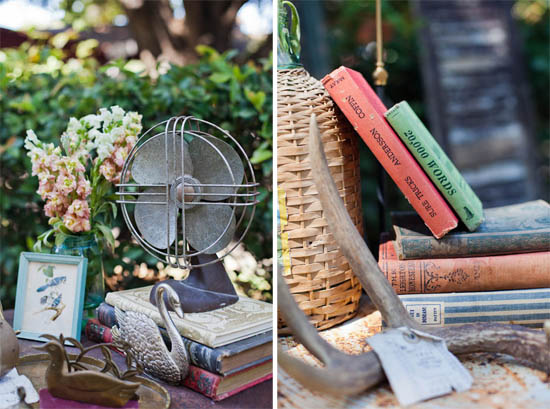
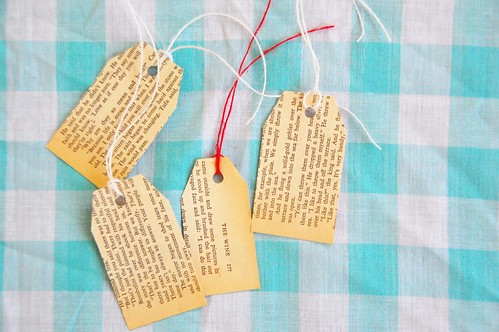
Next, I just cut up tags from pages of an old book. Punched a hole, added some twine and now you are ready to go!
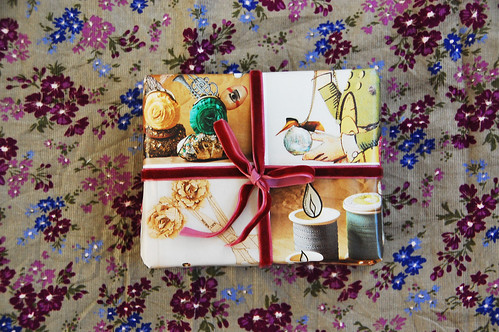
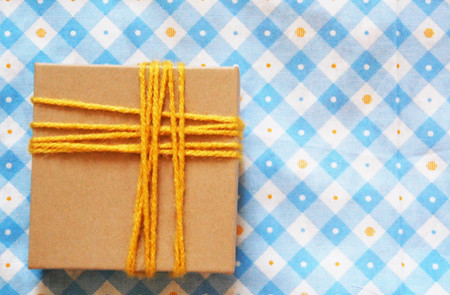
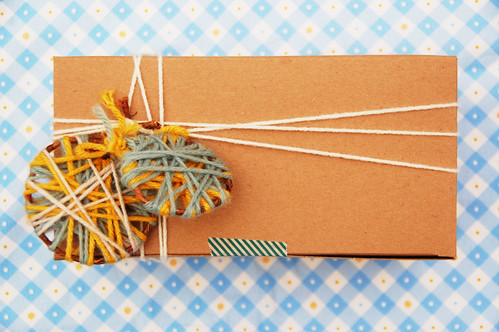
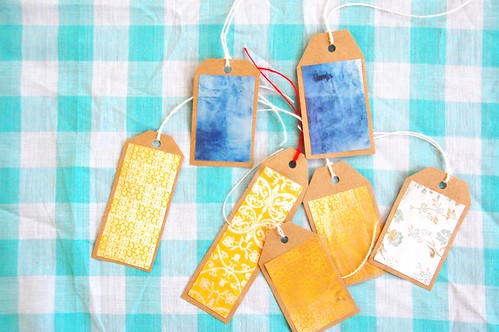
I went back to using my anthro catalog, so for this one I cut up squares of pretty backgrounds and patterns, then glued that onto some kraft paper, and cut up the kraft paper into little tags. If you don't have kraft paper, just use brown paper lunch bag, grocery paper bag, or any paper you fancy! Punch and hole, add the twine (or could use ribbon, bakers twine, basically anything you have on hand) and write a name and gift!
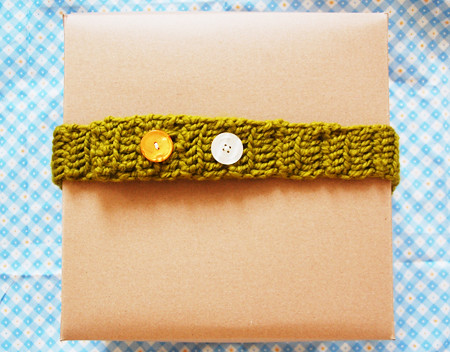
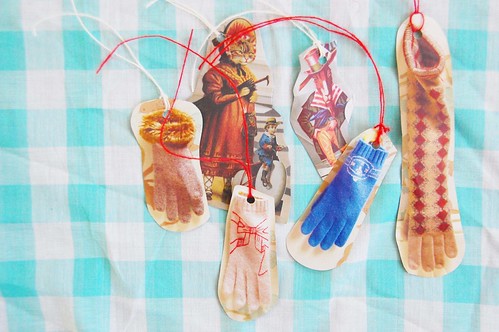
These tags are my favorites. I just cut up some wonderful images out of my anthro catalog (gotta love its many uses!), punched a hole, then added some twine. I think these are extra fun!!!
Hope you like these and remember, just to use whatever you have on hand! It is all about being resourceful and using practical things around you, instead of going out and having to buy wrapping paper and tags (not that there is anything wrong with that). It is just my preference to save 5 bucks on wrapping paper, when that same 5 bucks can go towards shoes (or my child's college education), but you get my drift right?!!
I am so glad to be done wrapping gifts and they are all nicely sitting pretty, but we still have no tree up! Oh boy! We must get on that STAT! And I still have to figure out what to get Ben! He is so hard because I am trying to think of something practical but still fun! What did you get your main squeeze for Christmas?
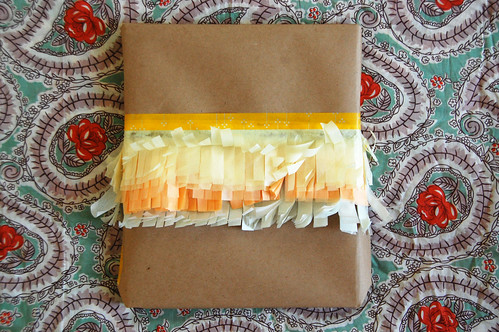
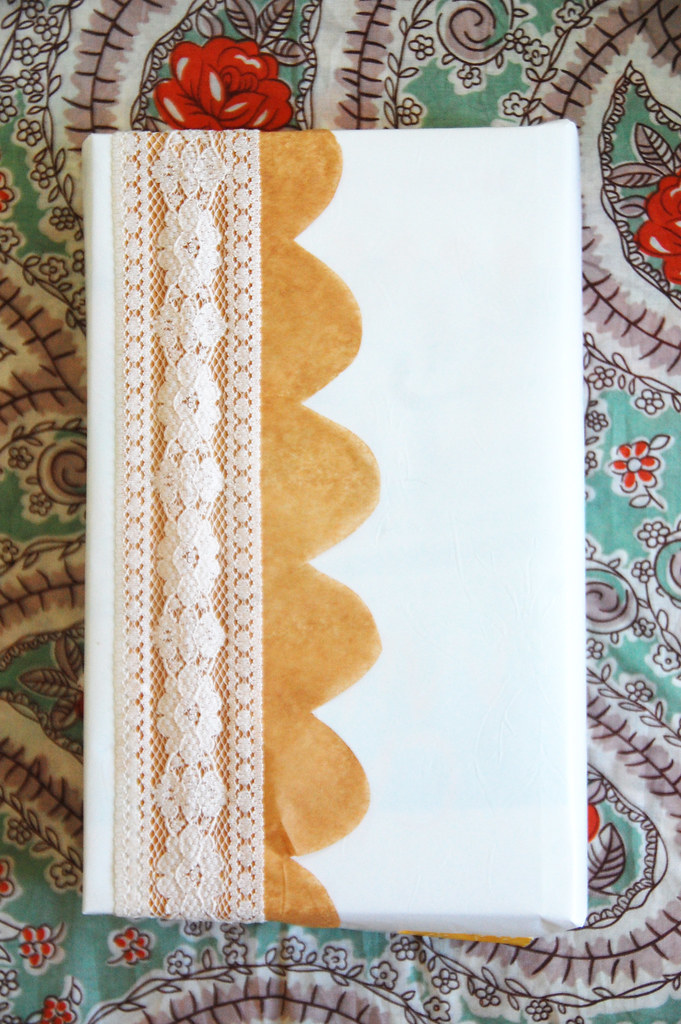
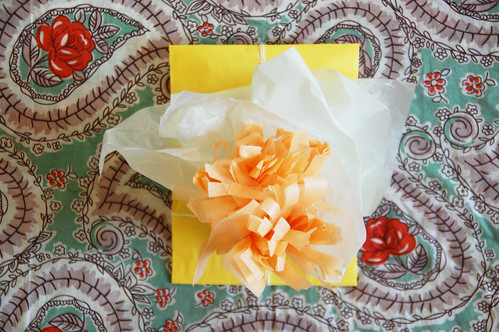
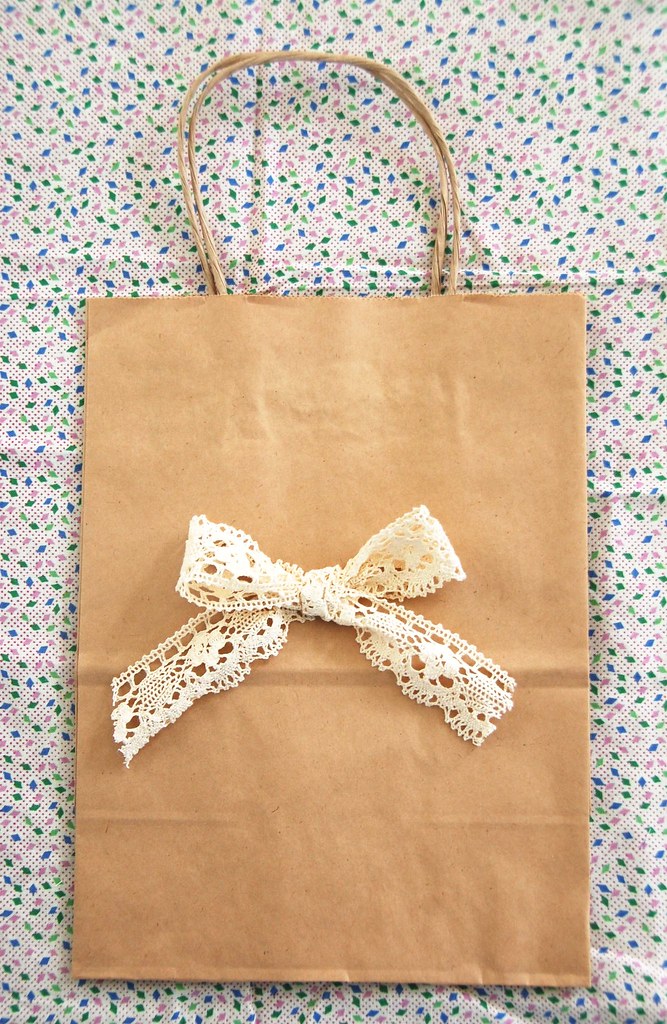
wrap it up: tissue paper