Showing posts sorted by relevance for query cupcake in a jar. Sort by date Show all posts

March 25, 2010

DIY: cupcake in a jar

Going to the other side of the spectrum, from a vegetable garden to loaded with all things bad for you, but tastes so good cupcakes. You won't think I am such a genius anymore once I tell you how these are done. It really is easy and makes for such a visually appealing way to dress up cupcakes, not that cupcakes need to be dressed up as the name itself is cute and enticing!

I pretty much use Paula Deen's recipe, but with a few of my own tiny tweeks to the ingredients (see*) and then I pretty much follow the directions in Paula Deen's recipe to make the batter and frosting, though I change it up a bit (time in the oven) when it comes to baking it.

Ingredients:
- 2 1/2 cups all-purpose flour
- 1 1/2 cups sugar
- 1 tsp baking soda
- 1 tsp salt
- *2 1/4 tsp cocoa powder
- *1 1/2 cup canola oil
- 1 cup buttermilk, room temperature
- 2 large eggs, room temperature
- 2 tbsp red food coloring
- 1 tsp white distilled vinegar
- *2 tsp vanilla extract

for the cream cheese frosting:
- 1 pound cream cheese, softened
- 2 sticks butter, softened
- *2 tsps vanilla extract
- 4 cups sifted powdered sugar

1. Batter is ready to be put in cupcake pan.
baking cupcakes

2. I spray the pan with pam and then fill each hole up 2/3 with the batter. Note: I do not use liners, but you could if you want, just pull them off before putting them in the jar.
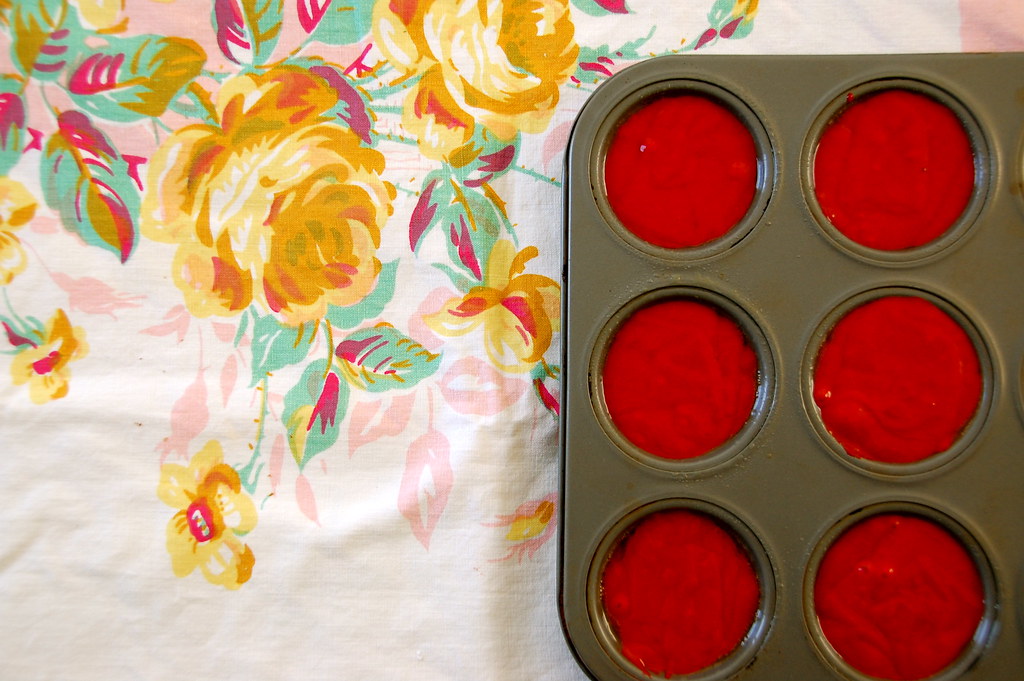
cupcake pan

3. Usually they are done after about 17 minutes in my oven at temperature of 350℉, and I take them out and put them on a wire rack to cool completely.
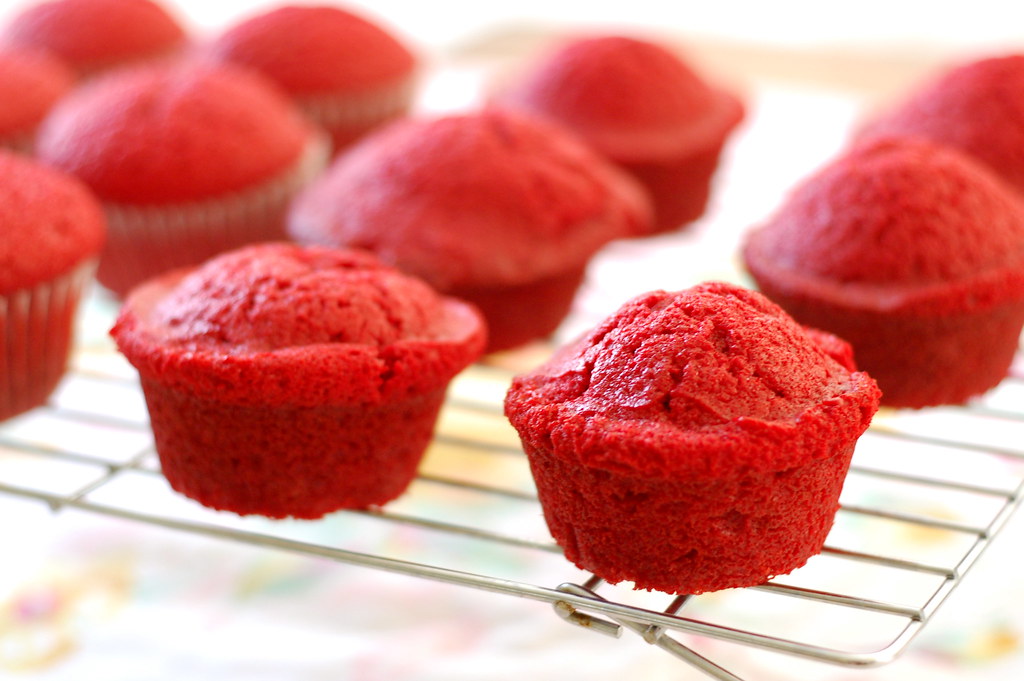
cool down

4. Once they are cool, I slice them in half. You will have a stack of tops and a stack of bottoms.
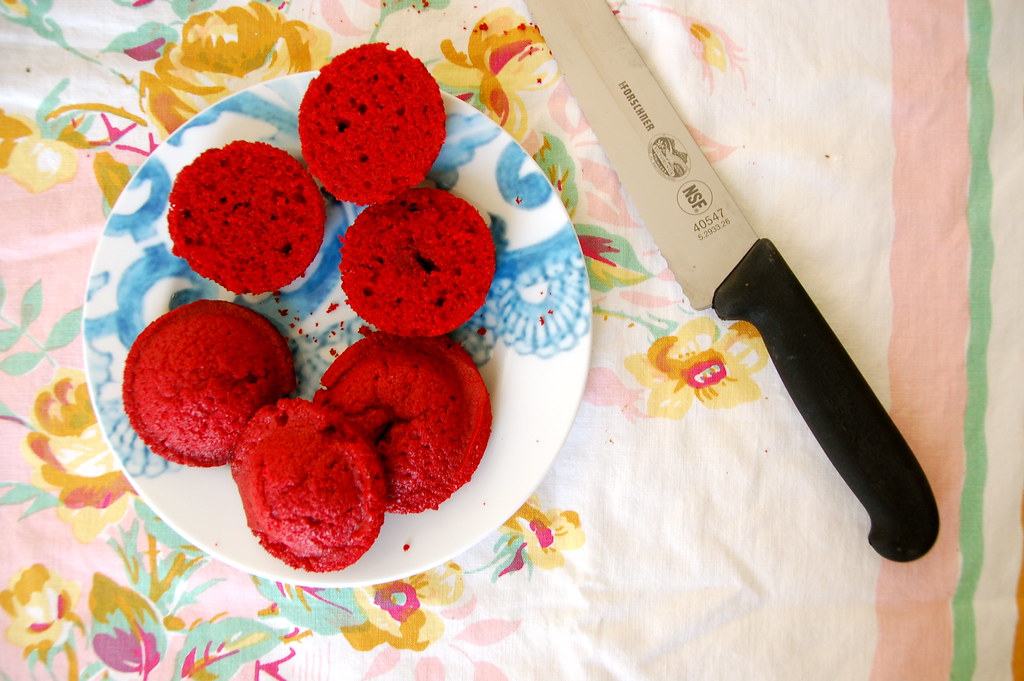
sliced in half

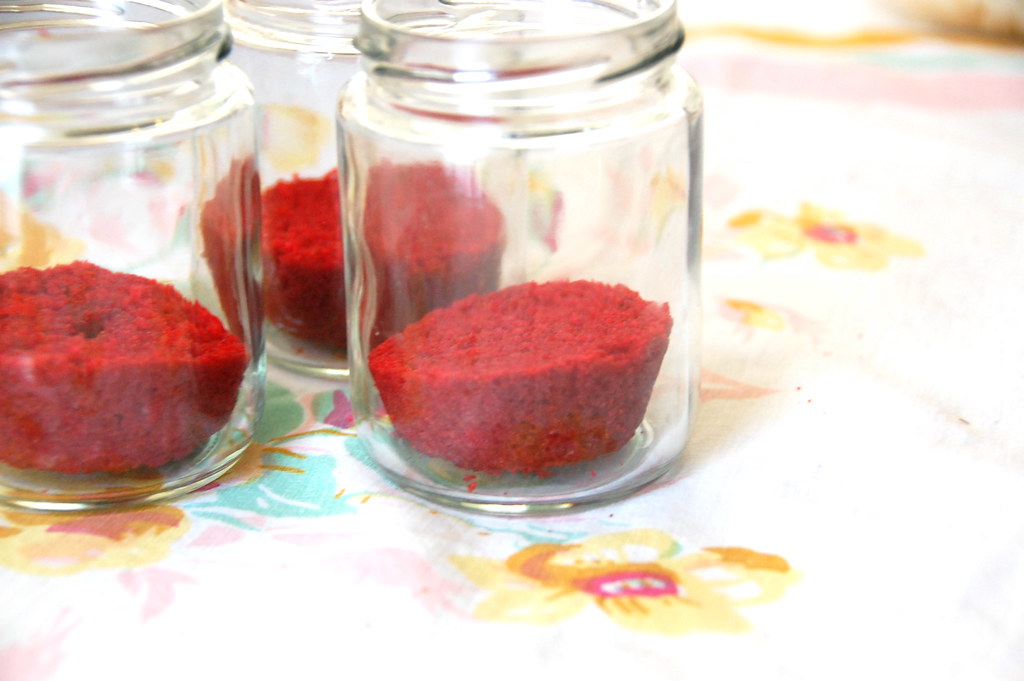
5. Place 1 bottom in each jar.
bottom of the cupcake

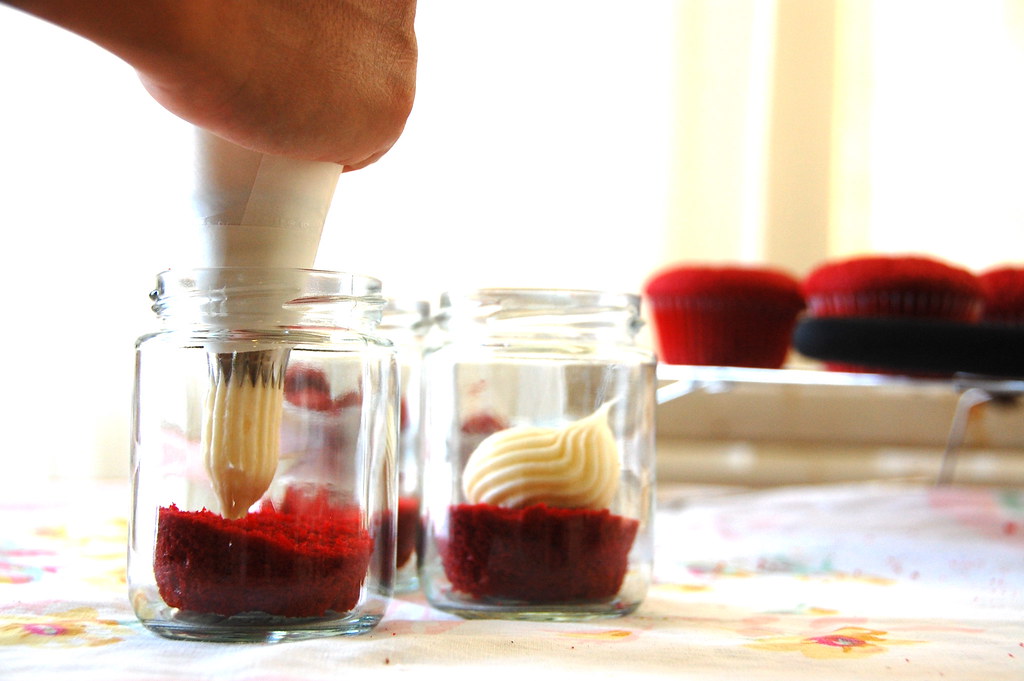
6. Put a layer of the frosting.
frost the middle

7. Take the top of the cupcake and place on top of the layer of frosting.
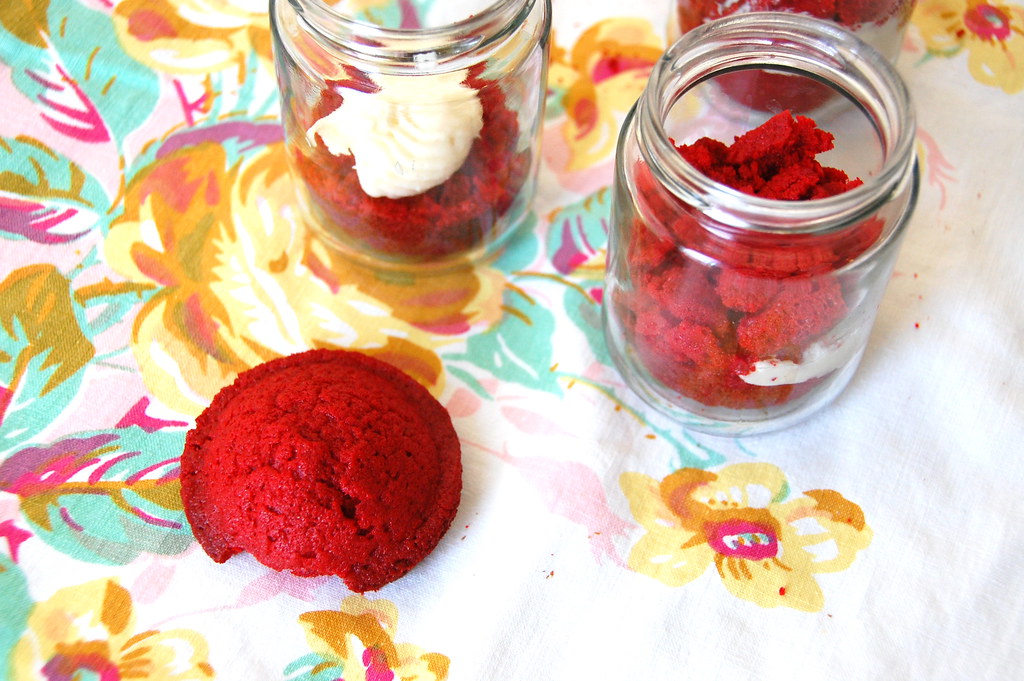
the top

8. Flatten (gently smash) the top part of the cupcake inside the jar. You want to get the top sort of flat.
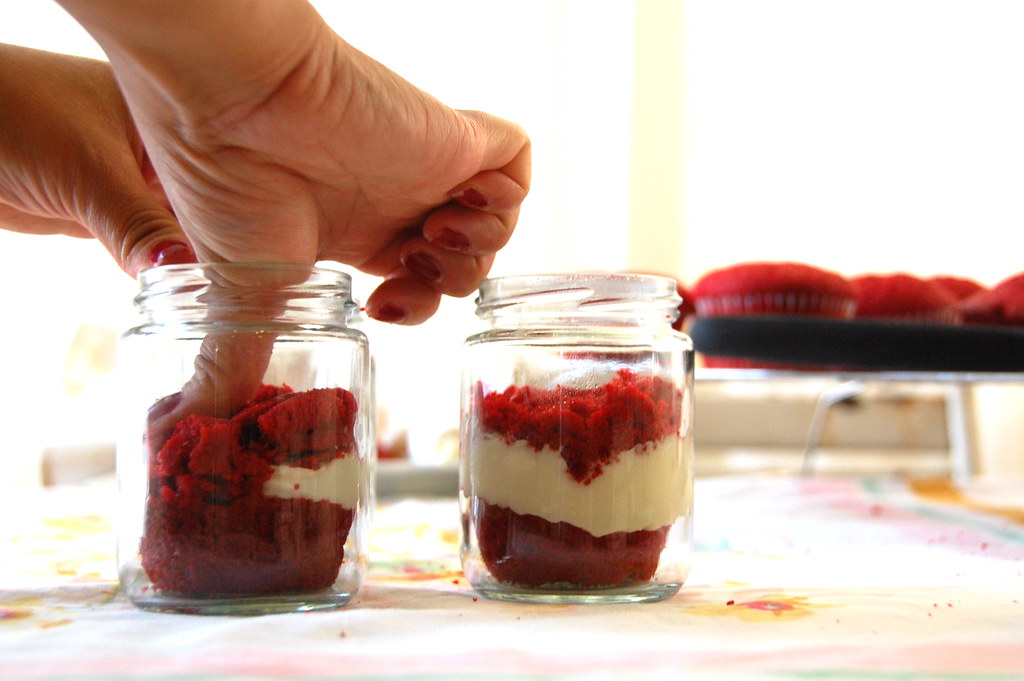
flatten the top

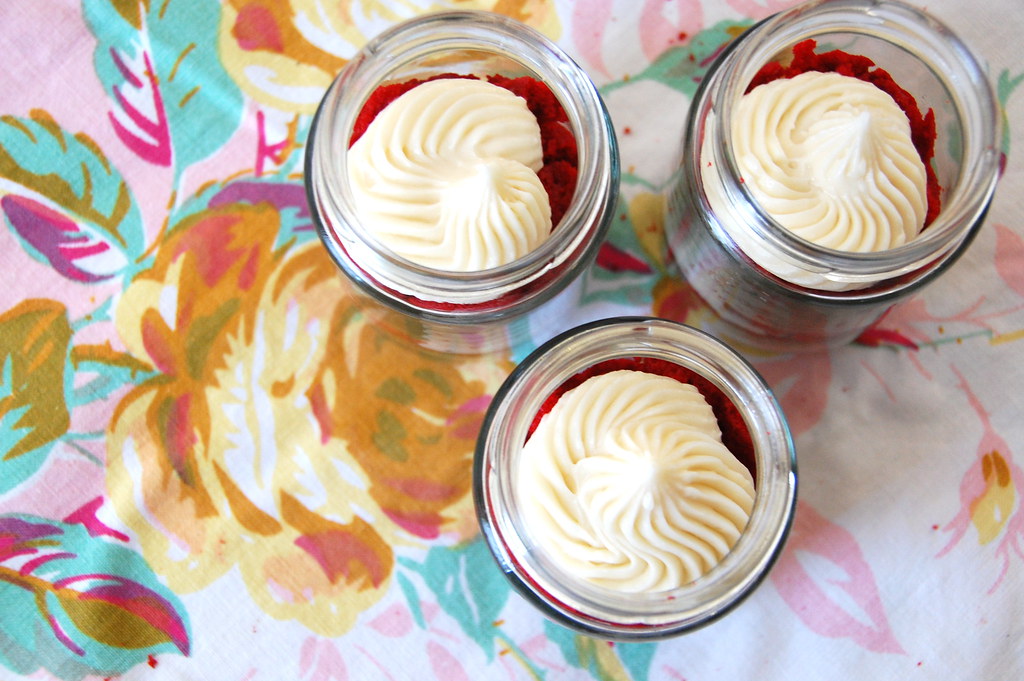
9. Beautifully frost the top of the cupcake.
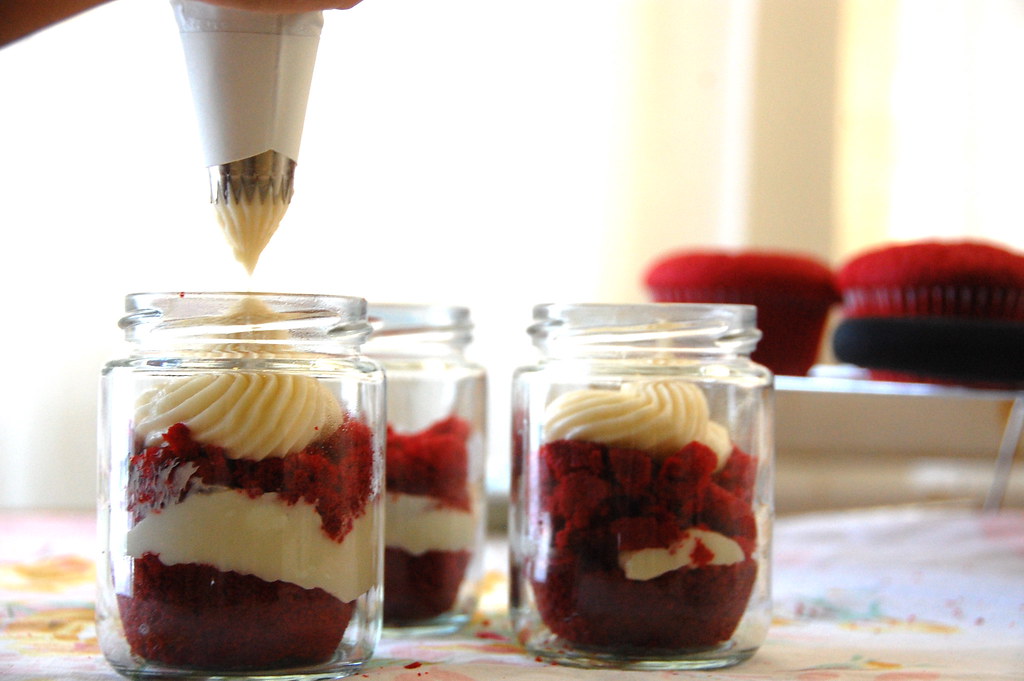
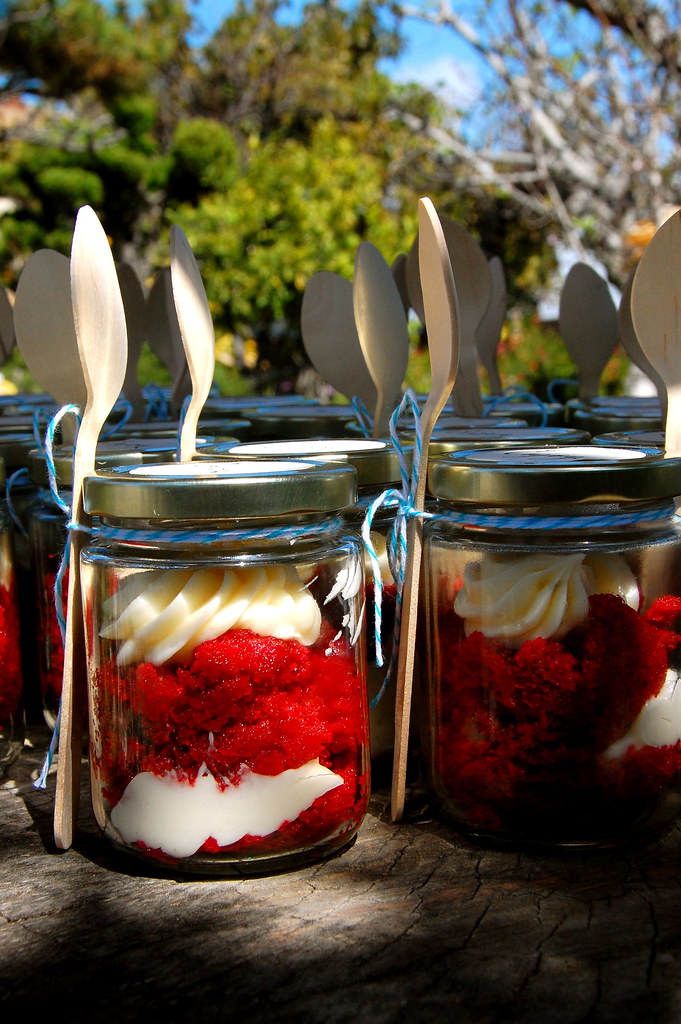
pipe on the topred velvet in a jar

10. Cover with lids and package however you like! It will be heartbreaking to eat, as it is so pretty, but it is so yummy!
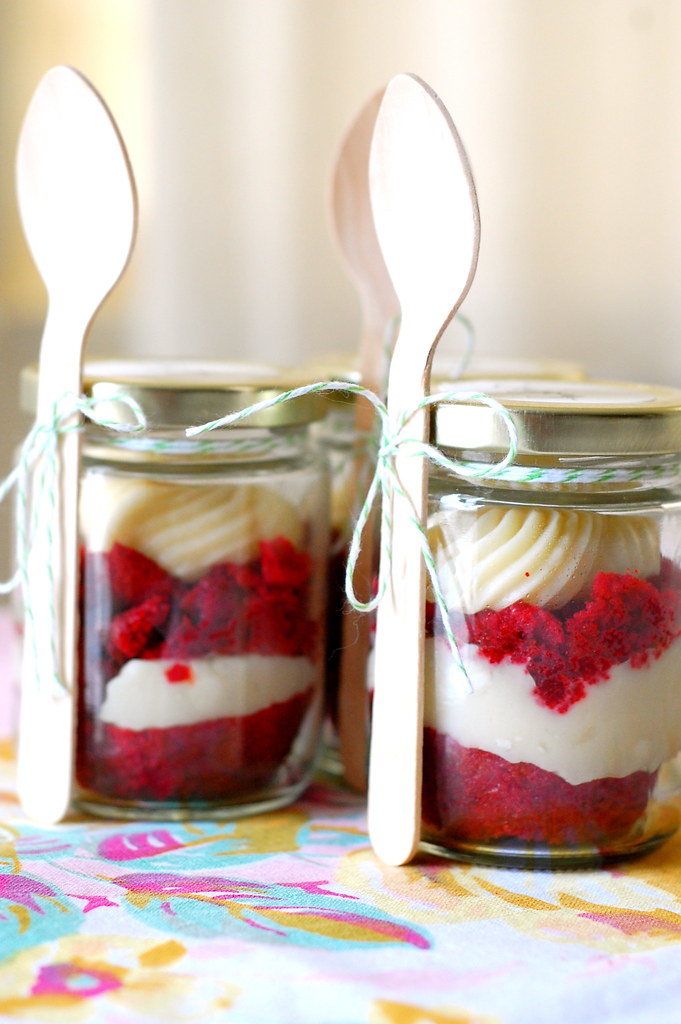
red velvet in a jarred velvet in a jar
Easy, right? See, I told you I am not a genius. I did also want to give a crack at actually baking it in a jar (crossing my fingers that I wouldn't shatter or explode in the oven) and it came out pretty good too.

I followed these instructions, but the lid I boiled shrank, so I just ran it in piping hot water right before I put in on the jar. Also, I didn't listen to the "ping" because knowing my ears I wouldn't even hear it (I have small ears, so I have bad hearing! At least that is why I think I can't hear well.) I let the whole jar cool completely, which was 2.5 hours. After it cooled, I opened the jar up, I scooped out a hole in the middle and then filled it with frosting. I finished it off by frosting the top too! Then, I sealed it again and packaged it to my liking. Something I would change next time I bake it in a jar, is to only fill it up a quarter of the way because it came up higher than I wanted it too.
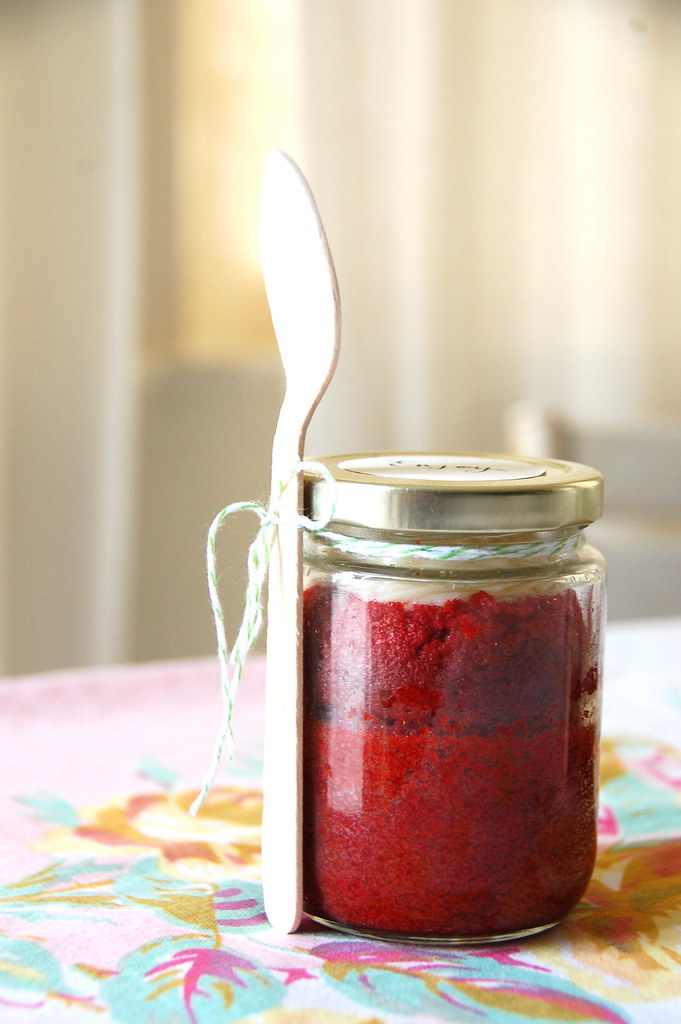
cupcake in a jar
Just as cute and delicious as the other way of making it!

Here is a little supplies list with a link to where I bought my goodies for packaging:
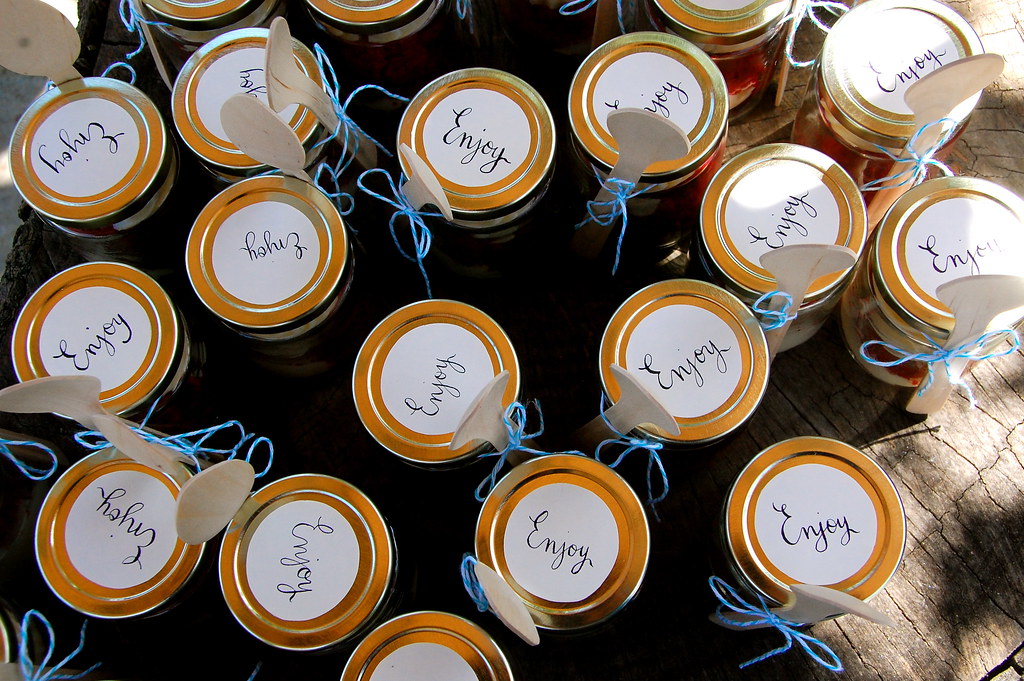
- round stickers (I did have to cut them down a bit to make it fit the top)
- pastry bag and decorative tips
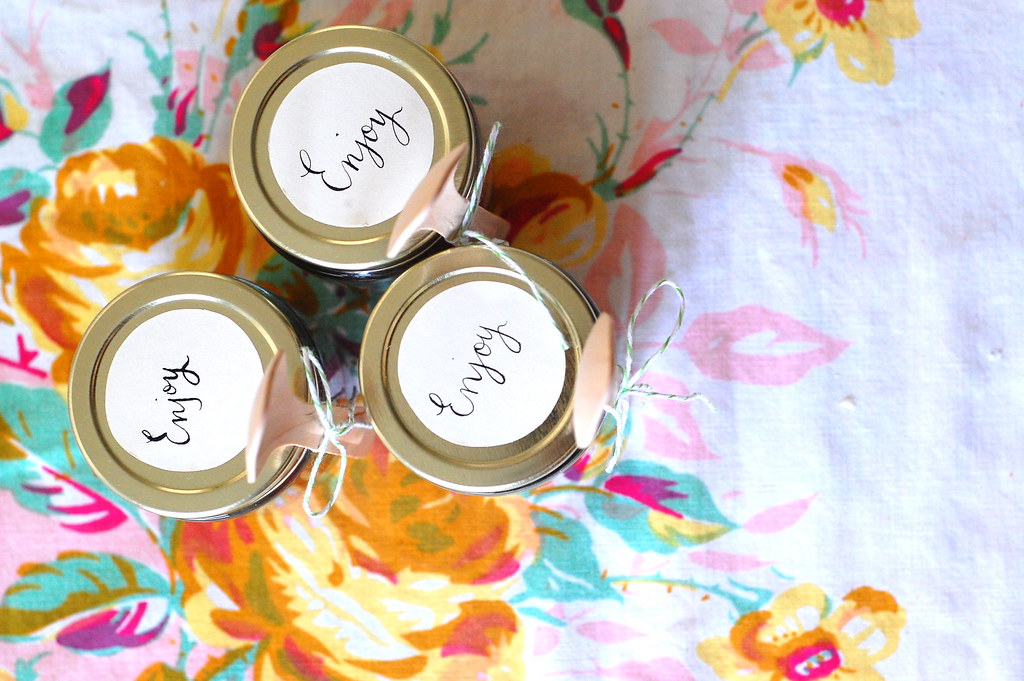
enjoy
Now, go and enjoy as I am sure most of you will be itching to bake or make something (anything) in a jar! It is really darn cute that you have to give it a try! Don't forget to listen to this song as you bake! Happy baking!!!

March 17, 2010

a garden party

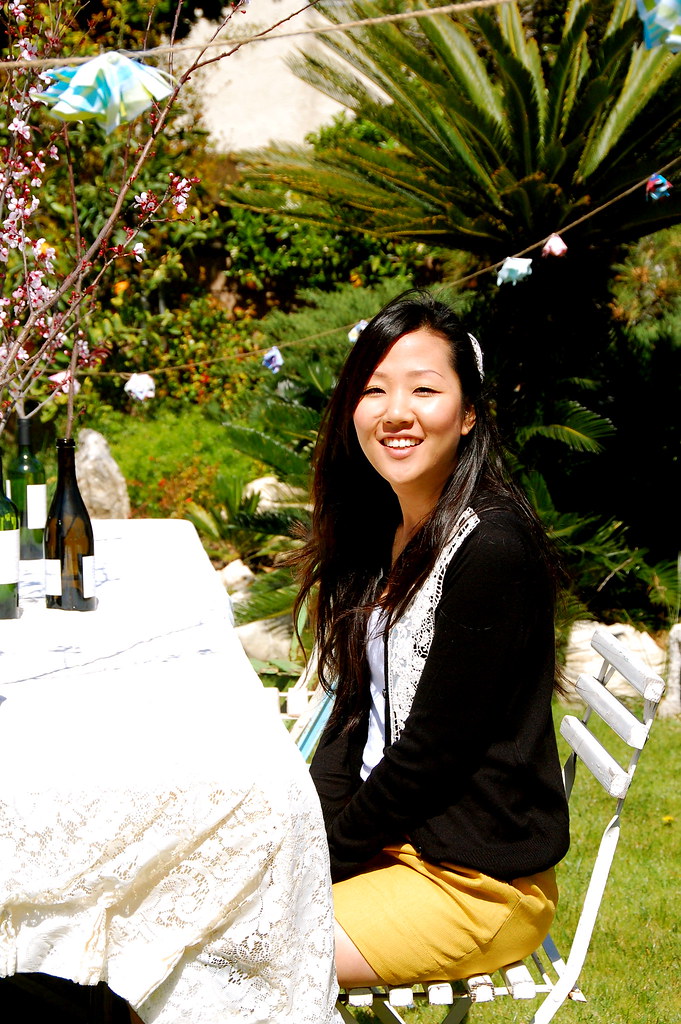
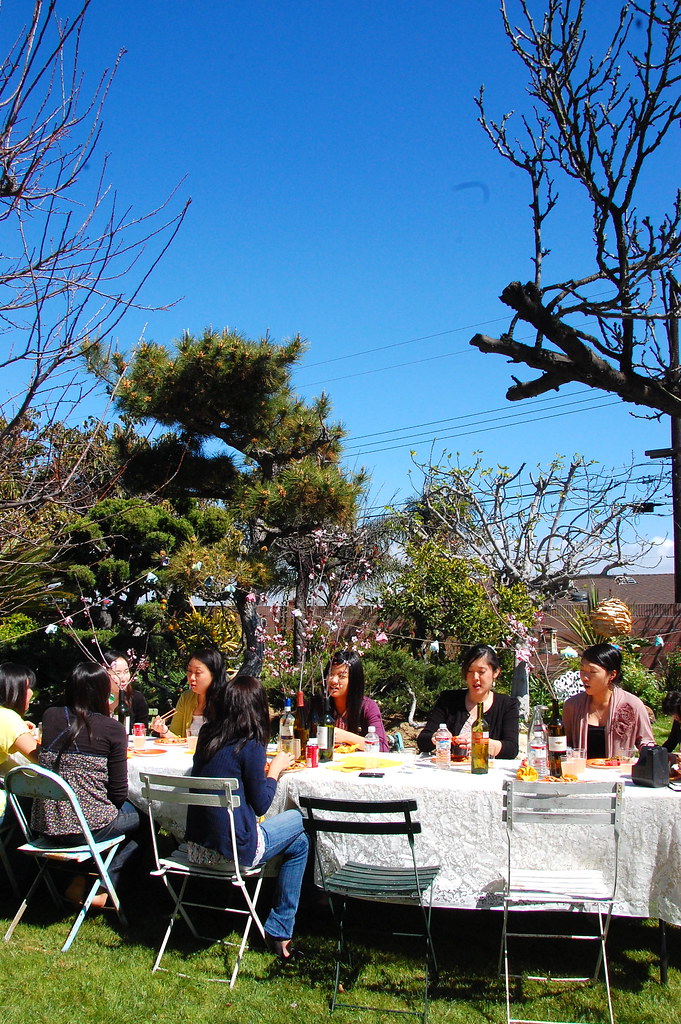
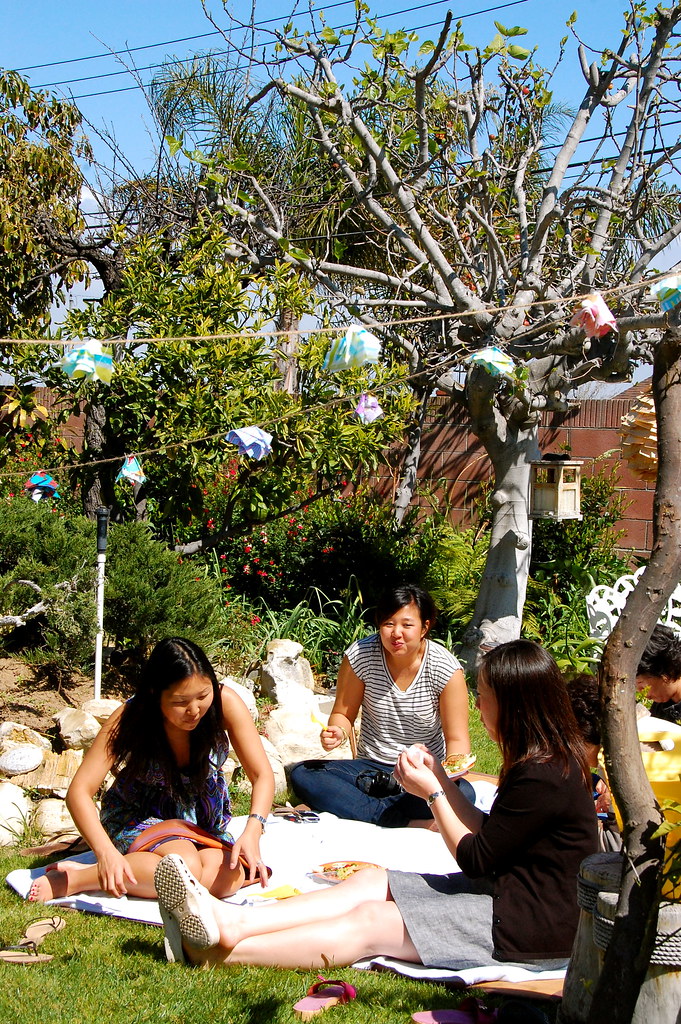
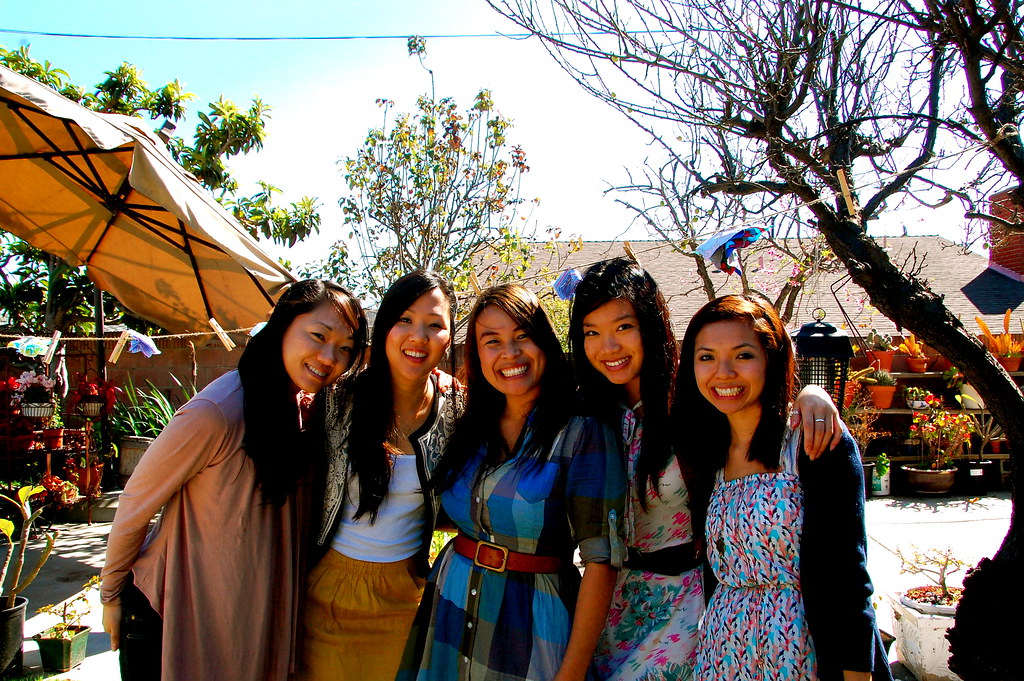
On Saturday, we (all the bridesmaids) threw Linda a bridal shower in her mom's glorious garden. We didn't have to do much as the garden was already so beautiful and colorful, but I lugged some of my vintage cafe chairs, made some flower garland, and made Ben cut off some flowering branches from our tree and we were ready for a party!
garden party bridal shower


The lovely bride-to-be said, "It feels like my birthday!"
the bride to be


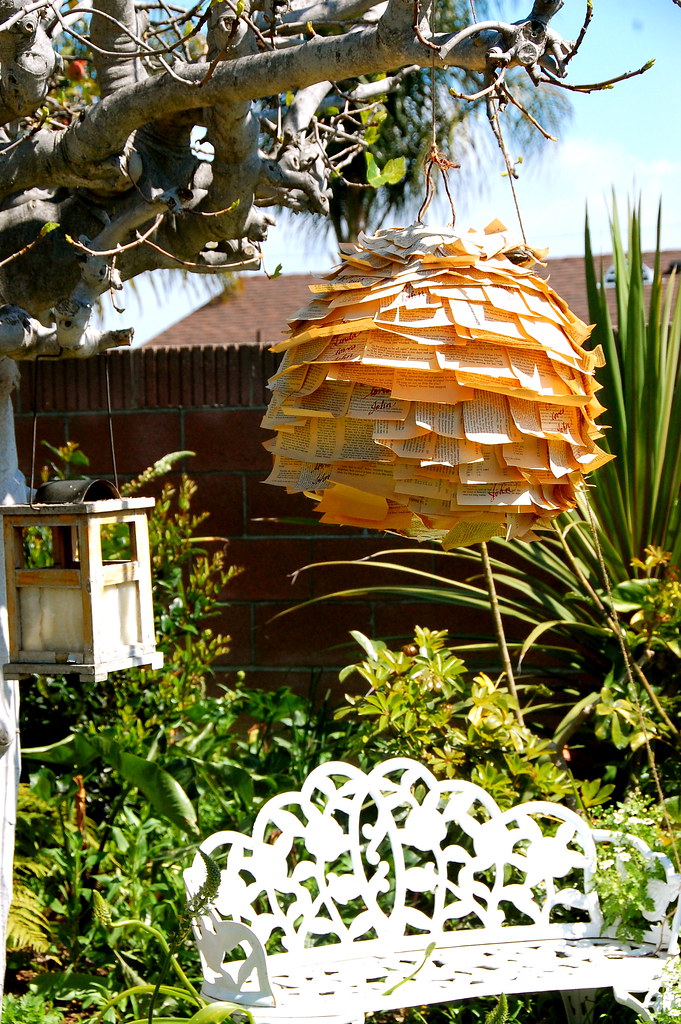
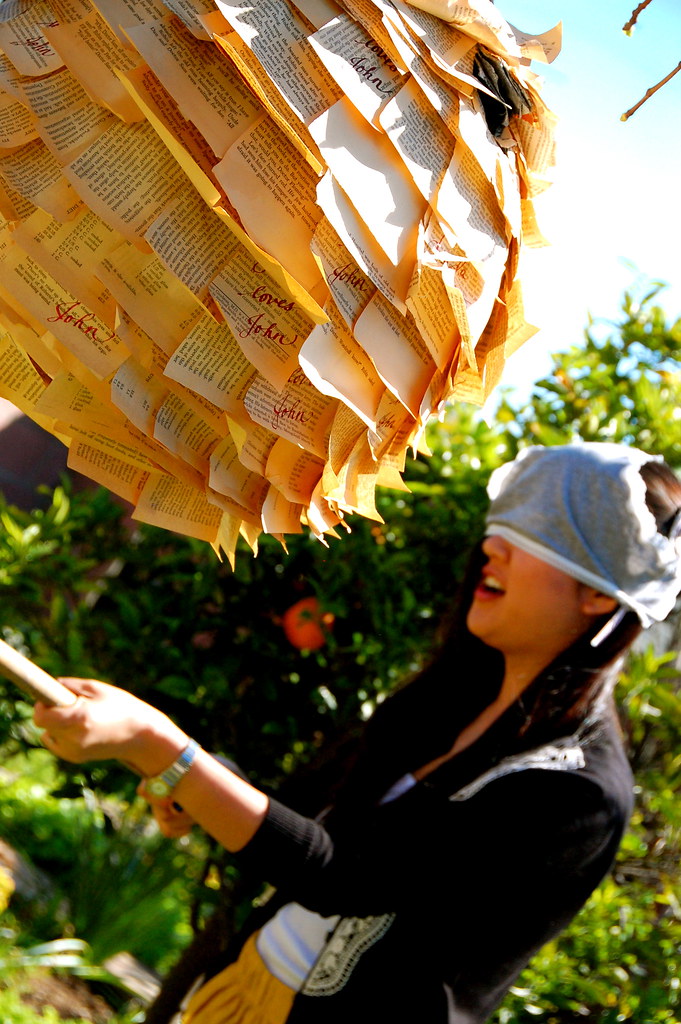
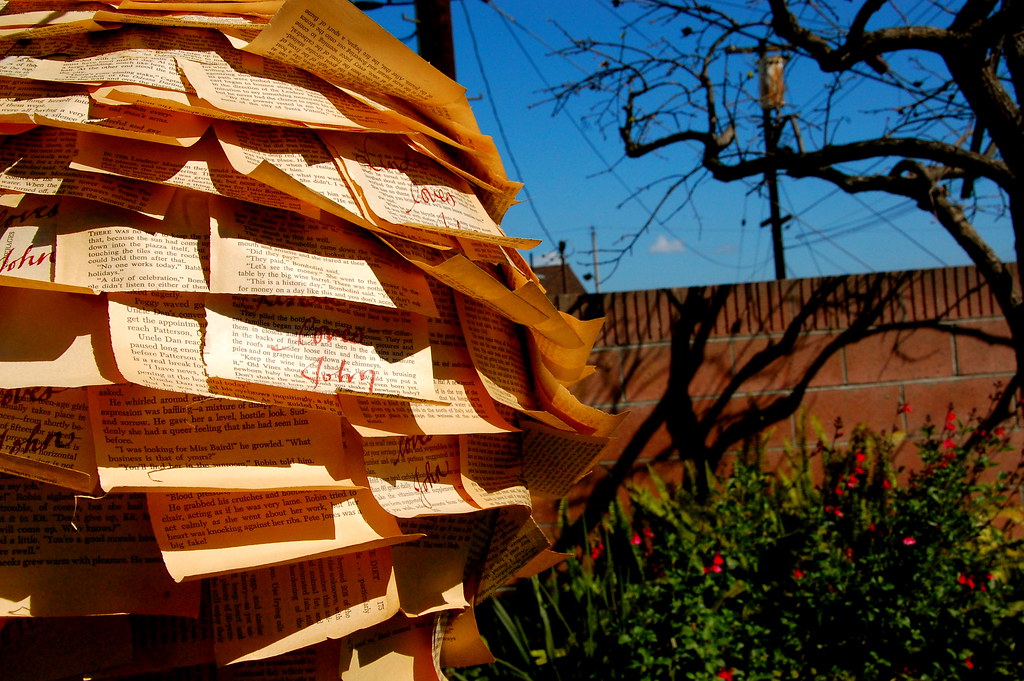
Remember this? Well, True, Brave and I ended up making a pinata for the occasion, inspired by this one. Though, we made ours with pages of a vintage book and I wrote "Linda loves John" on some of the pages. It was a perfect little game for the bride who requested we don't play any of the traditional games, there was no toilet paper wedding dress for this gal!
the vintage book pinata


For the favors, I made some red velvet cupcakes in a jar and styled it just like this. I had so much fun calligraphing the top of the jars as I haven't used my very newbie calligraphy skills since high school when I took a calligraphy class. I want another occasion to make more cupcakes in a jar, it was so much fun! I am nerdy like that and like to do these kinds of things.
red velvet cupcake in a jarred velvet cupcakes in a jar


There was so much yummy food and we all happily indulged, maybe a bit too much.
our garden partygarden party


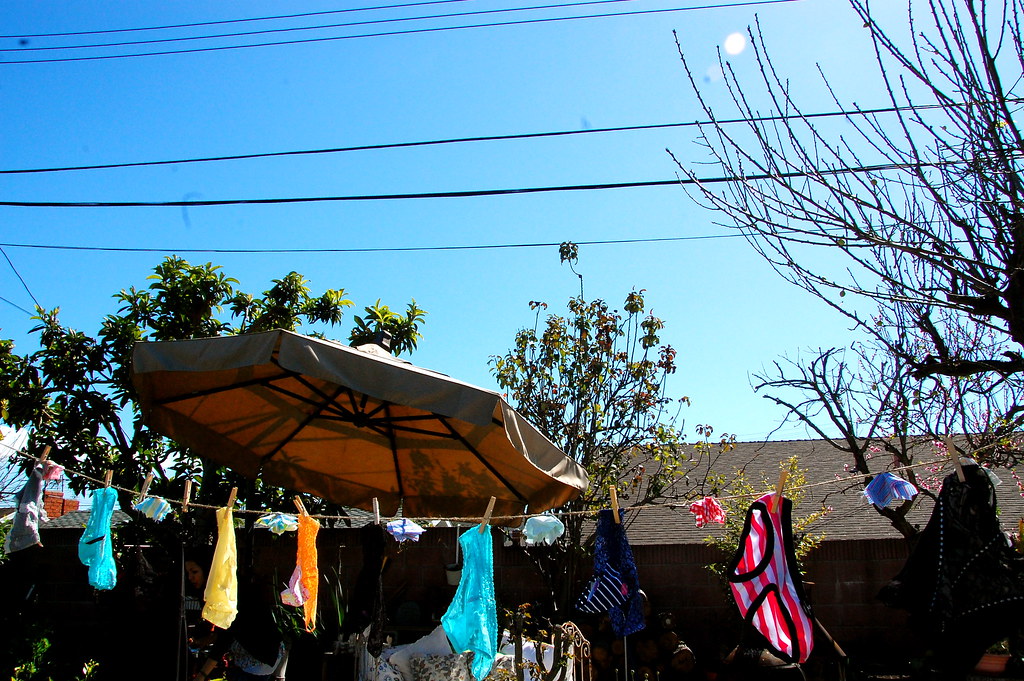
After which, we played the "underwear game." To play the game, each guests were to bring a underwear/lingerie gift that matched their personality and then Linda (the bride) had to guess who each underwear/lingerie gift was from. She did pretty well, but she did have 18 wrong guesses.
underwear game ready


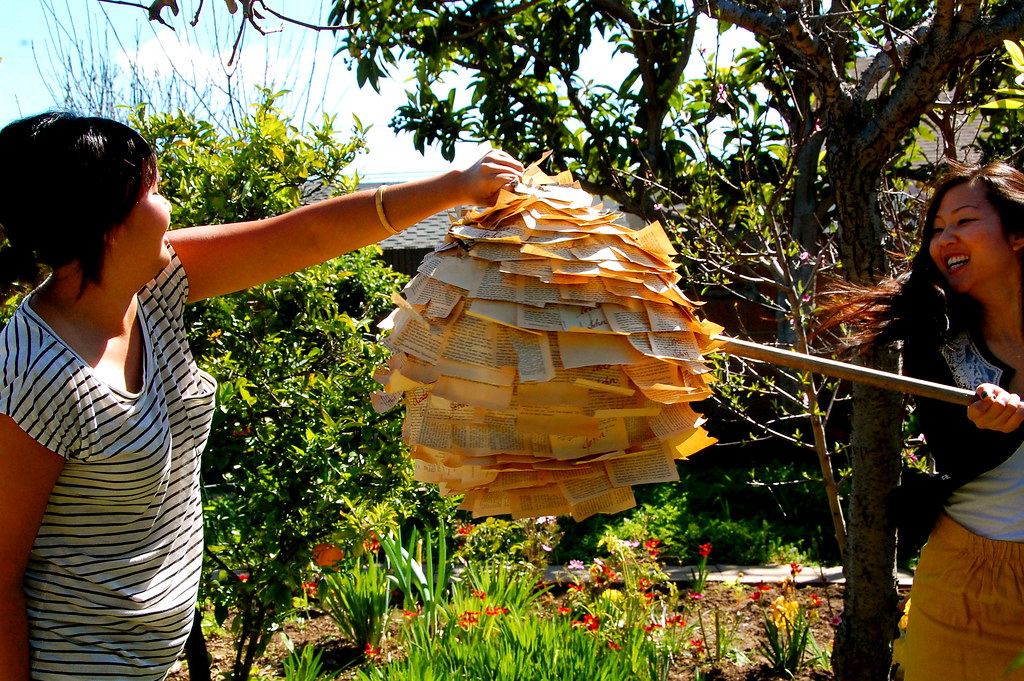
Thus, her punishment for each wrong guess was one spin and Linda was spun a total of 18 times right before she was to hit the pinata. The pinata was funny as it didn't want to break, and I thought that I didn't put enough layers, guess I was wrong!
the vintage book pinatadarn thing wouldn't break


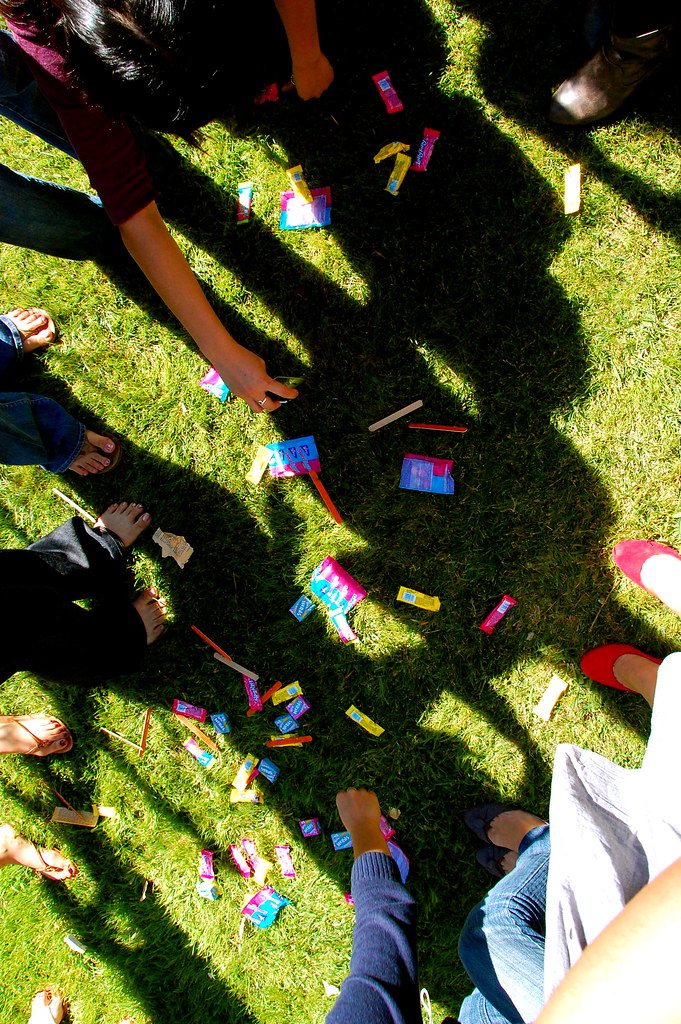
Adults are so much friendlier after a broken pinata. When kids go after all the goodies, there is not even one left on the ground, when adults go after the goodies, everyone is too nice to be greedy that there were still some candy left.
adults are so nice when it comes to a pinata
It was really such a perfect day and it was such a team effort to pull off the whole party. All the bridesmaids really did such a wonderful job! I guess we all love Linda lots!!!

Of course, occasions like this are fun because you get reunited with friends again and we might be all together again for the flea market this Sunday.
the coco chanel girls (minus one)
Want to see more of the shower or other accounts of it? Check Danni's, Helen's or Jenny's blog. That's what happens when bloggers come to a party!

One more month until the wedding and I (and Linda) still have lots to do!

March 18, 2010

DIY: the piñata

The piñata really was easy and my mind is reeling with all sorts of other paper-mâché projects. Us girls may be making another piñata soon, but this time it will be just for us to play with!

Here is what you will need to make it:
- balloon (I used a punch balloon because I wanted it big and took off the rubber band)
- 2 newspapers (cut the newspaper in long 1''-2'' strips)
- 1 cup of flour
- 5 cups of water
- large bowl to hold balloon as you work
- old vintage book pages cut into 4''x4'' squares
- glue
- 7'' piece of wire

To make the paper-mâché paste:
1. Boil 4 cups of water.
2. While you wait for the water to boil, mix well the 1 cup of flour into 1 cup of warm water. This avoids any clumps in the paste. Set aside the flour mixture.
3. Once the 4 cups of water is boiling, remove from the heat and add in the flour mixture and mix well. If paste is a bit thick, add a bit more water. Same goes if the mixture is too watery, add a bit more flour.
4. Let the paste cool down before you start using it.
materials
To make the piñata:
1. Blow up the balloon to your desired size.
2. Dip newspaper strips into the paste and place on the balloon.
3. Make sure to smooth out the strips on the balloon. Cover the entire area of the balloon with 2 layers of newspaper. Use the large bowl to help stabilize the balloon as you are covering it with newspaper.
5. Allow about 2-5 hours to dry. Rotate balloon as it dries to make sure that it dries evenly around.
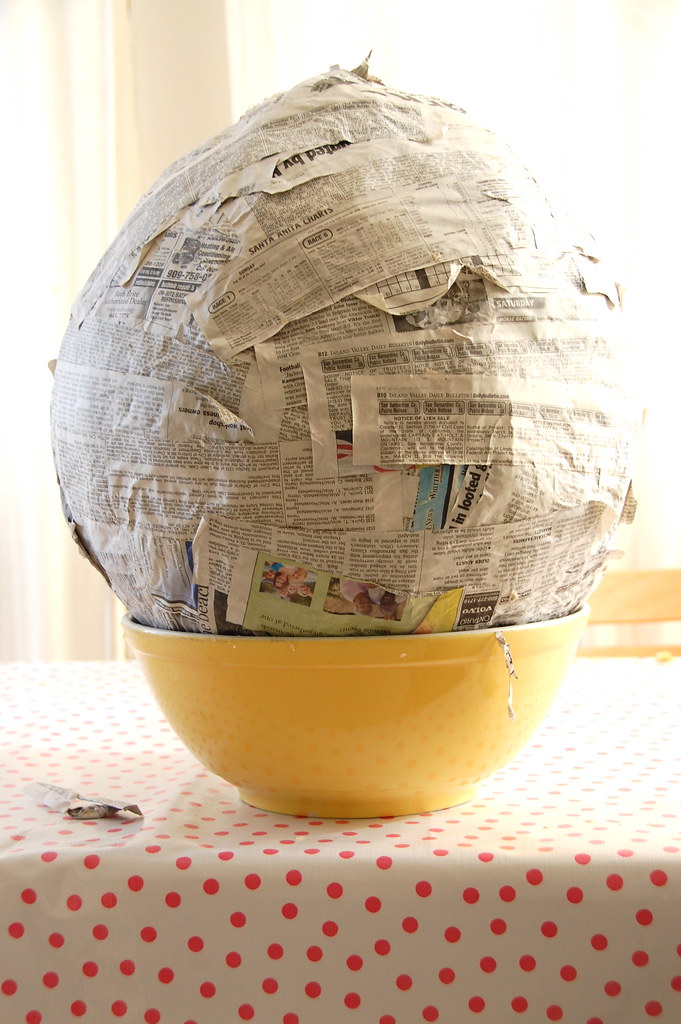
6. Repeat steps 2-5 two more times to make sure that the piñata will be nice and thick. This will avoid the piñata caving in once the balloon is popped inside. Make sure piñata is completely dry before you start decorating it.
cover with paste and newspaperlooks like a giant egg
7. Make stacks of 10-4''x4'' vintage book pages and roll. This is the give the pages a curl before they are glued on the piñata.
8. Start with the bottom of the piñata and apply some glue then add some book pages to the bottom.
9. Once the bottom of the piñata is covered, place back on top of the bowl. Make one row of glue, still working on the bottom, on the piñata and place book pages on top. Overlap each page slightly on top of each other. Rotate the piñata around as you place the pages on. Remember, all you need to do is glue down just the top of the book page. This will allow the curled page to flip out and give it the "flippy" look.
10. Repeat step 9 until the whole piñata is covered in book pages. This part does not have to be perfectly straight as you want it to have a fun, whimsical look.
11. Allow 4-5 hours for the whole piñata to dry. Make sure to place in a dry area as humidity may slow down the drying process.
12. Once piñata is completely dry, poke two small holes at the top about 3'' apart.
13. Using a 7'' wire, feed through each hole and connect the ends of the two wires together. This will be to attach the rope to hang the piñata.
14. Cut another small opening on the piñata to pop the balloon inside and fill with goodies.
15. Hang and play.
the vintage book pinata
Hope this all makes sense! Here is the pretty piñata that inspired the one we made. The piñata could also be covered in a pretty tissue paper or painted, the possibilities are endless. Fair warning though as it will break your heart a bit to see it go into smithereens!

Tomorrow, I will have a DIY for the flower garland and like requested by some of you, next week I will be sure to do a DIY for the cupcake in a jar. Stay tuned.

p.s. Totally unrelated to this, but for those of you living in southern California, my stylist sister is offering a special to get your hair done. I say go! Ben and I trust her with our hair, and Ben doesn't just trust anyone with his!

March 19, 2010

DIY: the flower garland

The perfect little accent for spring. Just make and hang, and it adds a bit of cheer to any little place!

Materials needed:
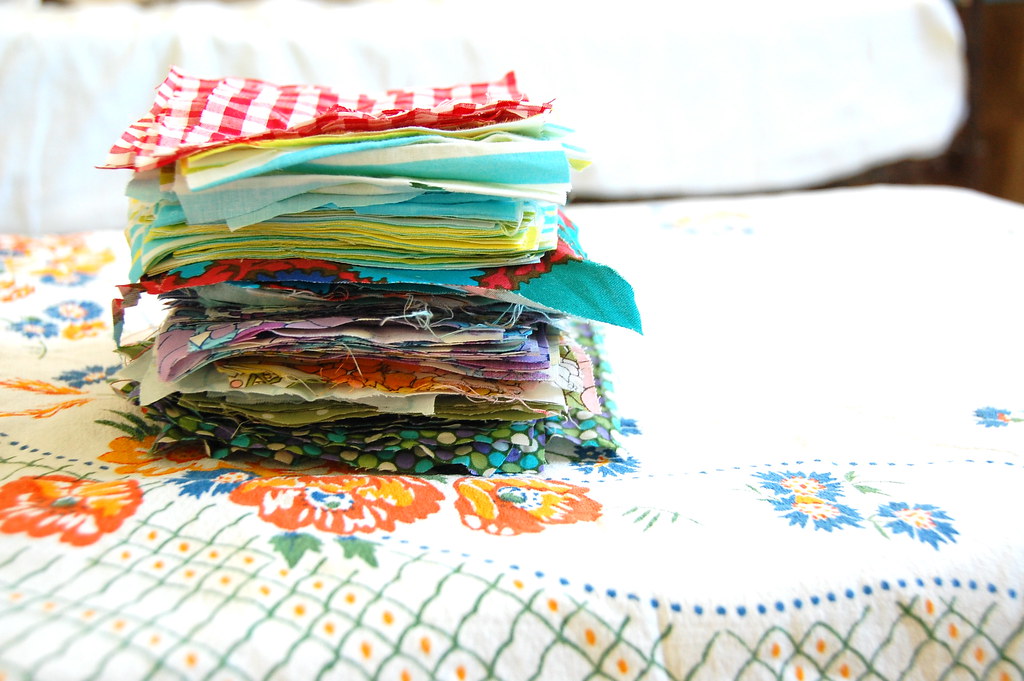
- 24 - 4'' fabric squares
- 6' long twine (or could use yarn or string)
- sewing machine (can do it by hand, but easier with a machine)

How to make:
1. Cut some fabric into 4'' squares for a total of 24 squares for 6 flowers. Cut more squares if want to put more flowers on the line.
4 inch squares


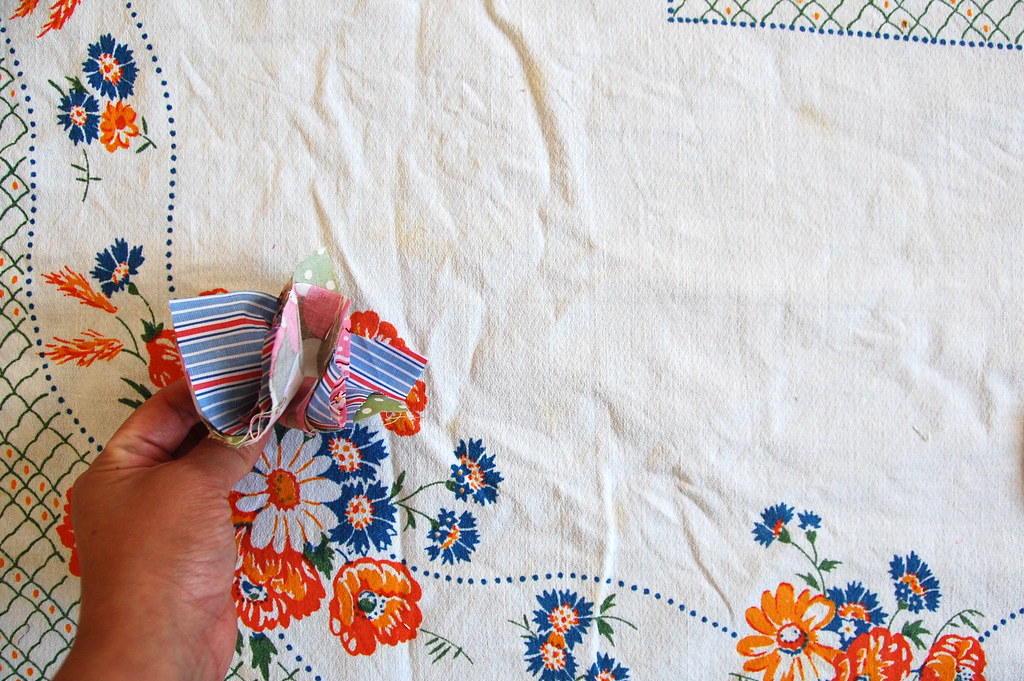
2. Stagger 4 square pieces of fabric on top of each other (can do more if you want a thicker flower).
layer on top of each other


3. Fold the entire stack in half.
fold in half


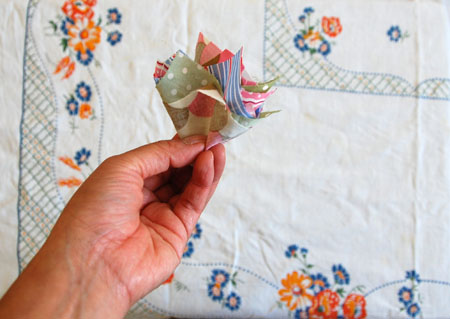
4. Fold stack again in quarters.
fold in quarters
5. Cut a 6' long piece of twine (or longer if want a longer garland).
6. About 6'' from the end of the twine, place the twine over the flower's folded end and zig zag stitch (and backstitch) the flower on to the twine.
7. Repeat step 6 about every 8''-10'' for each flower. Can space the flowers closer or farther apart from each other. Do as you think is best for you as you can even use a longer piece of twine.
zig zag stitch


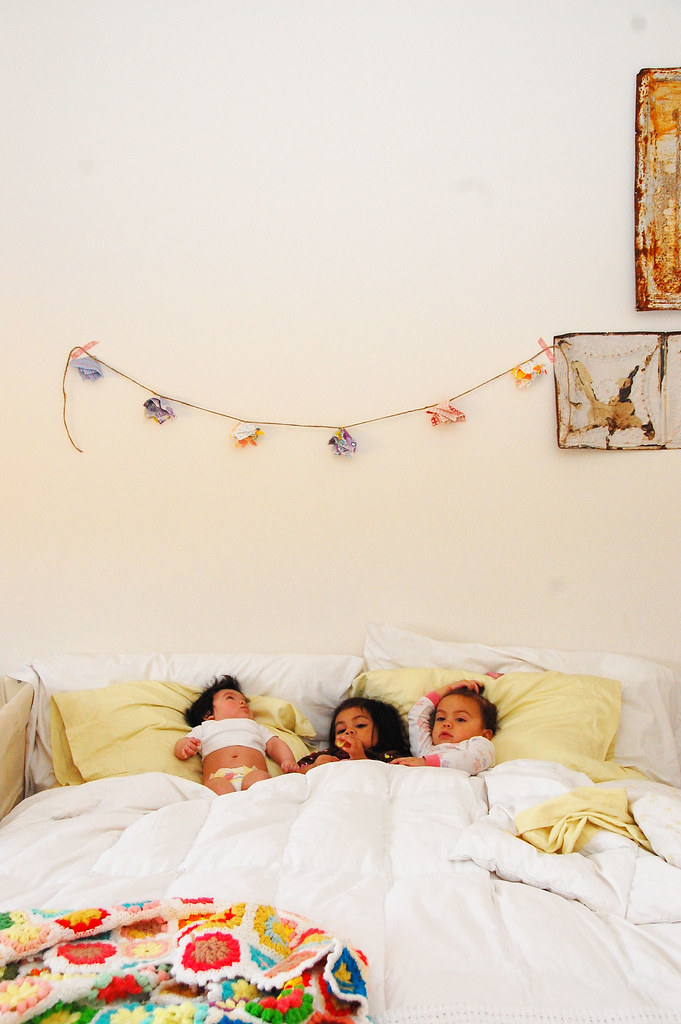
8. Fluff flowers up a bit and hang somewhere that will make you smile!
spring garland
Have fun crafting these simple things up! I have three of these little garlands in the shop if you want it!

I have lots on my to-do list, but never enough time to do everything. Anyone else feeling that way lately? I feel this way all the time now with three kids. Heck, I think I felt that way with just two! I wish there were two of me! One of me to take care of all my babycakies, Ben, and the house stuff and another one to take care of all the other things (i.e. taxes and emails). Yup... tax time is coming and that always stresses me out! I guess that is why I need to lean on Christ more because alone I am definitely insufficient.

Happy weekend all!!! Don't worry as next week I will show you how to do the cupcake in a jar and tomorrow there will be another sponsor welcome.

June 6, 2011

cool and not cool

i am with the coolest dude around.
See that dude I am with in the picture? Yeah. He is really the coolest dude around. I thought so the first time I ever laid eyes on him. Seriously. One day I will tell you the story of our first meeting, it is a good one I promise. After you hear (read) it, you will probably think I am a bit of a cuckoo, but doesn't matter cause I am now married to the cool dude and I have his babies.

What's not cool?

- This chef apple person using my pictures like they were her own and own making (notice her label attached to my pictures and her p.s. at the end). Yeah, definitely not cool. No credit link, mention, or acknowledgment that the pictures aren't even hers. Really not cool.

- This etsy seller using my pictures to sell her product. Not cool.

- And another etsy shop using my pictures again. Really guys?! Not cool.

First off, I have to say thank you to all you loyal people who alert me to these frauds hanging about in cyberspace. Some of these I have known about for months, but etsy's policies aren't exactly easy when dealing with this type of infringement, so I have kept putting it on the back burner. But honestly, I am just going to get my frustrations out here because I am a mom to three and one on the way and don't have the time to deal with legalities as much as I would love to. I just want to help educate people to beware and please be respectful.

I understand that no idea is completely unique (I am sure I am not the first person ever to stick a cupcake in a jar), unless you are God of course, and we are all merely just honing into our inner creative self, but please... respect others and the hard work they do. This poster summarizes things nicely and will help being respectful of others. But if you get an idea from somewhere and pretty much recreate it or say you are "inspired" by some place, well, good golly... give that person credit. Even if you do your own little twist on it. If you know where you got the idea from, credit that person specifically. Or if you use someone else's picture, just link up to them! No big deal. And of course I realize some things may merely be simple coincidence that someone did an idea at the exact same time another person did it, but if you really are conscientious of others and are using another idea of someone's (not for profit cause that is a whole other story), link up, it is the nice thing to do.

This doesn't just happen to me. I have seen other blogs/shops blatantly copy another person's blog/shop/designs and really, it just isn't cool. Sad to say, there are even some really "big", "popular" bloggers out there who take ideas from "smaller" blogs and act like it was their own (it's happened to me and I have seen it happen to others). Stepping on people ain't ever cool!

This is probably a touchy subject and everyone has their own views, but I think the key here is to love others first. It isn't easy and honestly, I am quite perturbed at these types of people. But if we were all being self-less, this wouldn't be happening.

At the same time, I have been reading this book (can get your own free copy here) about Christians who have been tortured and imprisoned for their faith and how still they would love and pray for their torturers. Imagine that?! Love and pray for their torturers?!! They prayed so hard and loved so much, that eventually some of these torturers gave their lives up for Jesus too. That is just amazing and totally God! So, how much more should I love and pray for the copycats or the picture stealers? Seriously. That is what is most important.

When I get frustrated with these people, I read this verse and it humbles me...
"Love your enemies, do good to those who hate you, bless those who curse you, and pray for those who use you." Luke 6:27-28

Sorry to be the bearer of some negativity or frustration, but I needed to share this. I am trying to practice that verse even though it isn't easy, but I have really prayed for those people. I promise to have happy-home-sweet-home-crafty stuff in the next few days! Until then, thanks for always listening (reading).
Related Posts Plugin for WordPress, Blogger...