


*This post was a guest post sometime ago over at Smile and Wave, but just in case you missed it, here it it.
What you need:
2- safety pins
6- strips of fabric about 18'' long (can add more strips depending how many bands you want)
1- 6'' piece of elastic
sewing machine
1. gather 3 strips of fabric.
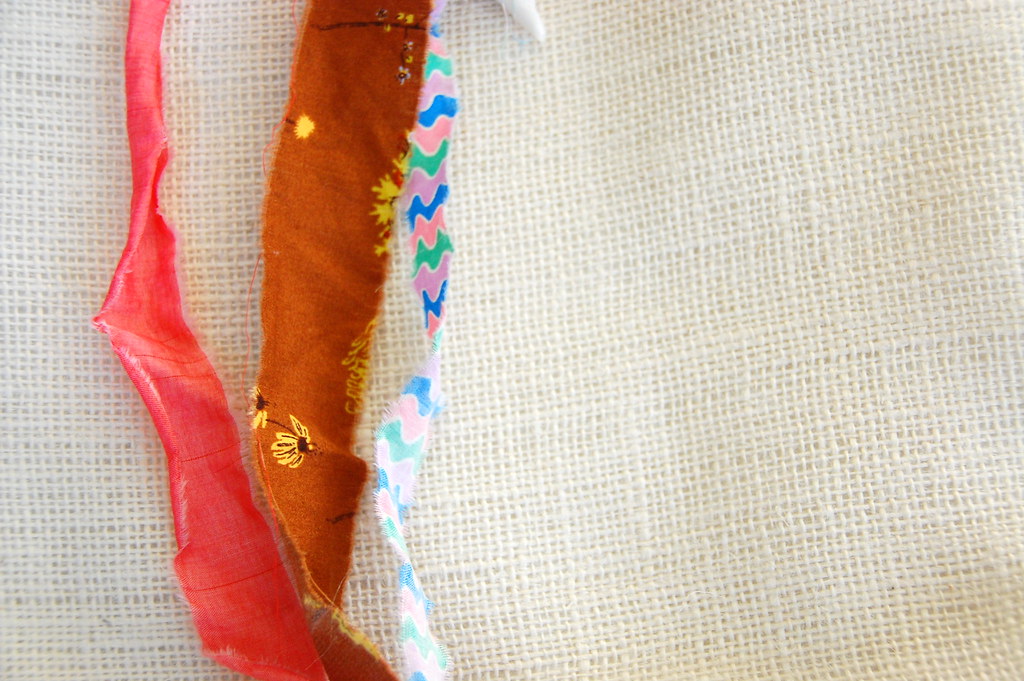
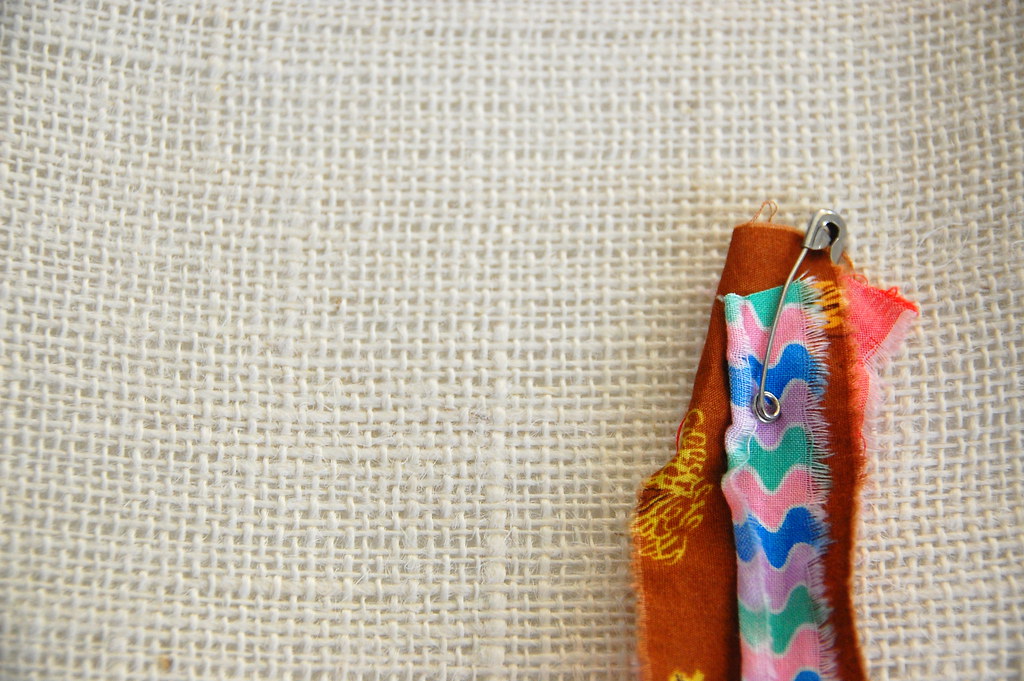
2. pin together ends.
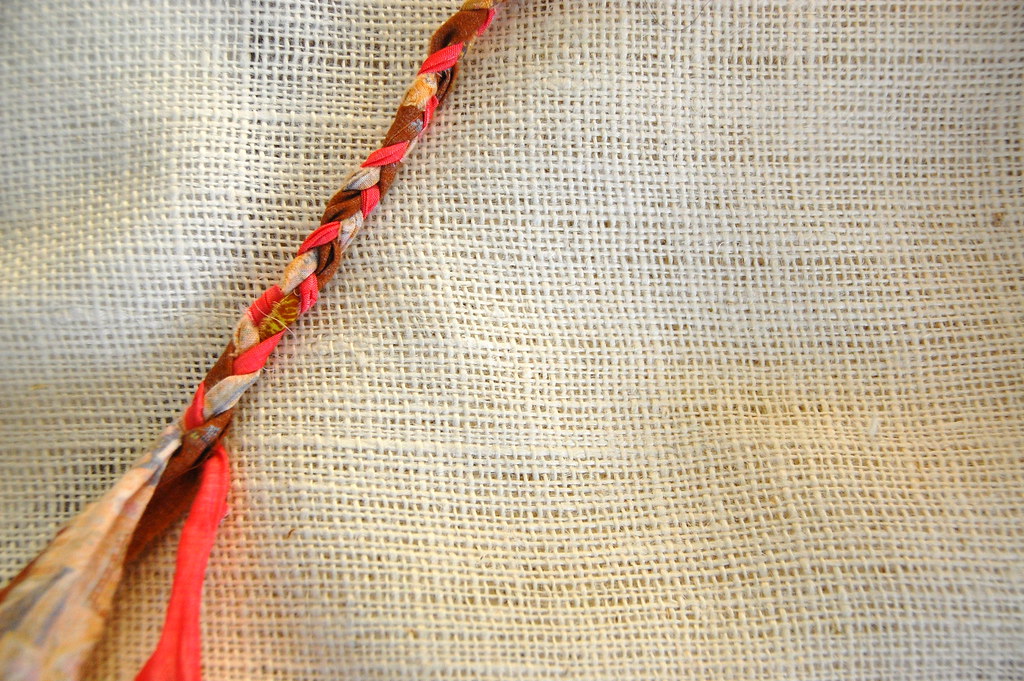
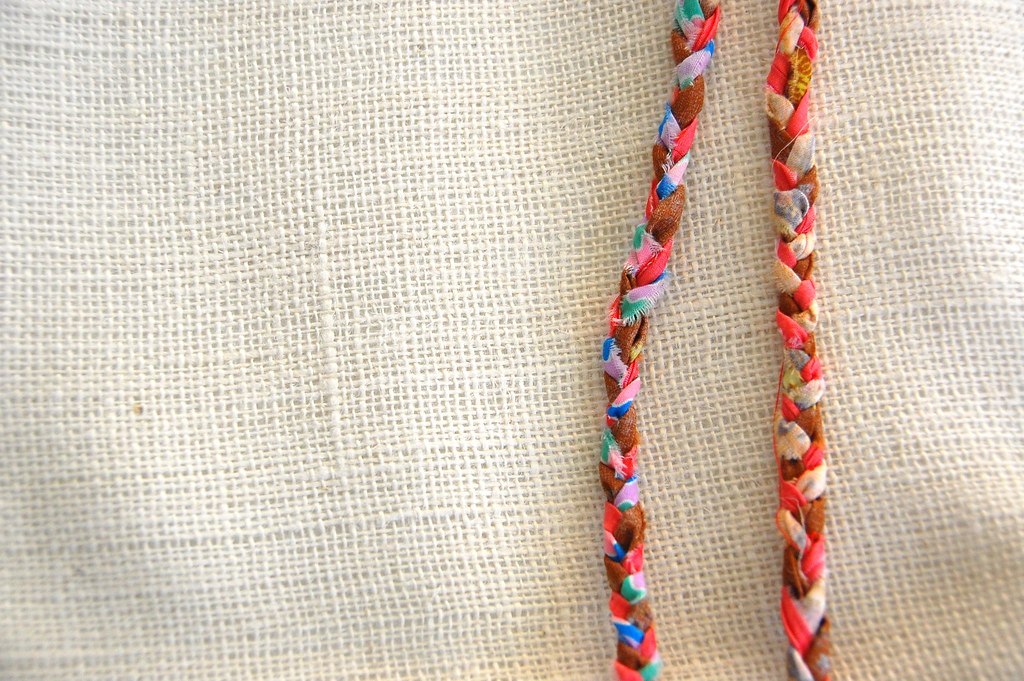
3. braid together.
4. repeat steps 1-3 for remaining 3 strips of fabric.
5. lay both braids side by side with ends matching together.
6. straight stitch ends together.
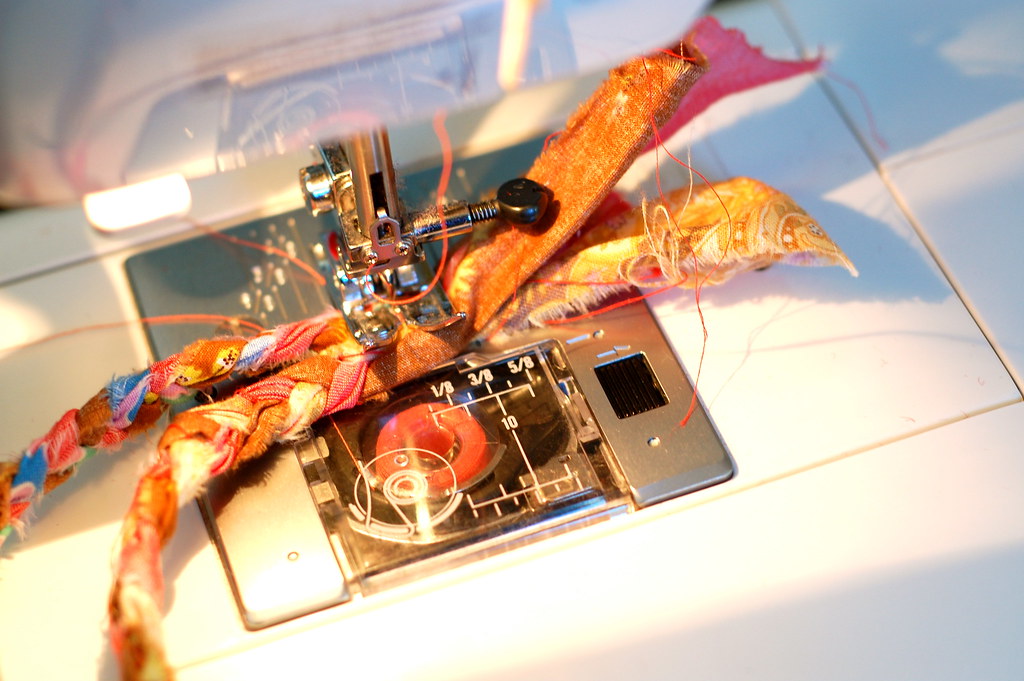
7. snip excess fabric and repeat for the other end (braided bands should be about 15-16'' in length).

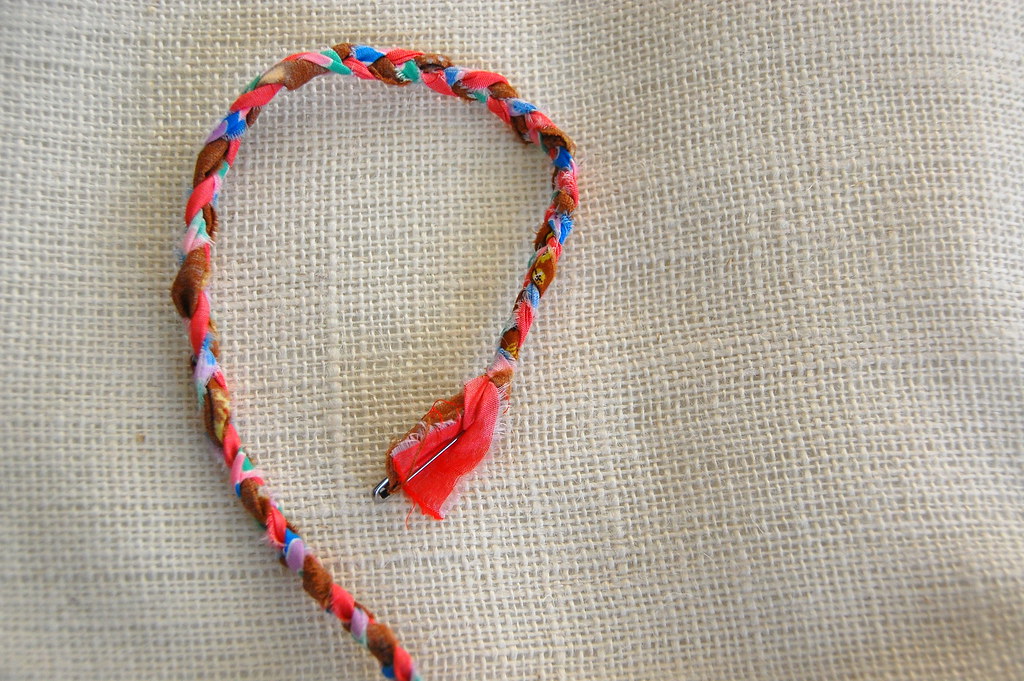
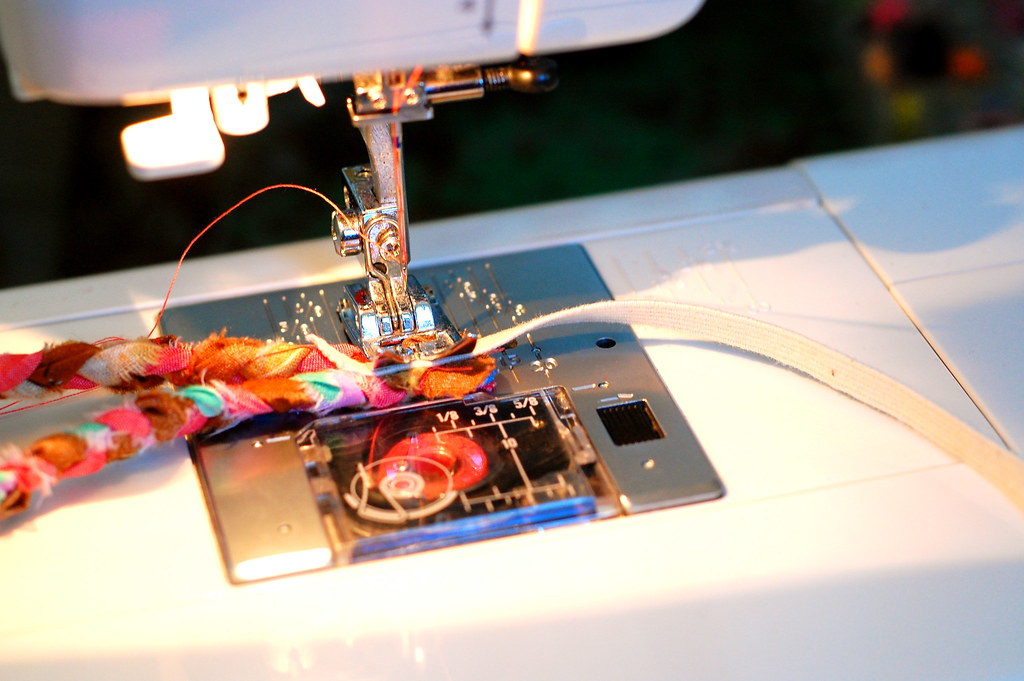
8. take your elastic and sew into one end of the braid and repeat on the other end.
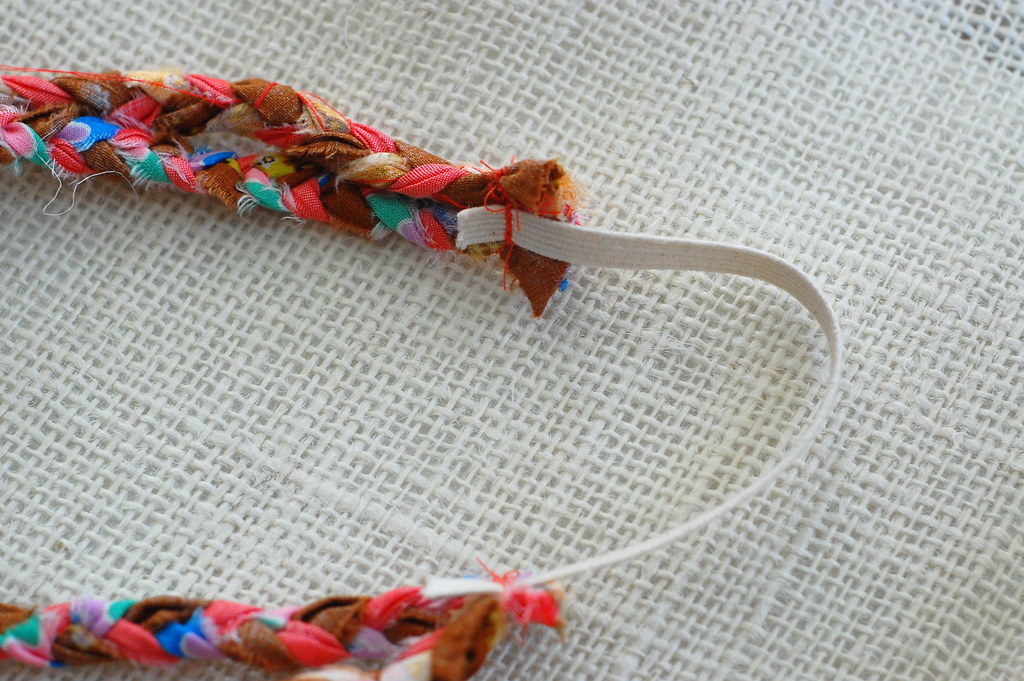
(what the braided band looks like when done sewing)
9. wear then go out and have fun! enjoy...
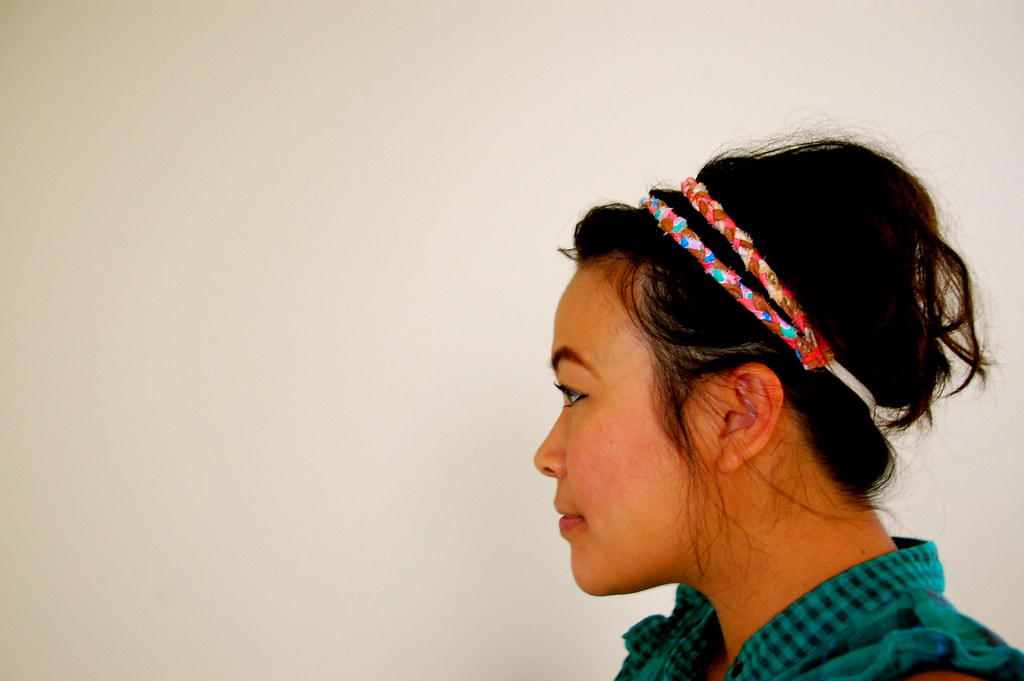

(I am horrible at these kinds of shots)


I saw that on the Smile and Wave blog, but you made it look so much easier, thanks! I love it and you are a beautiful model for it, I can't wait to try it out!! I am going to check out the links now!
ReplyDeletexoxo~Meg
oooh, I want one in every colour.
ReplyDeleteYou always have the cutest ideas! I'm definitely trying this!
ReplyDeleteThis was the post I saw over at Smile & Wave that got me to check out your blog... and I've been a follower ever since. It's only been for a short while, but it's been wonderful to read about you and your family and your awesome craft ideas. Thank you! God bless you and your beautiful family!
ReplyDeleteThis is so cute! Thanks for sharing! I found your blog a short while ago and have been enjoying it very much. Best wishes to you and your beautiful family!
ReplyDeletethank you so much cakies!
ReplyDeletei made my first 'scrappy necklace' last night. :)
http://www.flickr.com/photos/lanolyn/4310072561/in/set-72157623127859335/
so simple, yet so pretty! I'll definitely have to make one of these....or two - one for my daughter, and one for myself! Thanks so much for sharing! *smiles* ~Jen
ReplyDeleteI saw this tutorial ages ago and just recently was really wanting to make one... but I couldn't remember how long yours strips were etc (and never got around to relooking it up!). I am SO GLAD you reposted it! I've definitely needed a hair pick-me-up. One shnazzy braided headband coming up!
ReplyDeletecrazy! i used to make these in high school using my mom's scraps! :) i actually have a few in my shop.
ReplyDeletegreat minds think alike!
awesome and super super cute, cant wait to make myself one!
ReplyDeleteCute as ever.
ReplyDeleteOhhh, I have been wanting to try this out for awhile. Super cute, and you look adorable with the little Soul in the belly...
ReplyDeleteThanks again for being inspiring to this tired and bored Momma.
I did this the other day, inspired by your braided necklaces, only I was lazy and tied the ends to an elastic hair tie. This looks better though! I am wearing mine now. I'll have to do a double stranded one too. :)
ReplyDeleteSUPER cute! I'm going to have to make some of these...pure awesome.
ReplyDeleteGreat way to use up scraps...such a clever idea so you can match them to your outfits. :) Thanks for sharing again! :)
ReplyDeleteSo cool! Thanks for sharing. x
ReplyDeleteoh my...i can't wait to make these. Just have to wait for us to settled in our new place. Thanks for sharing.
ReplyDeleteYou look very pretty in those photos :D
ReplyDeleteIt looks so cute on you. I just ordered the Green Craft mag, Congrats.
ReplyDeleteToo fun! I love this idea!
ReplyDeleteCoolest thing ever! I'm so ready to make one.
ReplyDeletethis is so lovely, i should definitely make one. x
ReplyDeleteLovely! I think my niece needs one of these for her upcoming birthday. You look great :-)
ReplyDeleteI just made two! I am addicted. I love how easy it is to make!
ReplyDeletePlease check mine out!
Madtimeswelivein.blogspot.com
Yay! I'm so glad I stumbled upon your post. My daughter and I were just looking at these styles of headbands today and I told her we would figure out how to make one instead of paying $10. And now I know how to do it. Thanks!!!
ReplyDeleteThanks for posting up a tutorial! The headbands are cute and eco friendly. I shall try them out one day.
ReplyDeletegreat tutorial! thank you!
ReplyDeletei love love love these! i made a few the other day and my girls wore them to Disneyland this week and we got tons of compliments! :) thank you for all the inspiration!
ReplyDeleteSo cute I had to do it myself! http://epicdaysbylinley.blogspot.com/2010/02/watercolors-from-under-my-bed.html
ReplyDeleteI love, love, love your Blog. And today I made a Keyholder with your tutorial. look
ReplyDeletei am so glad you posted this!!
ReplyDeletei've been meaning to make one for a while.. and i've been wanted one even longer =]
thank youzzzz
I loved this tutorial when I saw it over at Smile & wave! I still love it, so I'm including it in a post at CROQzine.com - thanks. I'm also posting a pic of the picture... hope that's okay. Let me know if not!
ReplyDeletethanks for reposting this! I just saw it and made my own headbands! I posted pics of mine here:
ReplyDeletehttp://thepriours.blogspot.com/2010/06/headbands.html
I love your blog!
I'm a headband wearer. Love these!
ReplyDeletefound your post while stumbling, love this idea. thanks for sharing. I'm having a giveaway on my blog you might be interested in. http://alwaysinwonder.com
ReplyDeleteLove love!!! How wide are your strips?
ReplyDeleteFound you via Pinterest and loved this. Made it right away!!!
ReplyDeleteCheck it out...
http://thehandmadehomemaker.blogspot.com/2011/08/i-fibbed.html
Adorable! Thanks for sharing!
ReplyDeleteAdorable! Thanks for sharing!
ReplyDeleteThank you for sharing your tutorial. I've translate it in French and centimeters on my blog for my french readers and gave the link to this post. :)
ReplyDelete